This post may contain affiliate links which means I may receive a commission for purchases made through links. I only recommend products that I have personally used or curated specifically after reviewing and ensuring its quality! Learn more on my Private Policy page.
1. Wallpaper Removal
As someone who appreciates the art of transformation, particularly in the comfort of your own home, you understand that change often calls for a little elbow grease. One significant part of this transformative journey can be the formidable task of wallpaper removal.
Yet, with the right understanding, tools, and methods, this task can become an empowering DIY project. In this brief guide, we will help you navigate the complexities of wallpaper removal, making it a manageable and rewarding endeavor.
This post deals exclusively with removal of wallpaper. For an easy to follow guide on How To Install Wallpaper refer to our blog post. Also refer to our detail guide on How To Choose Wall Wallpapers For Each Room if you are planning to undertake a wallpapering project.
2. Identify Type of Wallpaper
Wallpapers come in a variety of materials and types, and each responds differently to the removal process. The first step in the wallpaper removal process is to identify the type of wallpaper you are working with.
Strippable Wallpaper: This type of wallpaper is designed to be easily removed and will often peel off in full sheets. To test if your wallpaper is strippable, try to peel off a corner. If it comes away easily, you’re in luck, and the removal process will be considerably simpler.
Peelable Wallpaper: This type has a top layer that can peel off, leaving a backing layer on the wall. The backing layer can then be soaked and removed using a scraper.
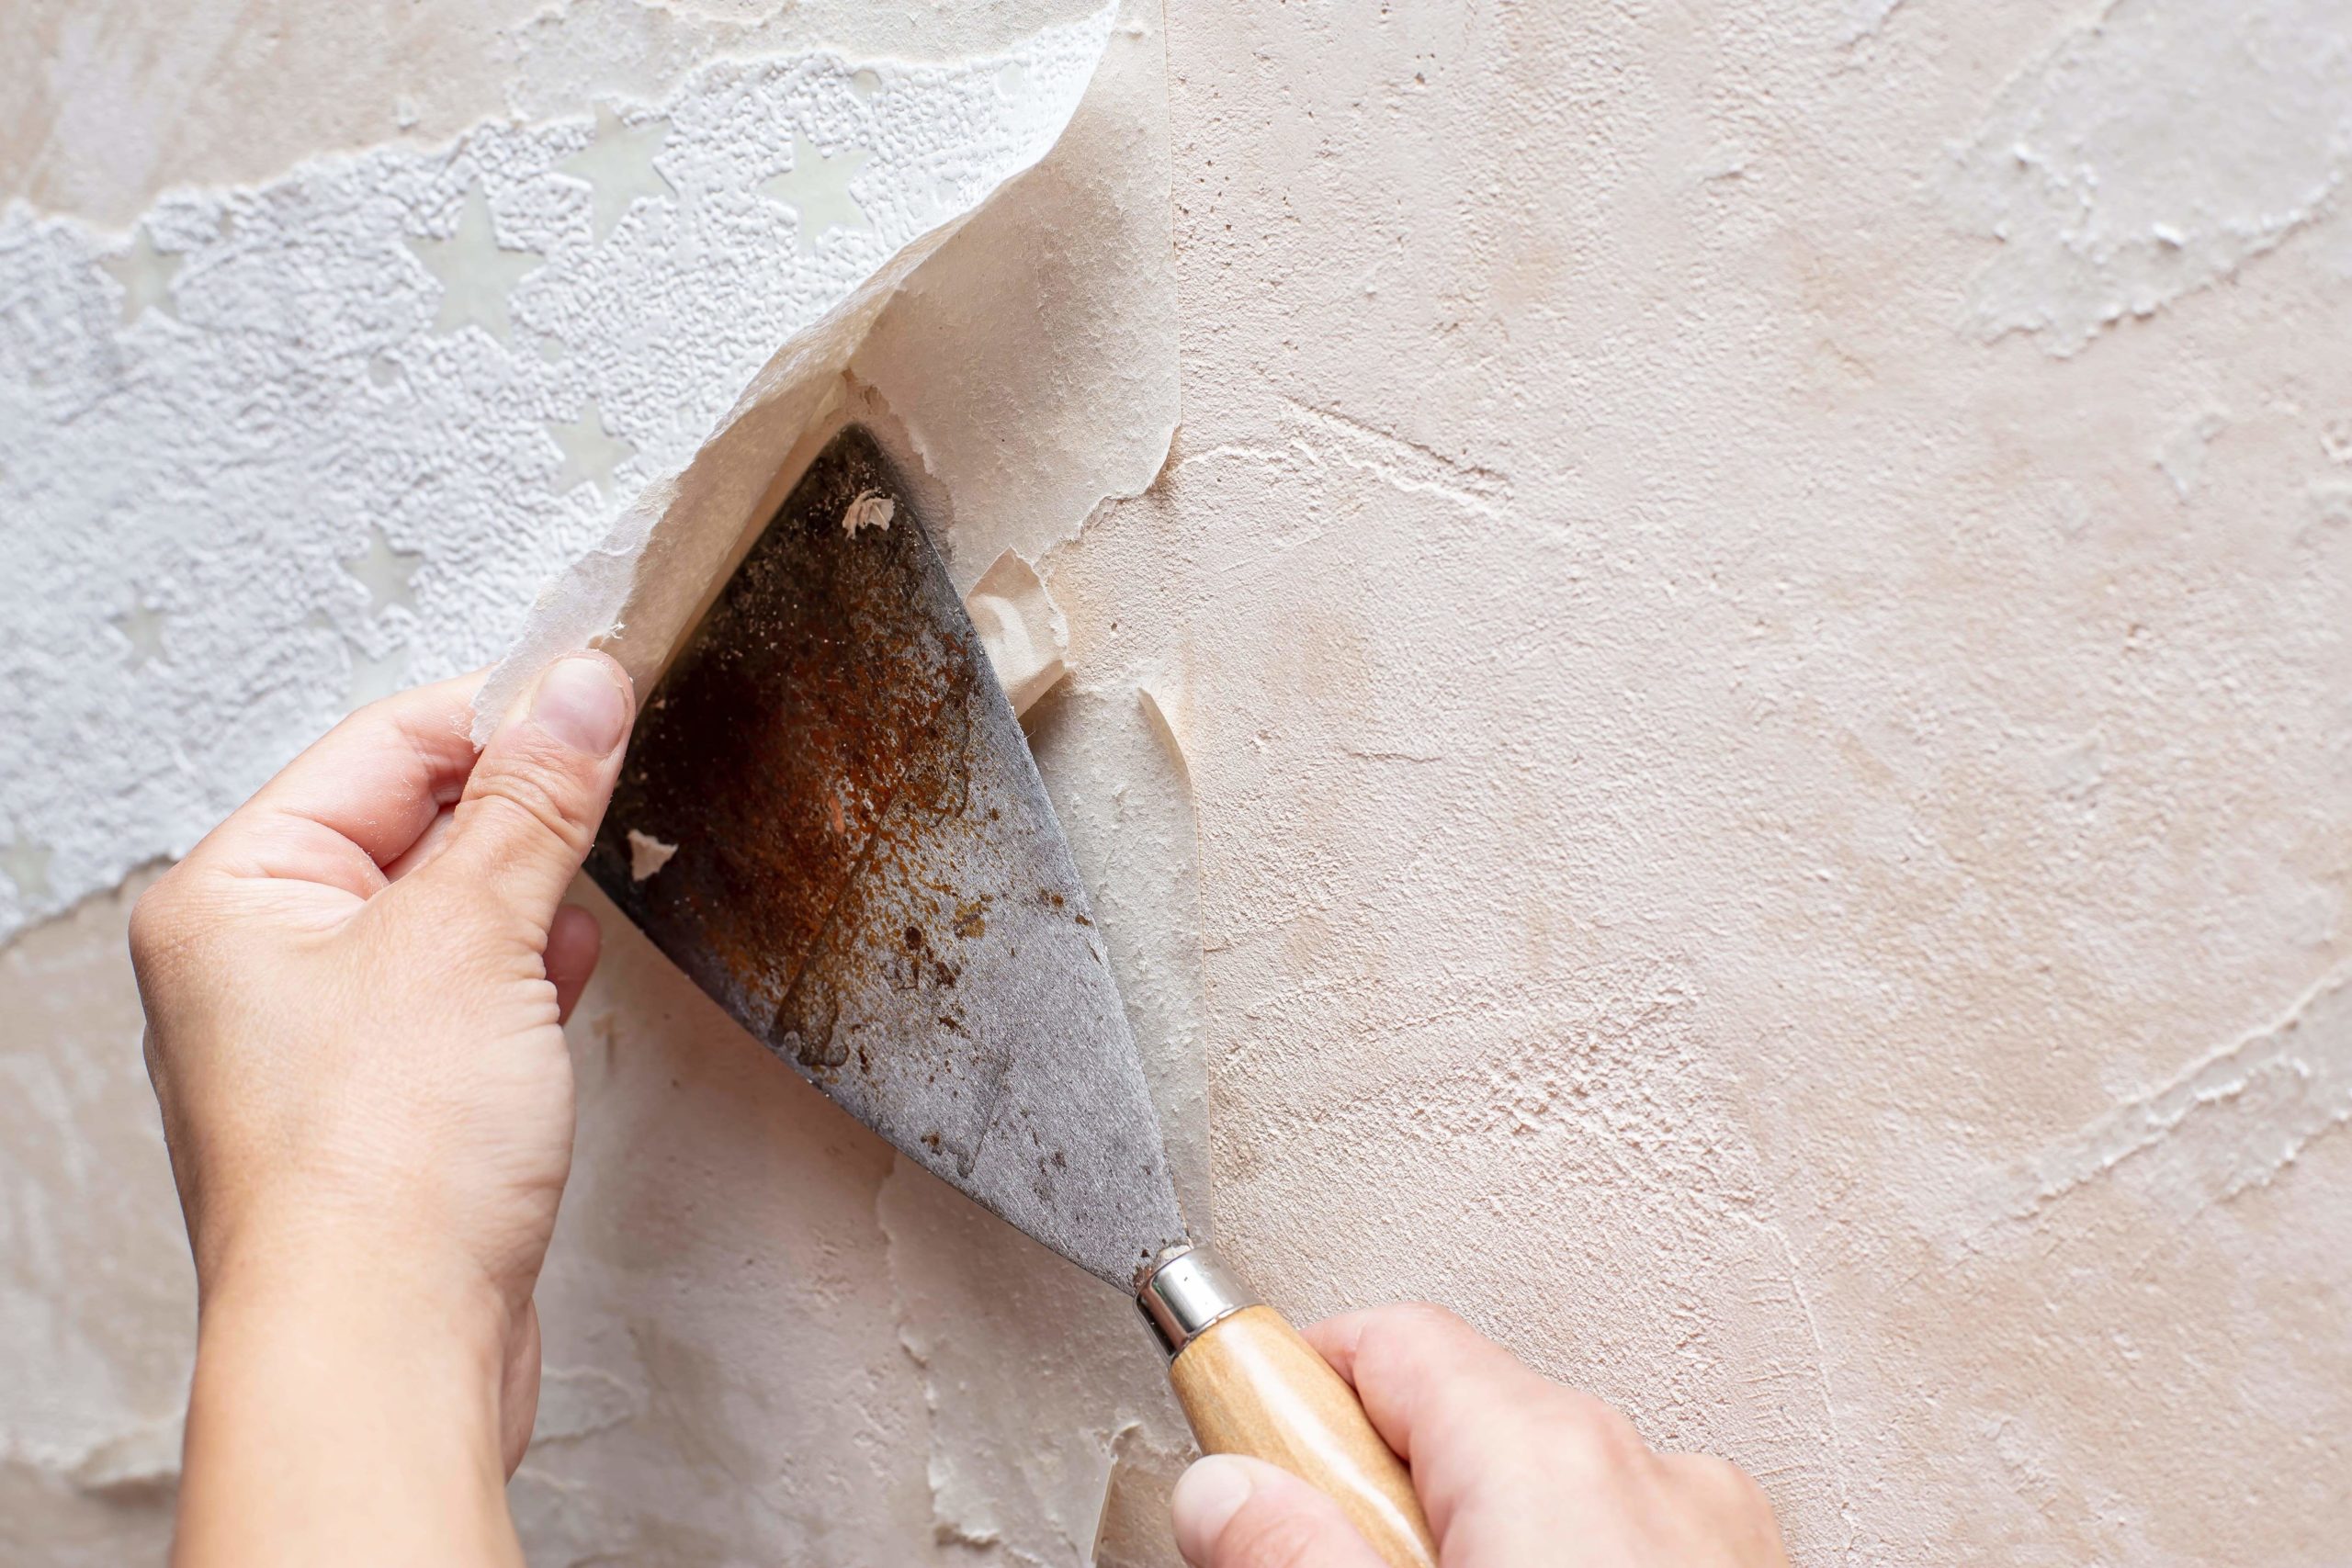
Vinyl, Foil, or Fabric Wallpaper: These wallpapers can be challenging to remove because they are resistant to water, making it difficult for a stripping solution or steam to penetrate and dissolve the adhesive. They might require a bit more effort and a specialized approach.
3. Wallpaper Removal – Materials, Tools, and Prepare Space
The foundation of any successful DIY project is proper preparation. Here’s how to prepare your space for the wallpaper removal process:
Gather Materials and Tools
Start by assembling all the tools you’ll need. This might include a wallpaper scorer or perforation tool to help the removal solution penetrate the wallpaper, a spray bottle or sponge for applying the solution, a broad knife or scraper for peeling off the paper, and protective materials such as gloves, goggles, and drop cloths. A bucket and sponge will also be needed for the final cleaning stage.
Tools Required
Wallpaper Scoring Tool: Use to create small holes in the wallpaper, which will allow the removal solution to penetrate the wallpaper and loosen the adhesive.
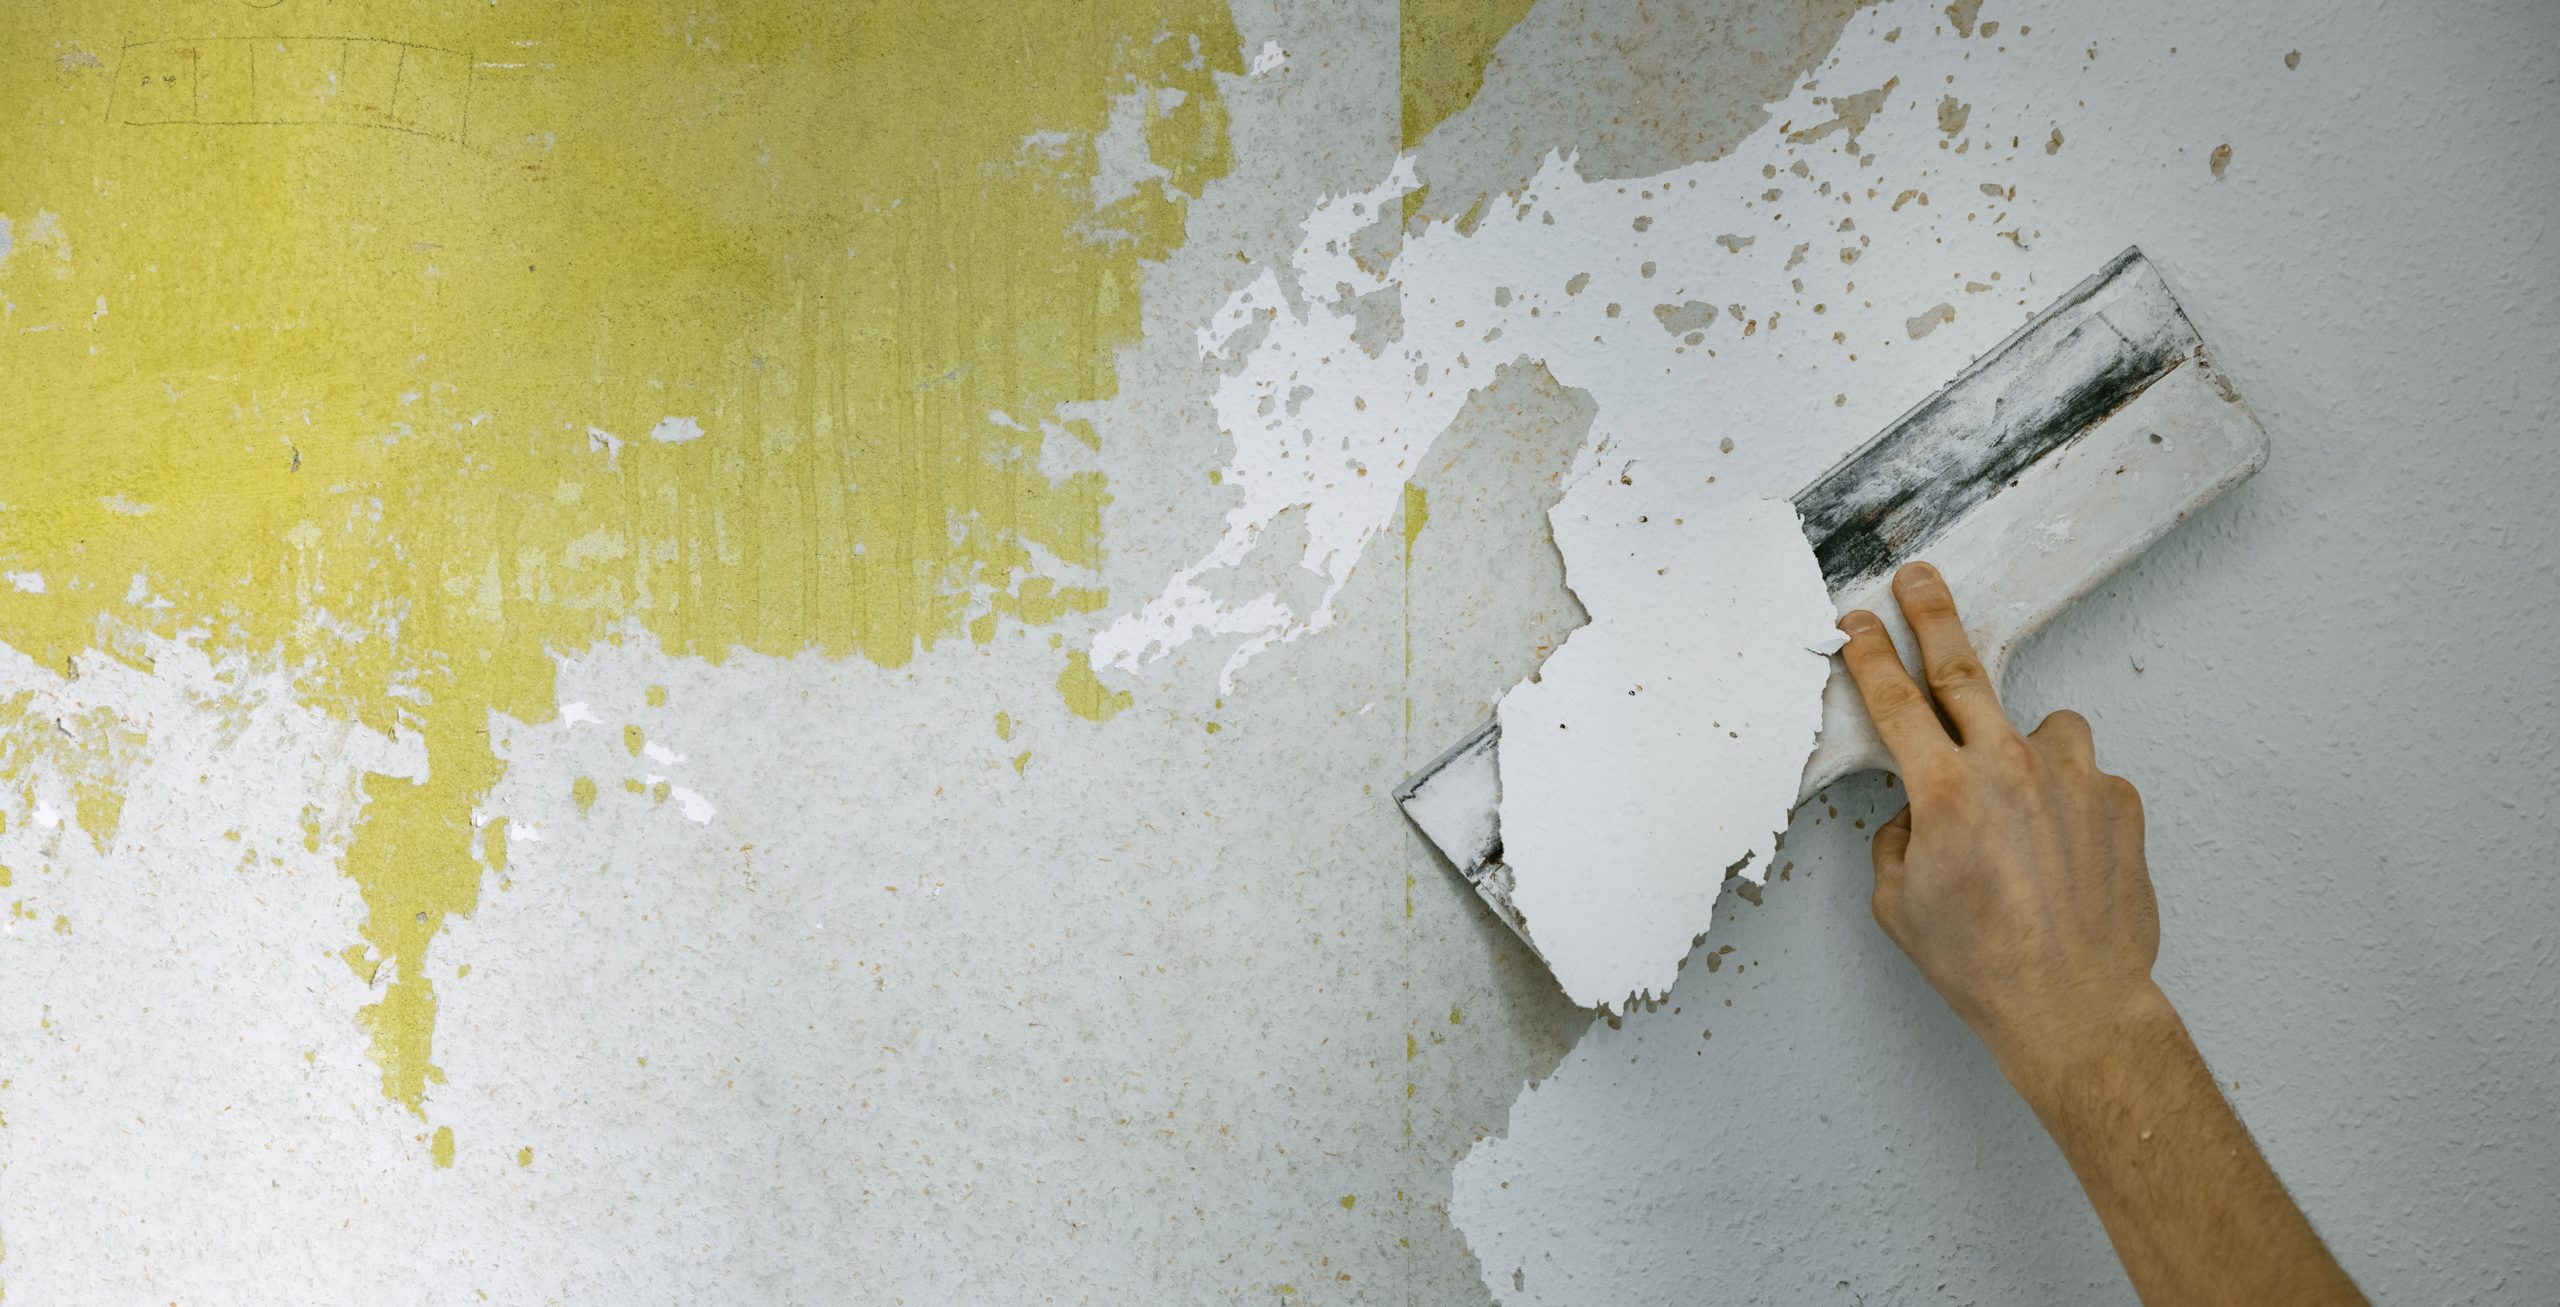
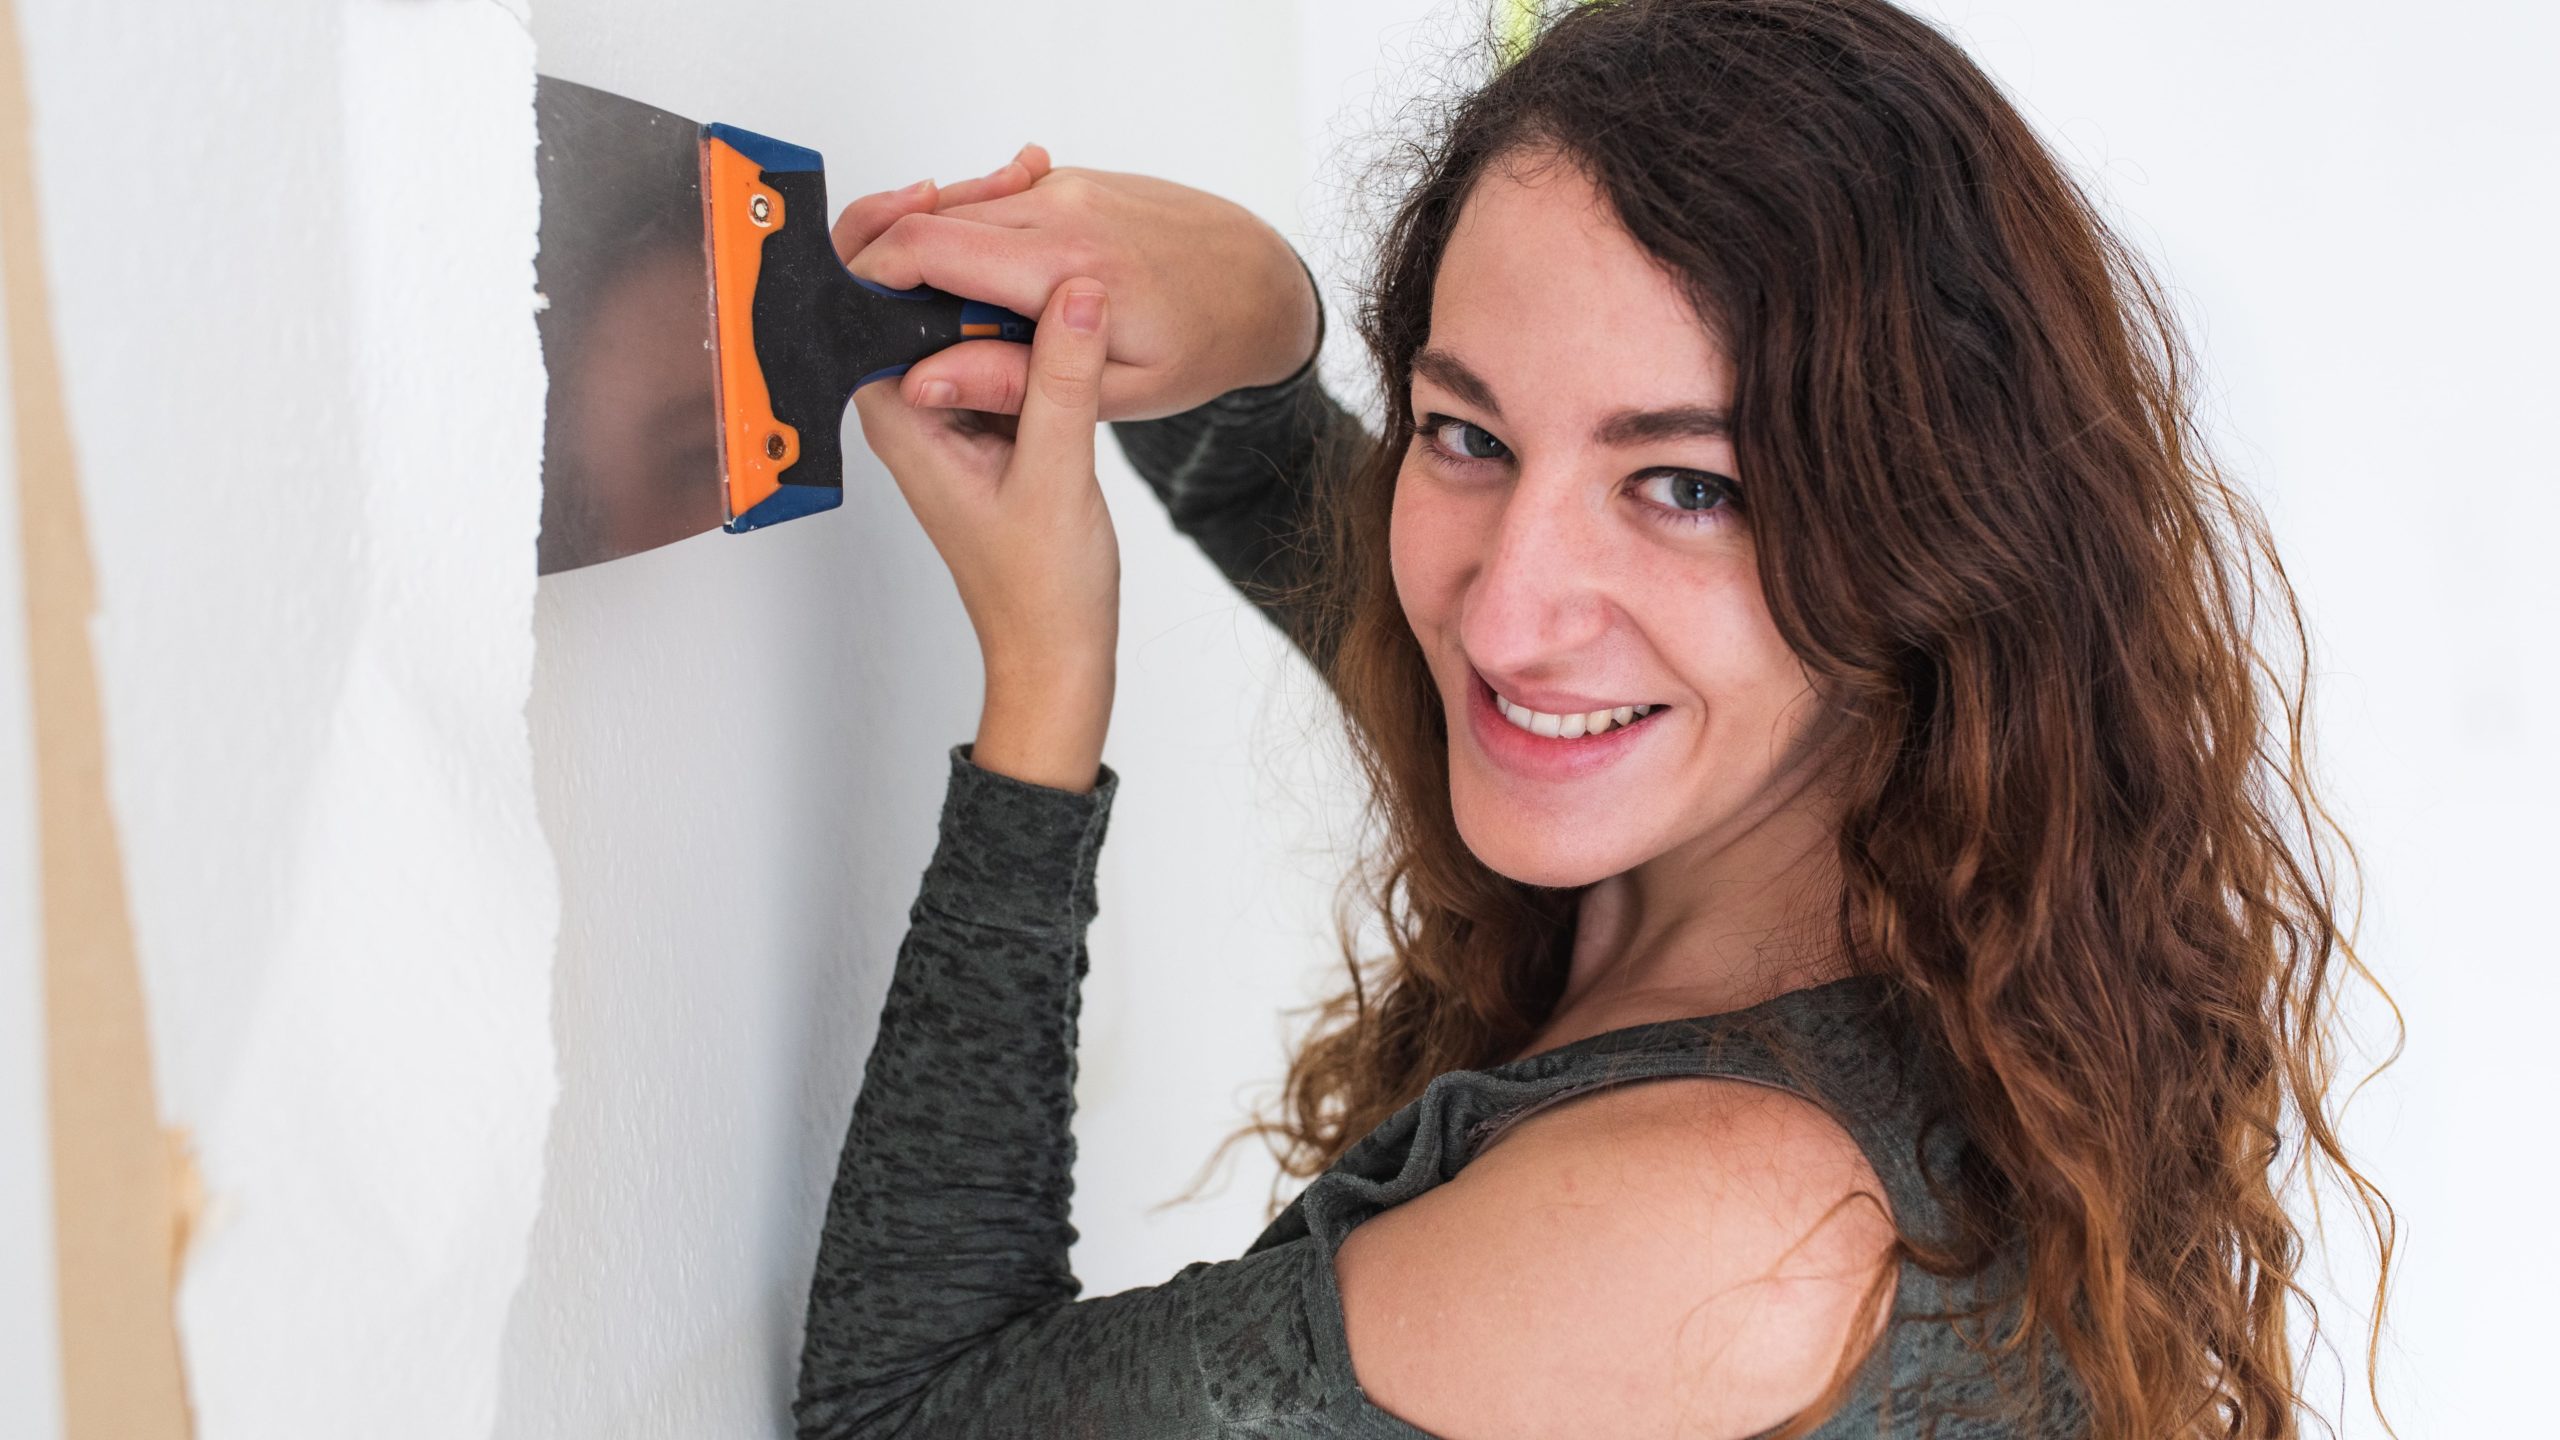
Wallpaper Scraper or Putty Knife: Use to scrape off the wallpaper once the adhesive has been loosened. Scrappers and putty knives come in various shapes and sizes. Visit your local hardware store to find the most ergonomic one that suits you style.
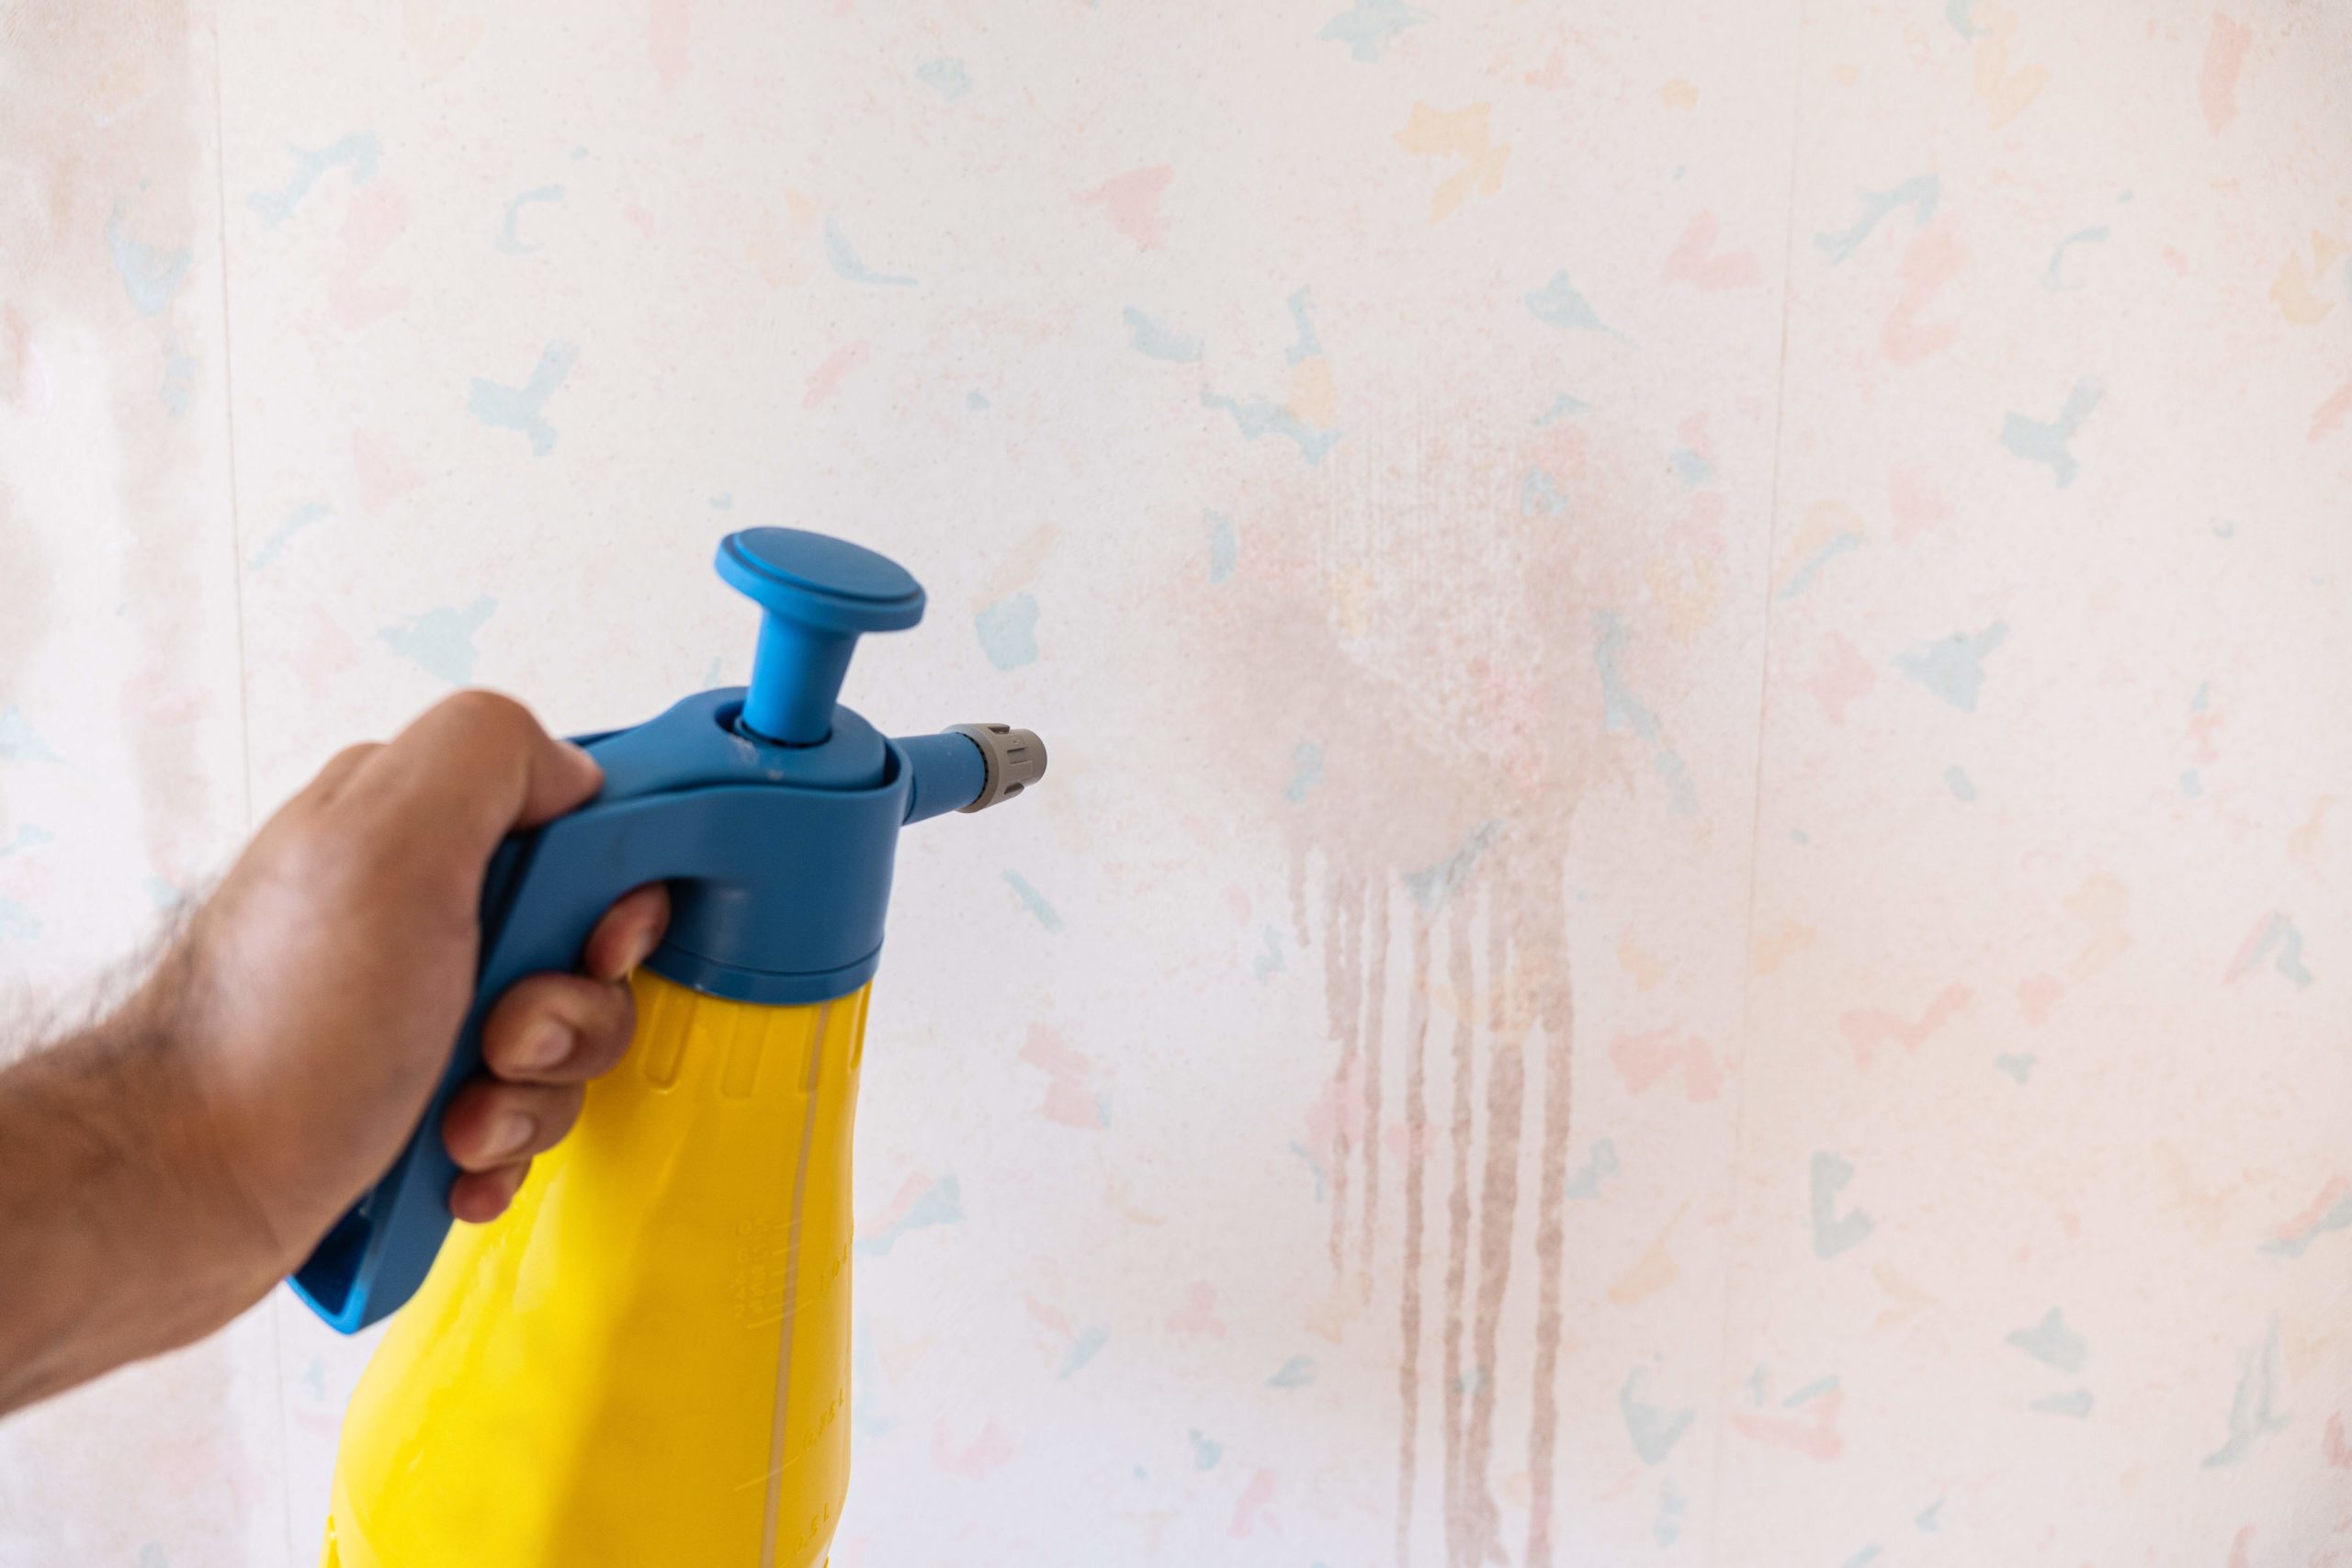
Spray Bottle: Use to apply the wallpaper removal solution to the wallpaper.
Sponge and Bucket: Used to apply warm water or a wallpaper removal solution to the wallpaper.
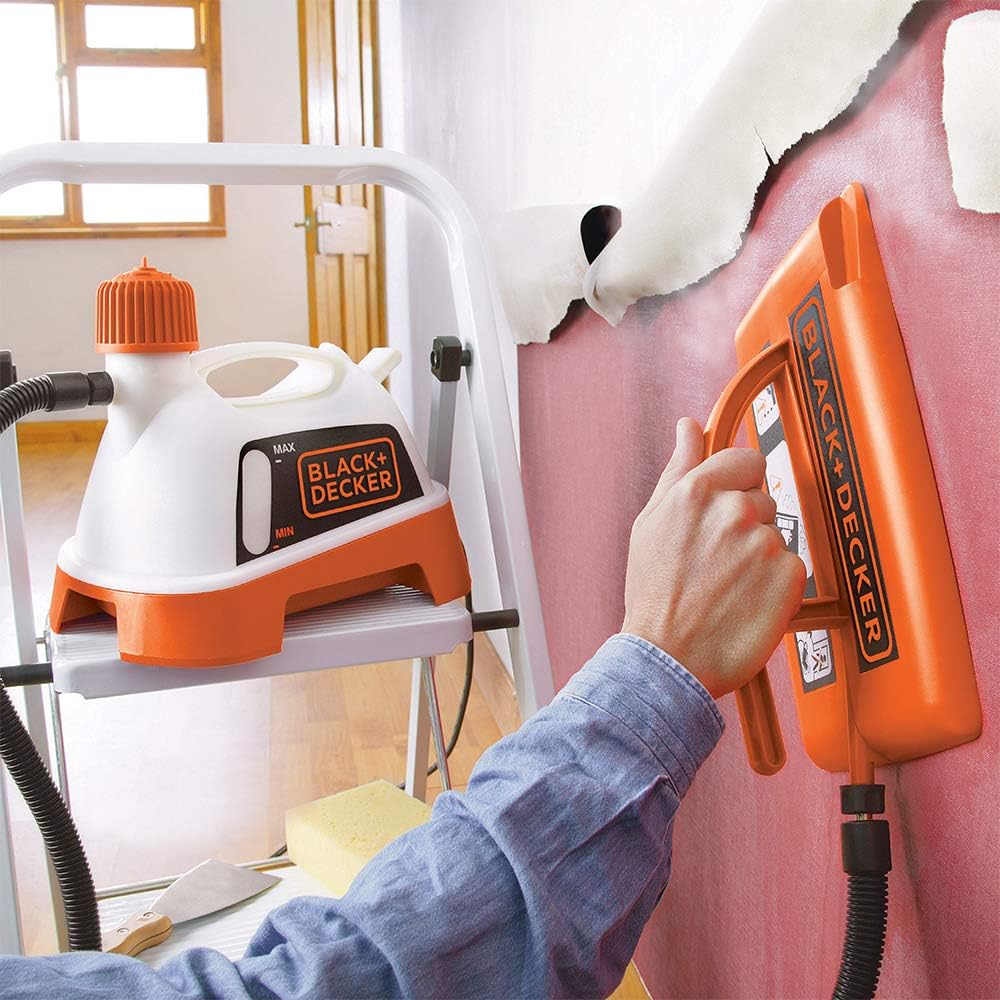
Steam Wallpaper Stripper (optional): Steam can be used to loosen the wallpaper adhesive. It’s a more expensive option but can be very effective, especially for stubborn or older wallpapers. See Attached YouTube Video.
Here is a Top Rated Steam Removal Unit we have curated for your project.
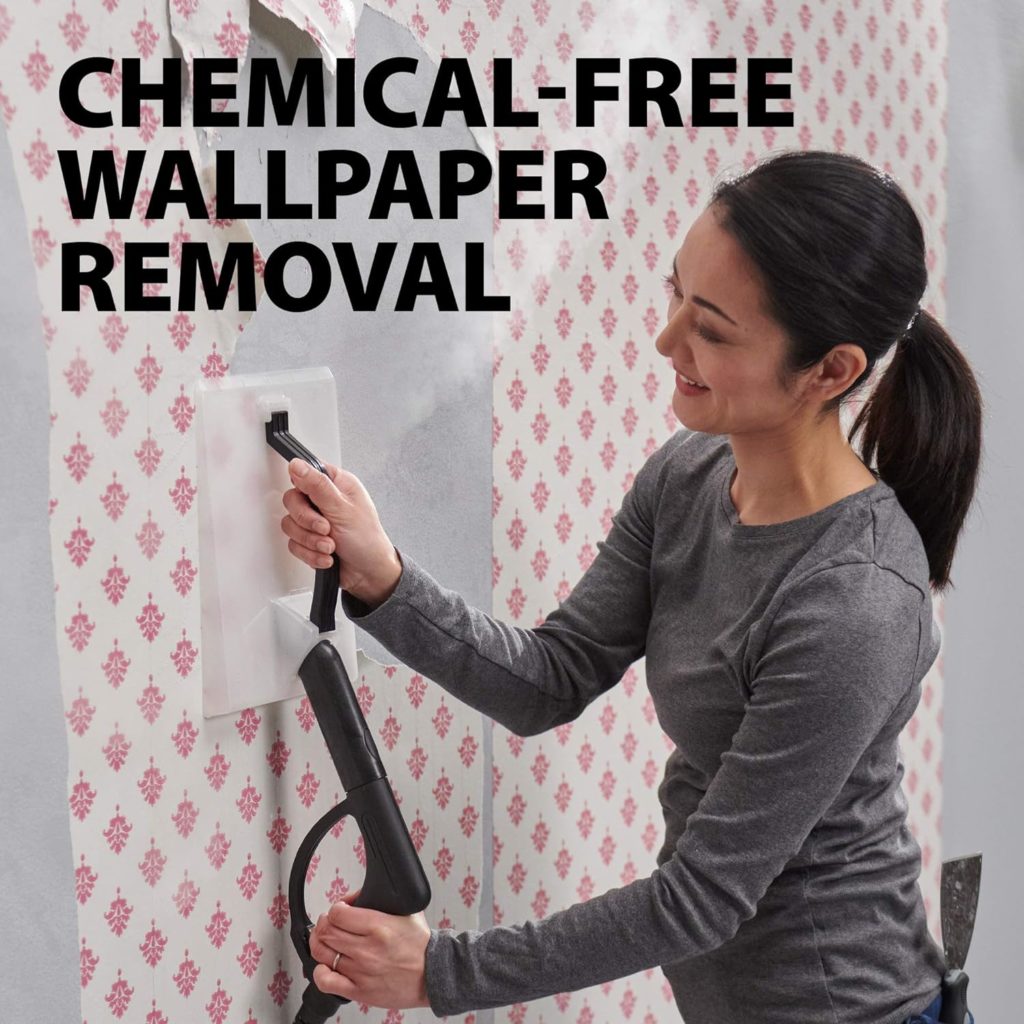
Wagner Spraytech On-Demand Steam Wallpaper Removal
Multipurpose Power Steamer, 18 Attachments Included (Some Pieces Included in Storage Compartment) For Floor
Ladder or Step Stool: Necessary for reaching high areas.
Work Gloves: To help protect your hands during the process.
Safety Glasses: Essential to protect your eyes from wallpaper, adhesive or other pieces that may emerge whilst scraping.
Materials Required:
Wallpaper Removal Solution: Commercially available solutions can be used, or you can make your own by mixing hot water and vinegar, or hot water and fabric softener, in a 1:1 ratio.
Drop Cloth or Plastic Sheeting: This is to protect your floors and furniture from any water or solution that may drip down.
Garbage Bags or Bins: For collecting and disposing of the old wallpaper.
Clean Rags and Towels: These are used to clean up excess water or solution and to dry the walls once the wallpaper is removed.
Joint Compound and Sandpaper: After removing wallpaper, walls often need minor repairs and smoothing. Joint compound is used to fill any damages or uneven areas, and sandpaper is used to smooth it out once dry.

Prepare The Space:
Protect Work Area: Wallpaper removal can be messy. Cover your floors with drop cloths or plastic sheeting, and move or cover any furniture still in the room. Remember to remove wall fixtures such as outlet covers, switch plates, and any wall decor.
Ensure Room is Ventilated: Ensure the room is well-ventilated. Open windows and use fans if necessary, especially if you’re using a commercial stripping solution, as these can emit strong fumes.
To help answer some of the most asked questions regarding wallpaper we prepared an article for that purpose. Please refer to our article titled – Installing Wallpaper For Walls – 72 Frequently Asked Questions and Answers.
4. Follow This Wallpaper Removal Process
Now that your room is prepared, you can begin the wallpaper removal process:
Step 1: Loosen Wallpaper
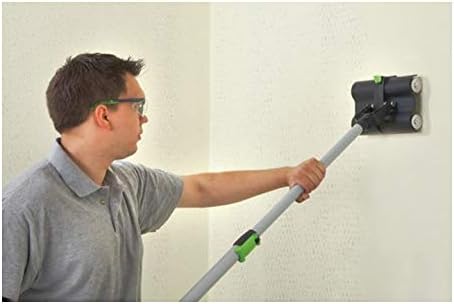
Use a wallpaper perforator to create small holes in the wallpaper. These perforations allow the stripping solution or steam to reach the adhesive. Ensure you’re applying enough pressure to penetrate the wallpaper but not so much that you damage the wall underneath.
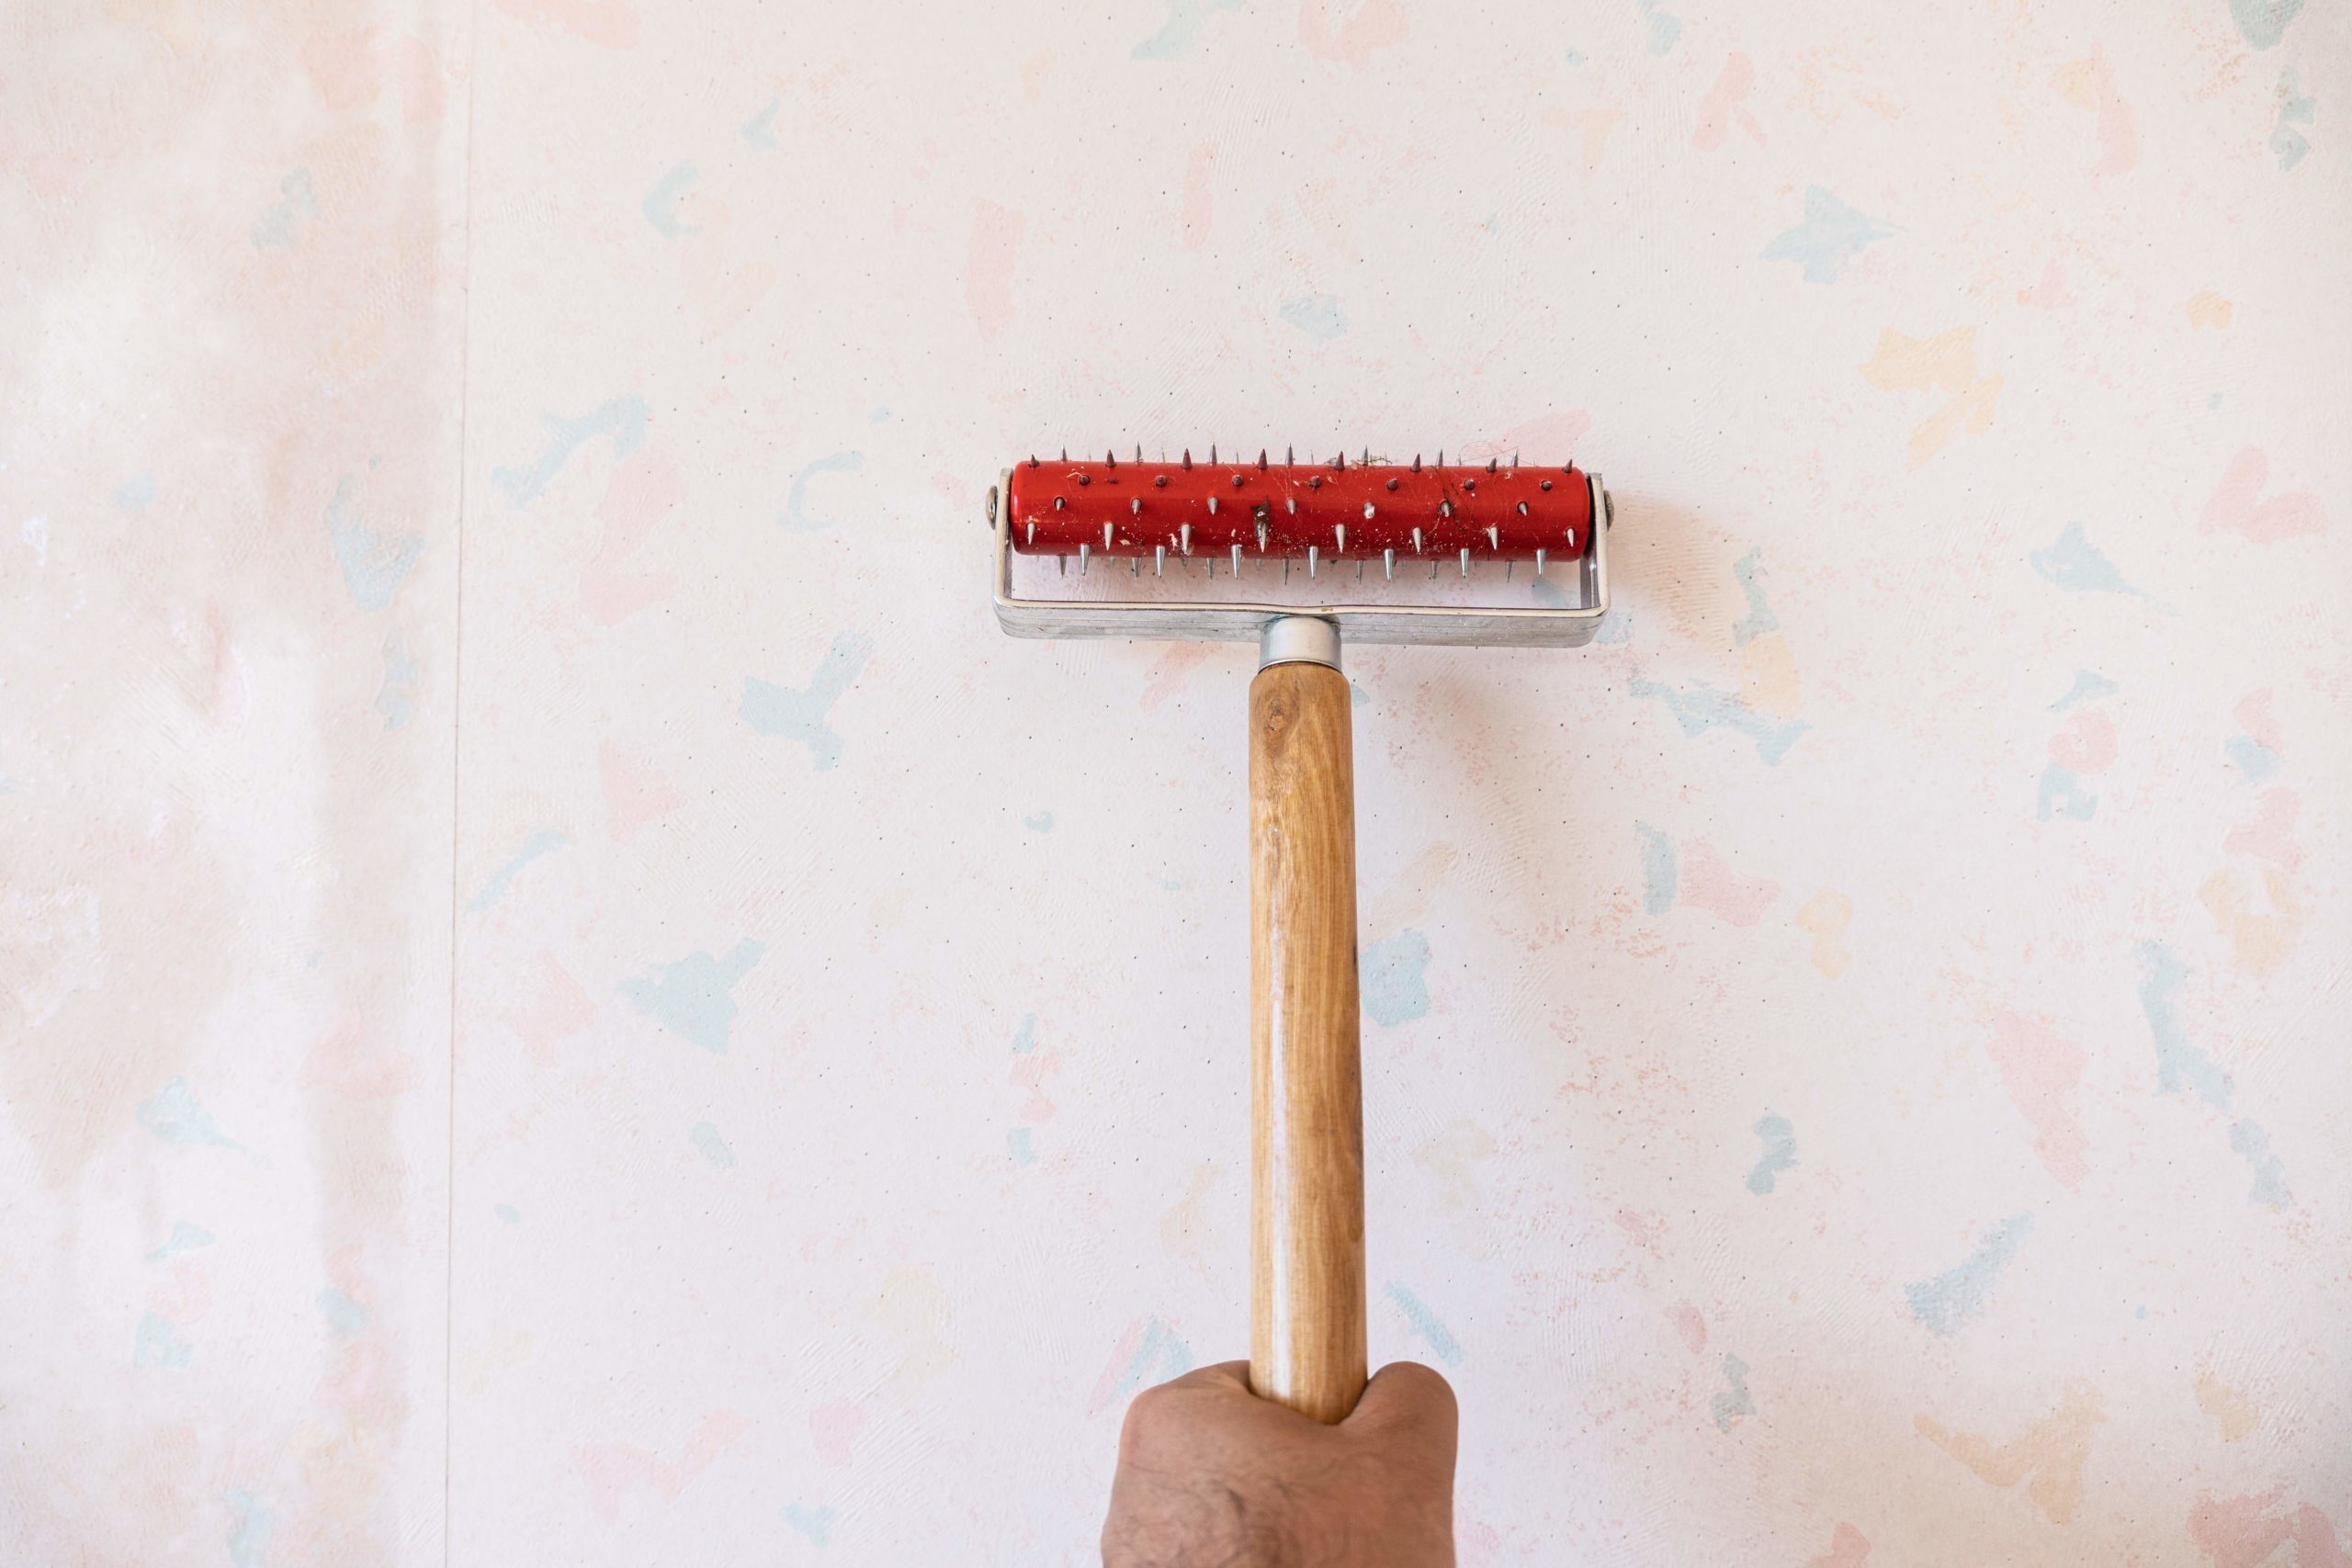
It is important to note that perforators are preferably used when removing wallpaper from hard surfaces like block walls, brick faces, concrete, and wood in some cases. When removing wallpaper from drywall, unless the intention is to fill in the davits left by the perforators on the drywall surface it is best to use ample stripping solution, steam and have lots of patience.
In general, given that the surface of drywall is paper, the adhesion of the wallpaper to the drywall can pose significant challenge. There is usually a need for resurfacing and sanding even without the use of the perforator.
The perforator below is top rated – it can adjusted to meet wall conditions and wallpaper thickness and the double rollers enhance productivity.
Step 2: Apply Wallpaper Stripping Solution or Steam
After scoring the wallpaper, apply a stripping solution or steam to soften the adhesive.
Stripping Solution: Spray or sponge on the stripping solution, covering the wall evenly. Allow the solution to soak into the wallpaper for the recommended time, usually around 15 to 20 minutes. For a homemade stripping solution, mix equal parts hot water and vinegar or fabric softener. The heat helps loosen the adhesive, while the vinegar or fabric softener breaks it down.
Steamer: If you’re using a steamer, press the steam plate against the wallpaper until you see the wallpaper darken, signaling the steam has penetrated the paper.
Step 3: Remove Wallpaper
Once the adhesive has softened, use your scraper to carefully peel off the wallpaper. Start at a corner or seam and slowly work the scraper under the paper, peeling as you go. Be patient and cautious not to gouge or damage the wall beneath.
Step 4: Clean Walls
Even after the wallpaper is gone, some adhesive residue might remain. Clean the walls with a sponge and soapy water to remove this residue. Rinse with clean water and let the walls dry completely before doing any further wall treatment.
The wallpaper removal process can throw a few curveballs your way. Here’s how to handle some common challenges:
Remove Stubborn Wallpaper: If the wallpaper resists coming off, you may need to apply more stripping solution or steam and let it sit longer.
Remove Paper Layer Left Behind: Older wallpapers often leave behind a paper layer after the top layer has been peeled off. Treat this layer like the original wallpaper, using a stripping solution or steam to soften it before scraping it off.
Repair Damaged Wall Surface: If your wallpaper is particularly stubborn, you may inadvertently cause some damage to the wall during the removal process. Small gouges or tears can be fixed with a joint compound and then sanded smooth.
For more substantial damage, consider seeking professional advice.
Please see our Blog Post on what Mistakes To Avoid When Installing Wallpaper.
5. Wallpaper removal – Conclusion
Wallpaper removal, like any DIY project, comes with its challenges, but the rewards are immense. Not only do you end up with a fresh canvas for your next design adventure, but you also experience the satisfaction and empowerment that comes from mastering a new skill.
With the correct understanding of your wallpaper type, proper preparation, an effective removal process, and a can-do attitude, you can transform your space and make it uniquely your own.
If you need further information please, reach out to us via email and we will be glad to assist you.
BLACK+DECKER 2400 W Wallpaper Steamer Stripper
Removes Vinyl, Multi-Layered, Painted and Textured coatings, KX3300T-GB
6. Featured Related Blog Article


