This post may contain affiliate links which means I may receive a commission for purchases made through links. I only recommend products that I have personally used or curated specifically after reviewing and ensuring its quality! Learn more on my Private Policy page.
1. Introduction
Wallpaper has a transformative ability that can give any room a new look and feel with relatively little effort. However, when it comes to textured wallpaper selection it isa bit more complex than for smooth walls. Textured walls come with their own unique set of challenges, and the wrong choice of wallpaper or textured wallpaper can lead to disappointing results.
We have prepared 72 FAQs for your review to assist you with some key terminology, knowledge, and skillsets for removing, selecting and installing wallpaper of all types.
This brief guide aims to assist you in navigating challenges and common mistakes, offering tips and advice to help you choose the right textured wallpaper for textured walls.
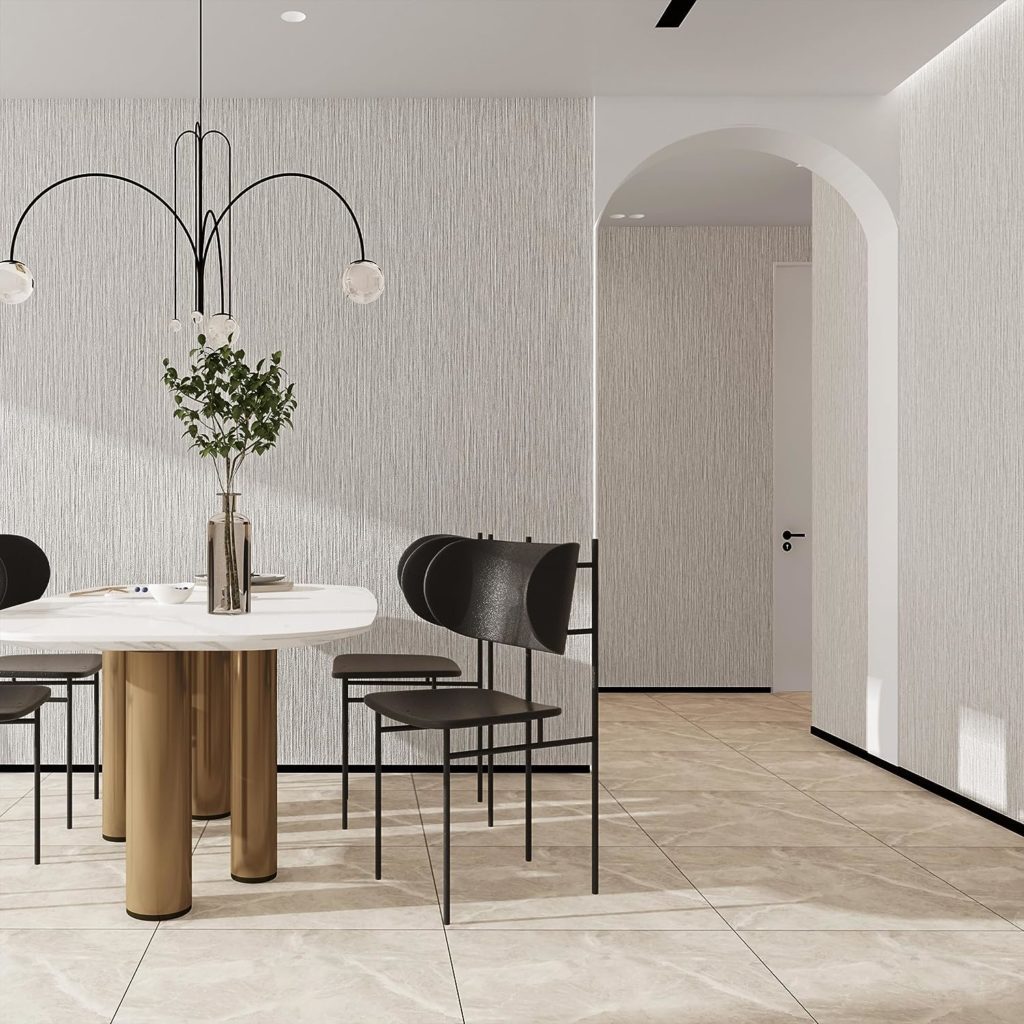
Please note that textured wallpaper can also be used on non textured walls which then adds character to the otherwise plain or unsightly walls.
2. Understanding Textured Wallpaper
Textured wallpaper installation techniques are meant to hide imperfections in walls, especially drywalls. However, their textures can be problematic for wallpaper installation. Their unique attraction is that they are distinct due to their uneven surfaces which creates a three-dimensional effect, offering a sense of depth and character to the room.
This contrasts with flat walls which provide a smooth, uninterrupted surface making for relatively easy installation but imparts a bit less character to the space.
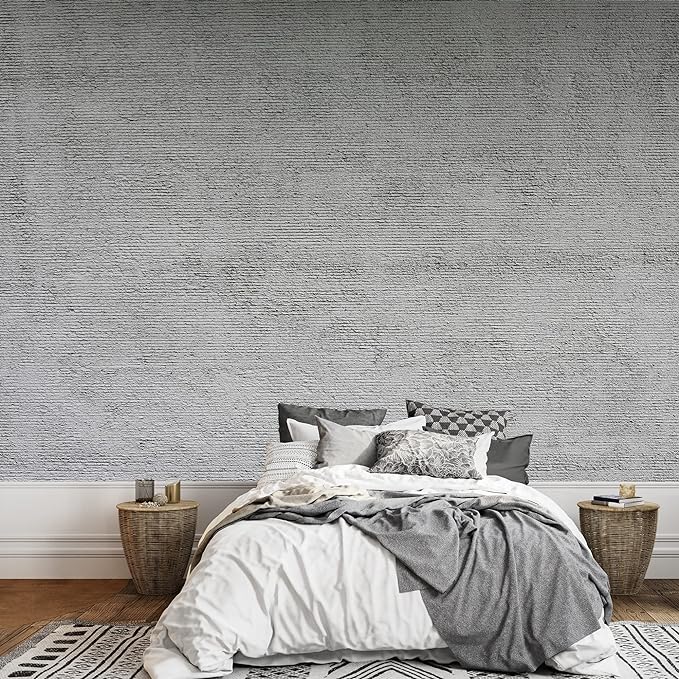
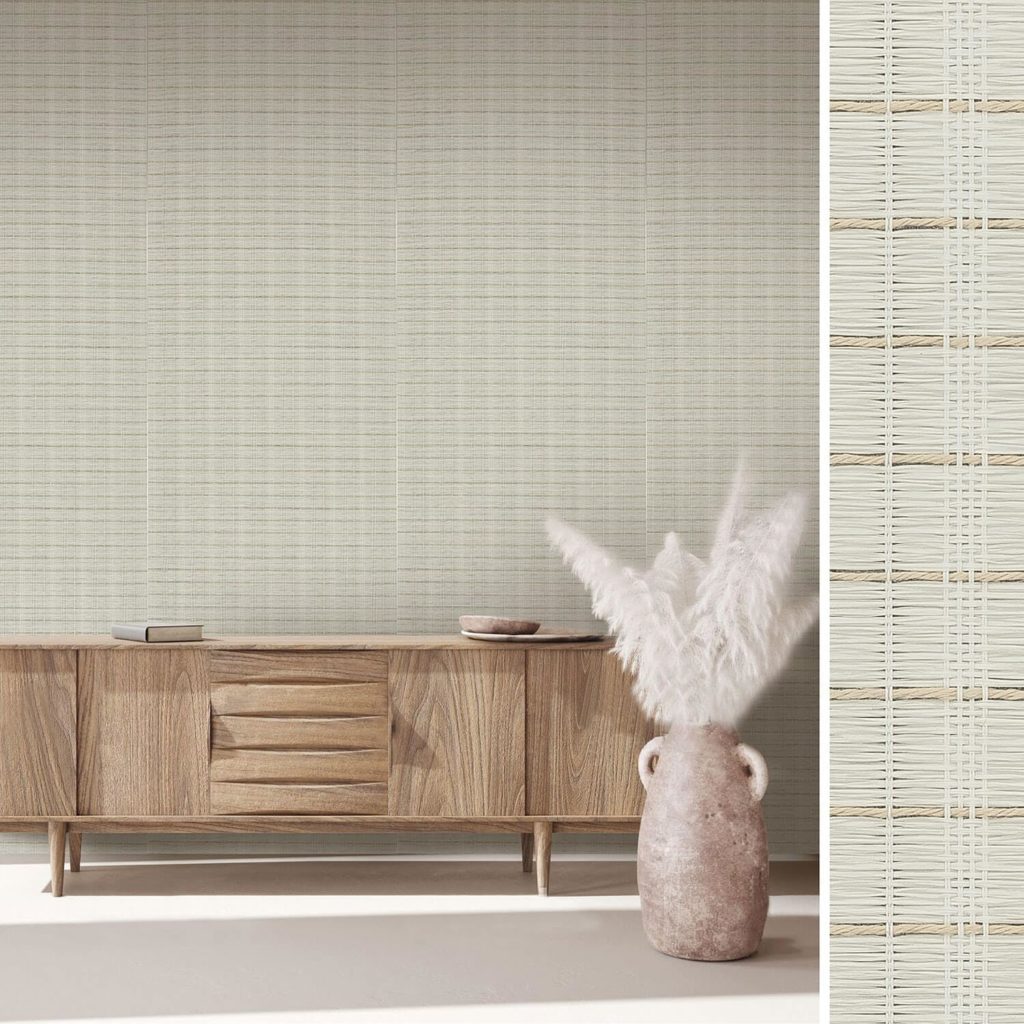
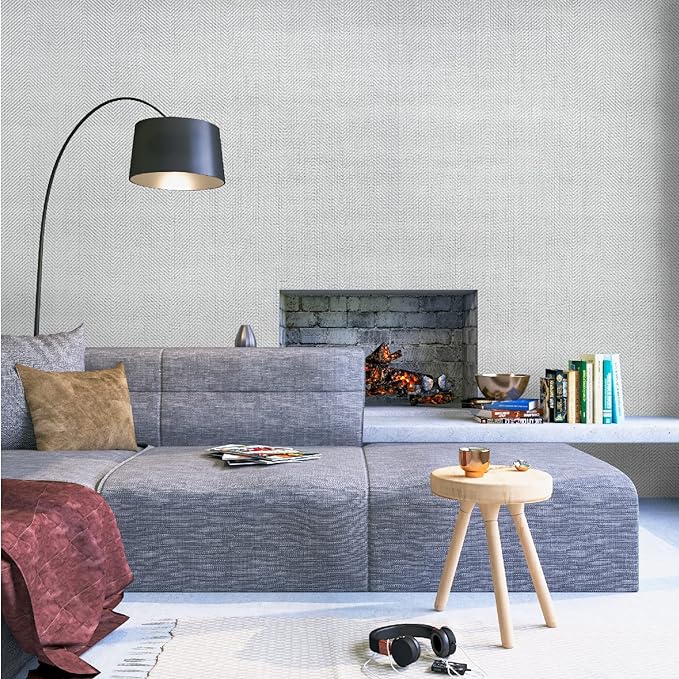
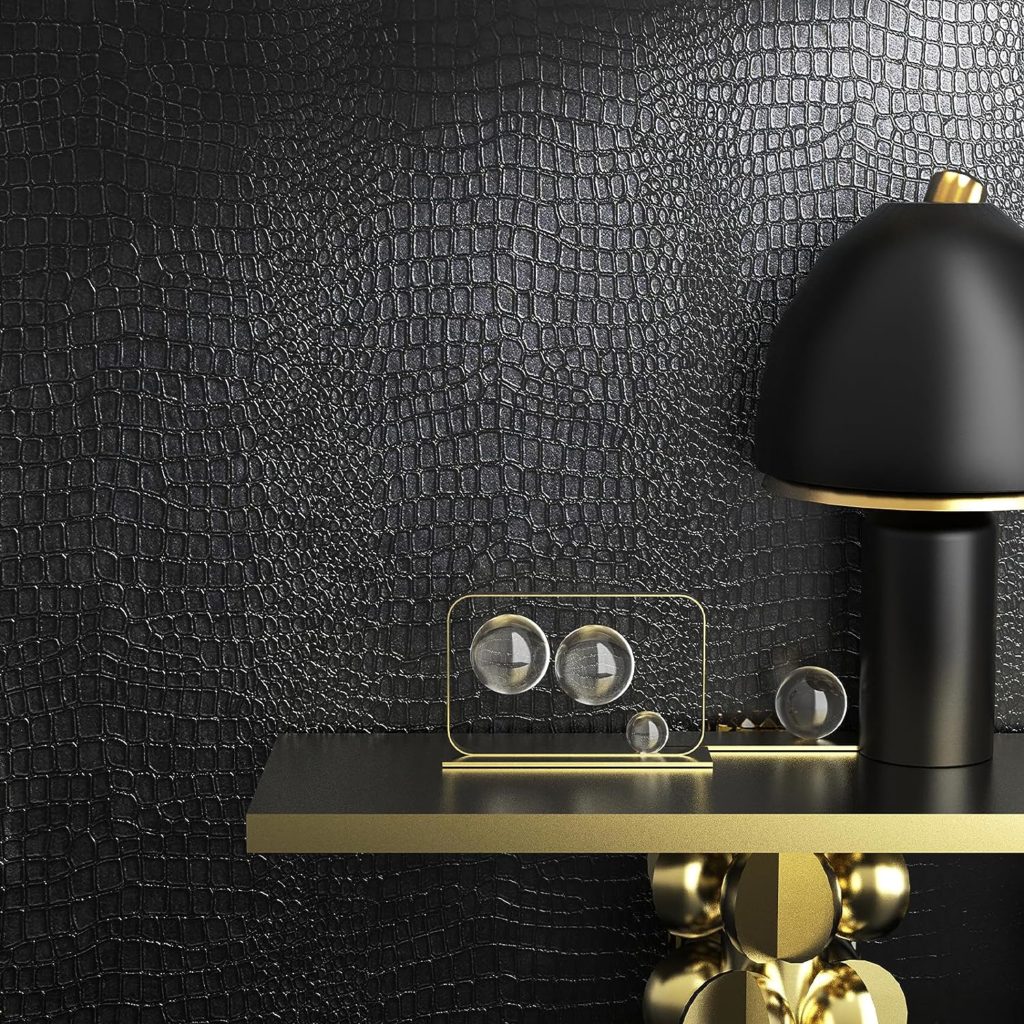
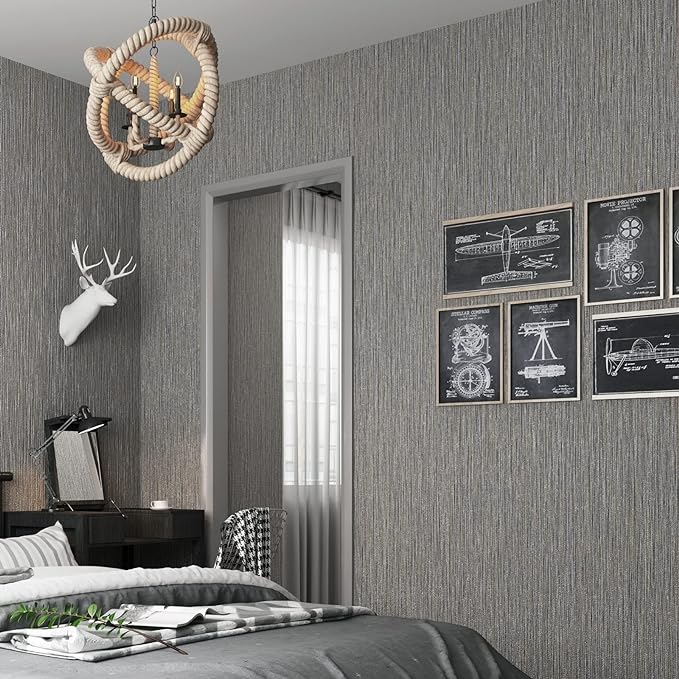
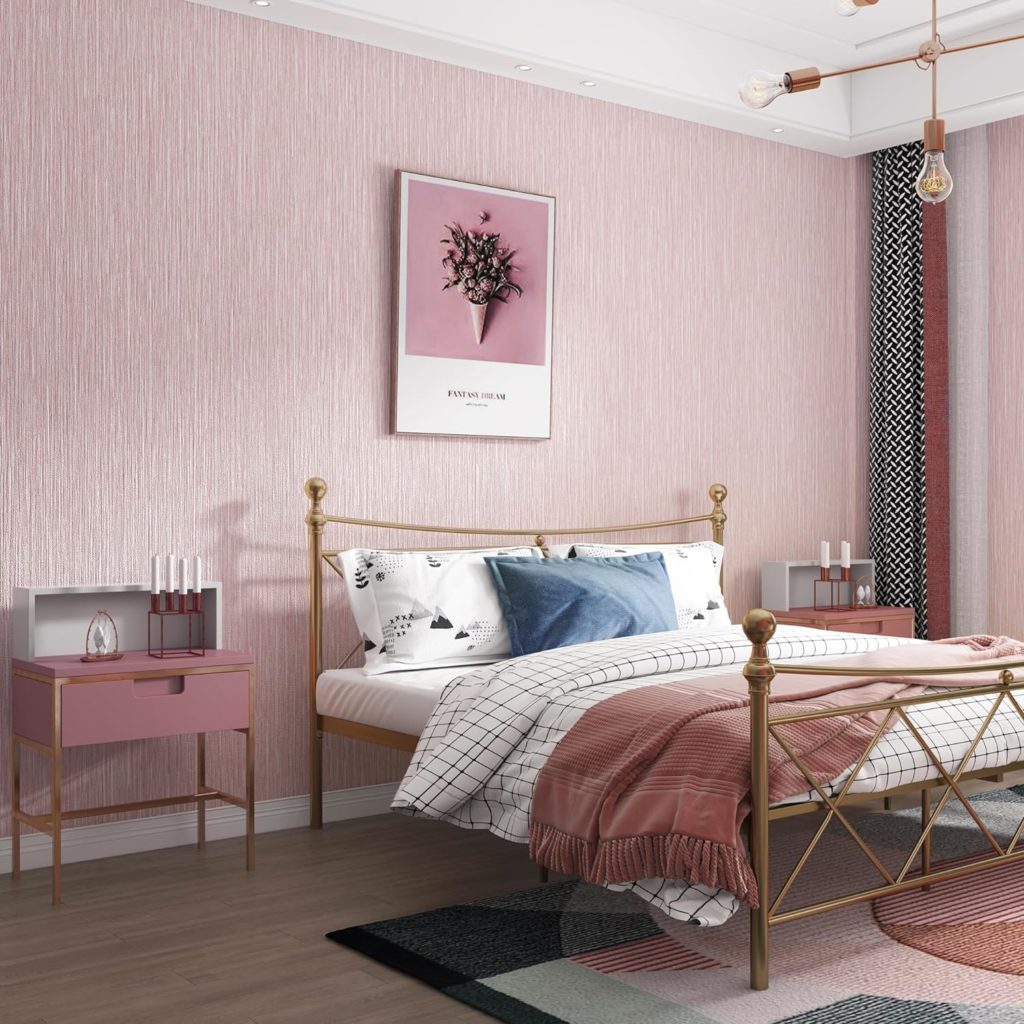
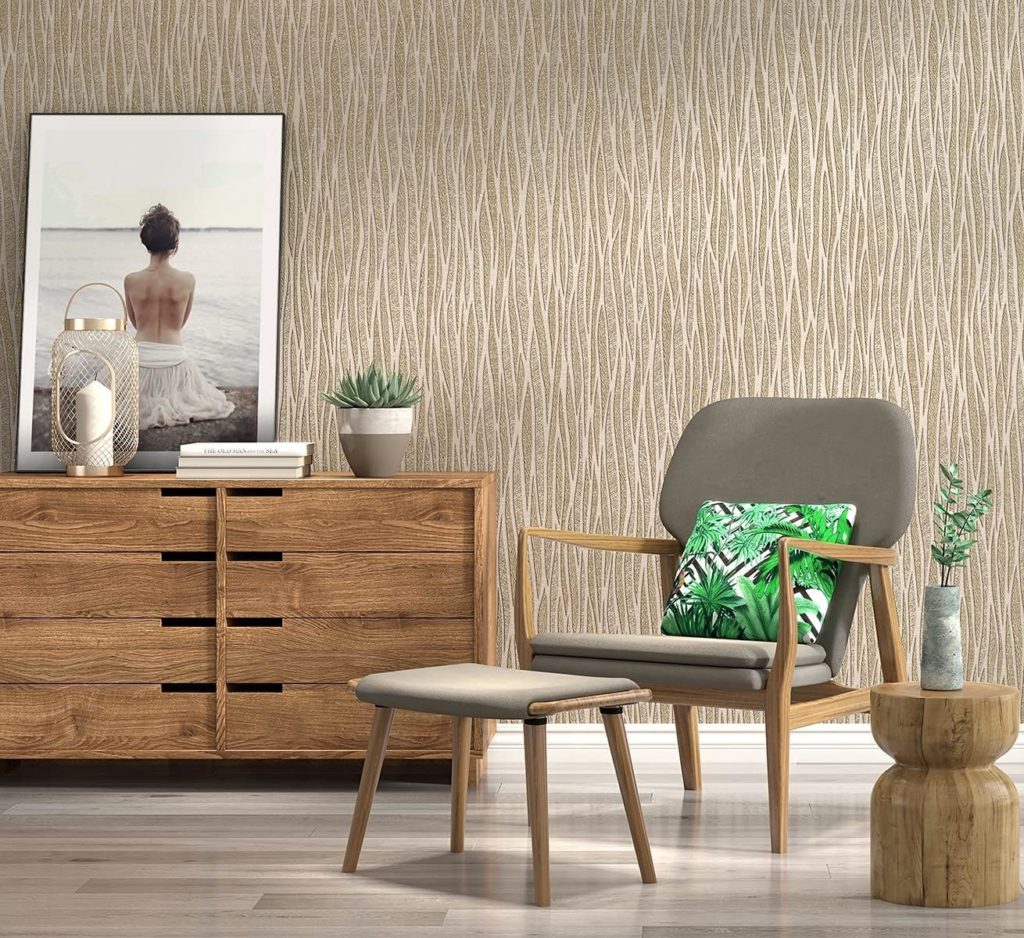
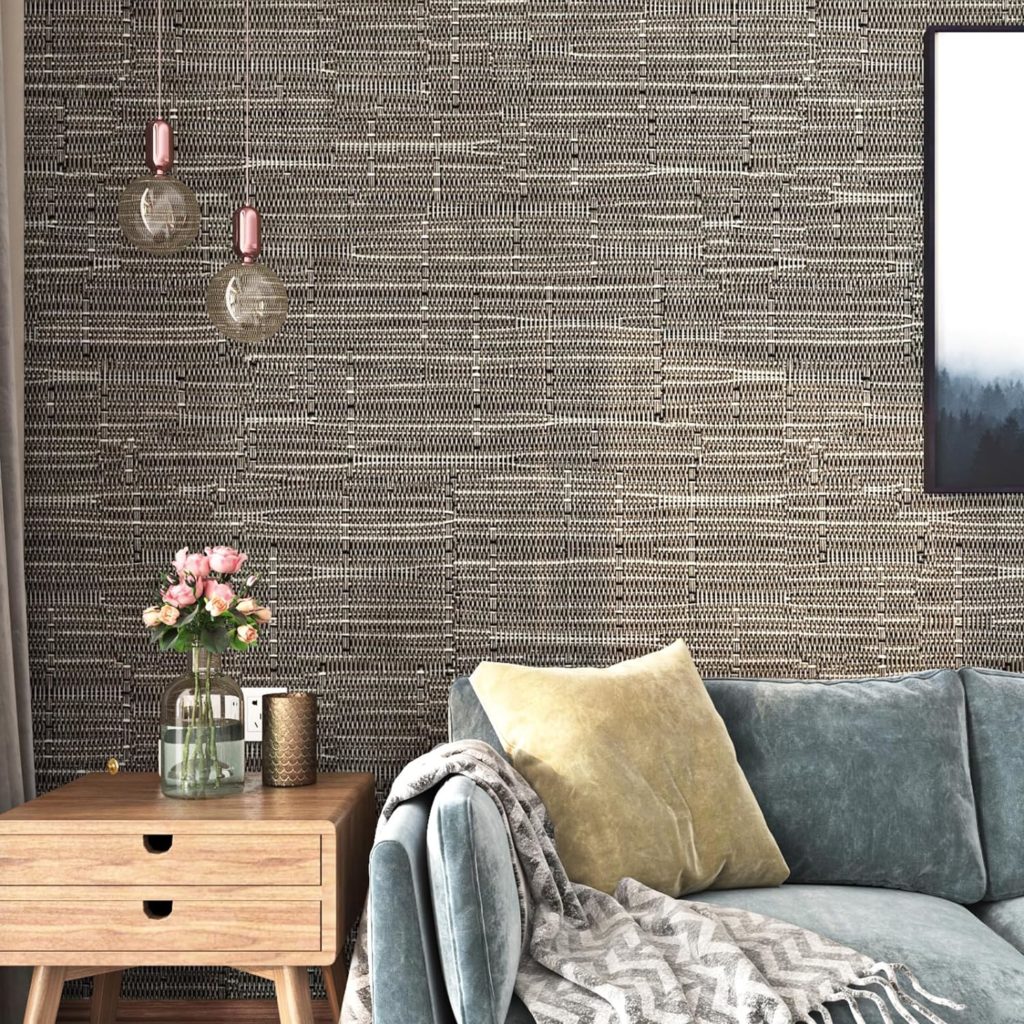
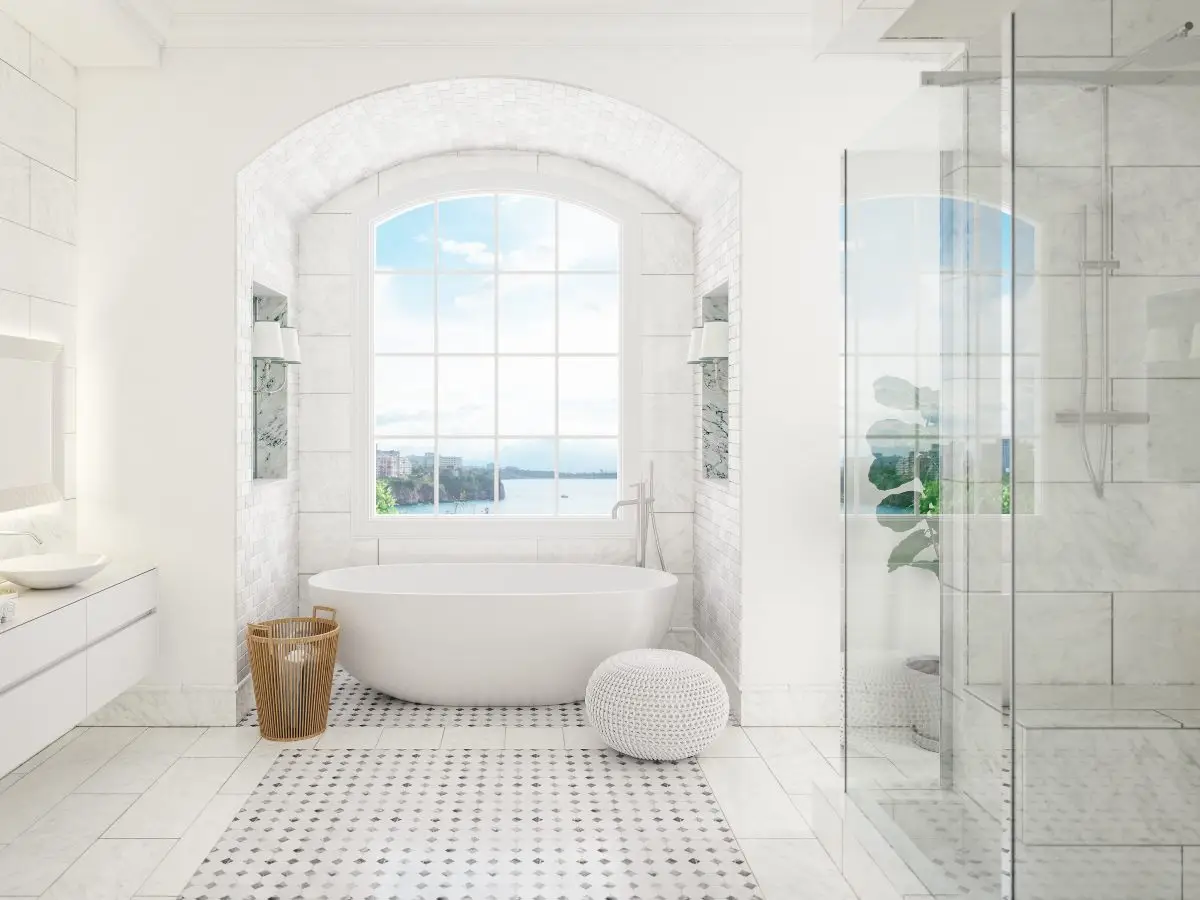
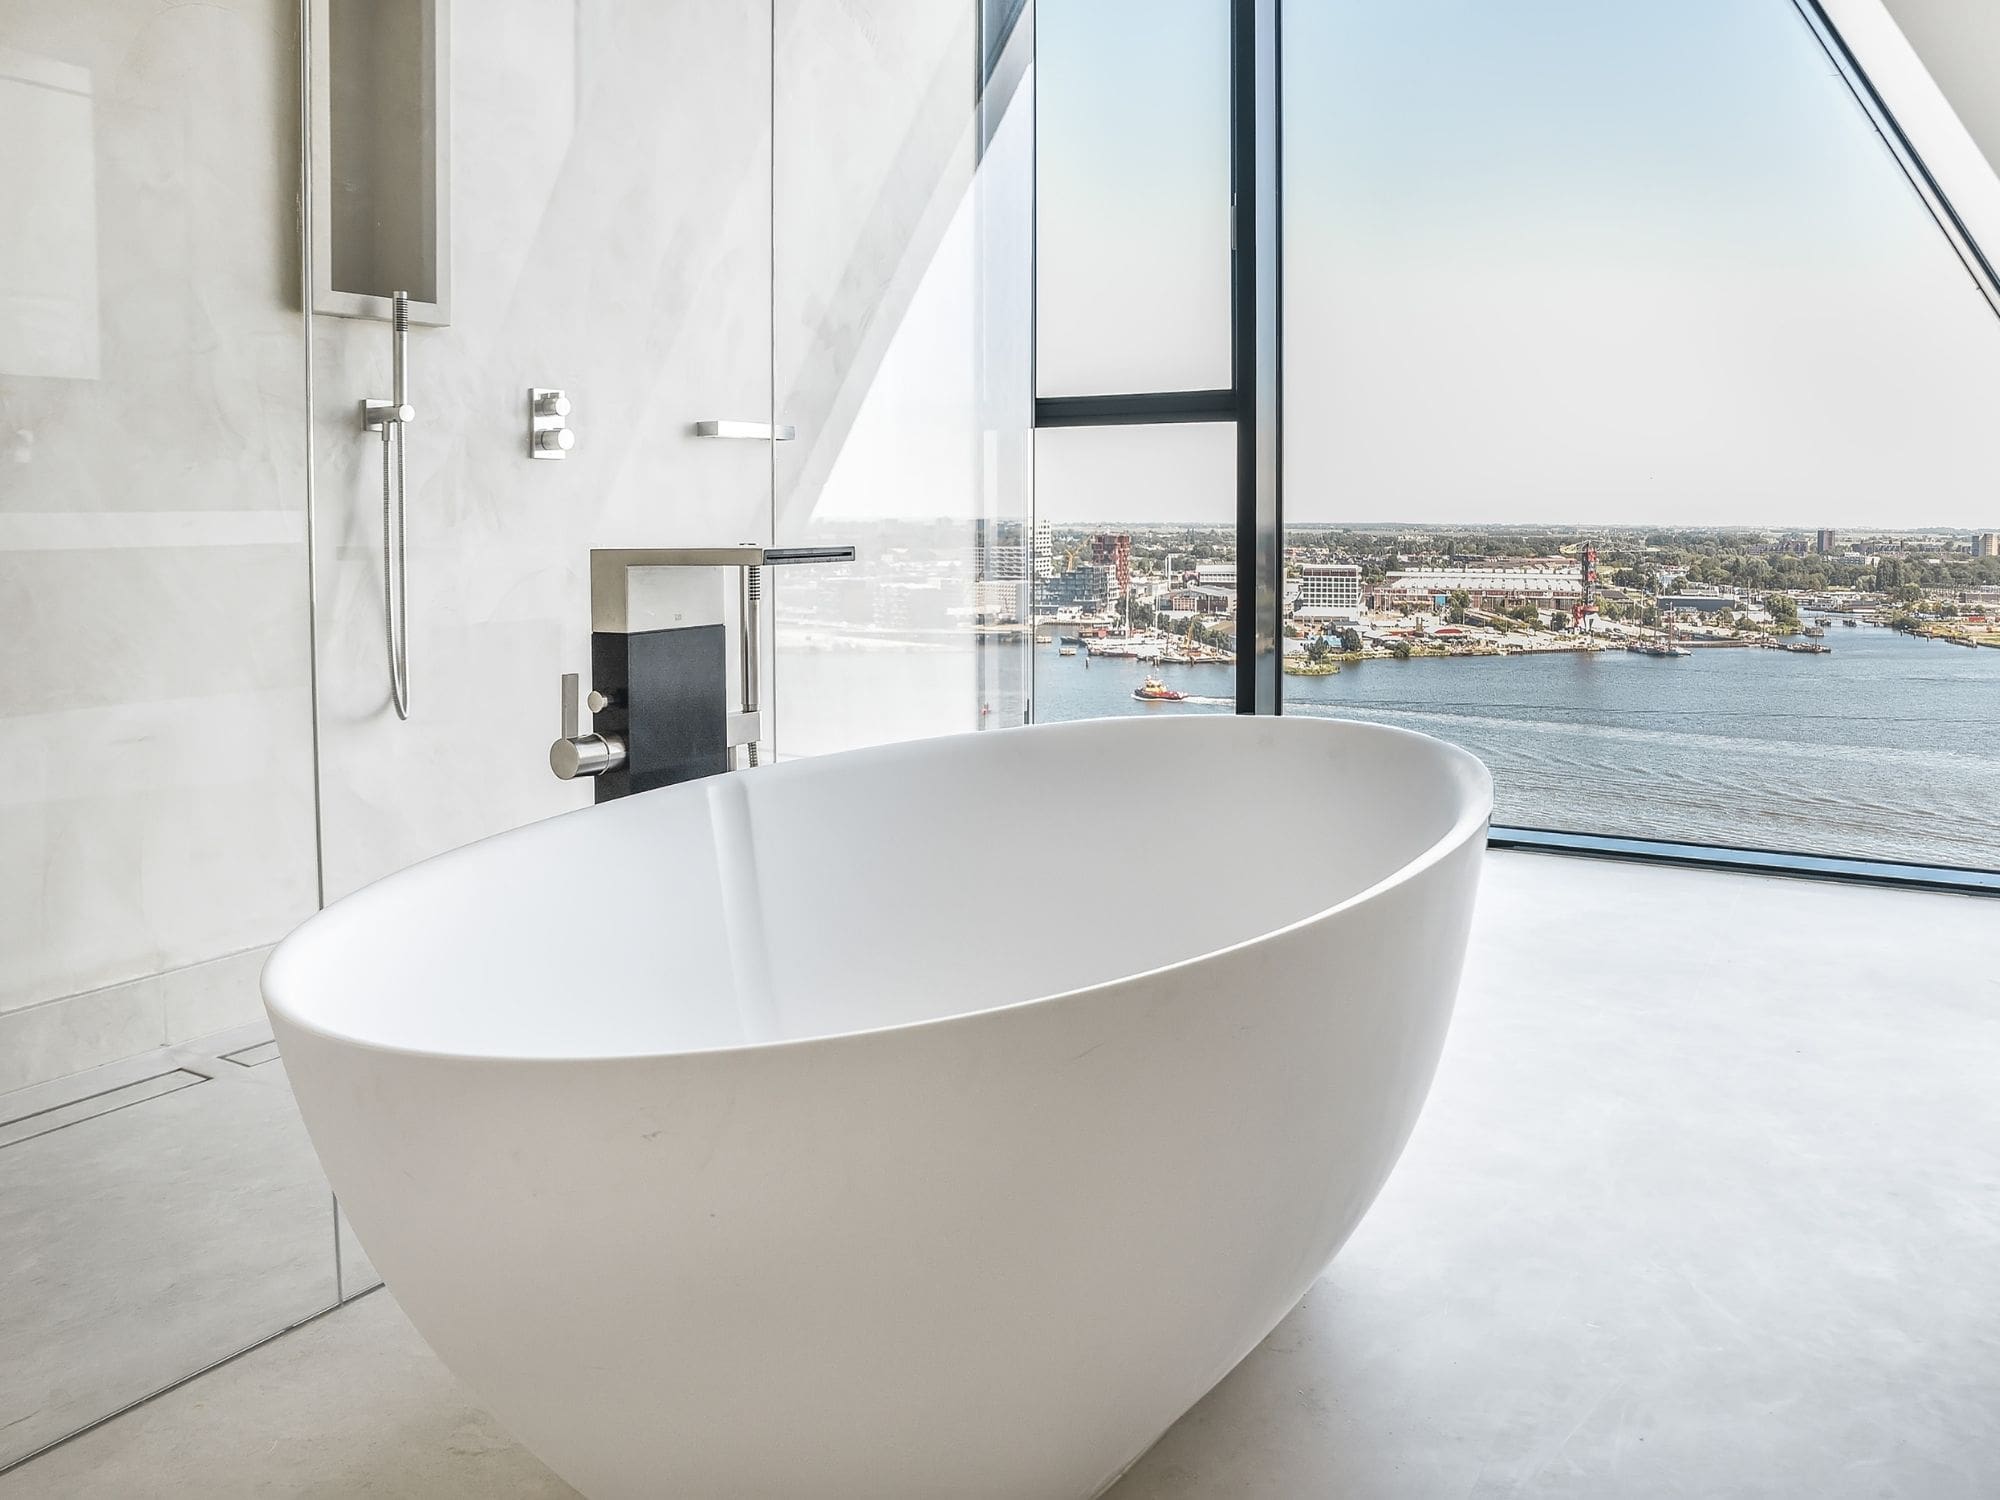
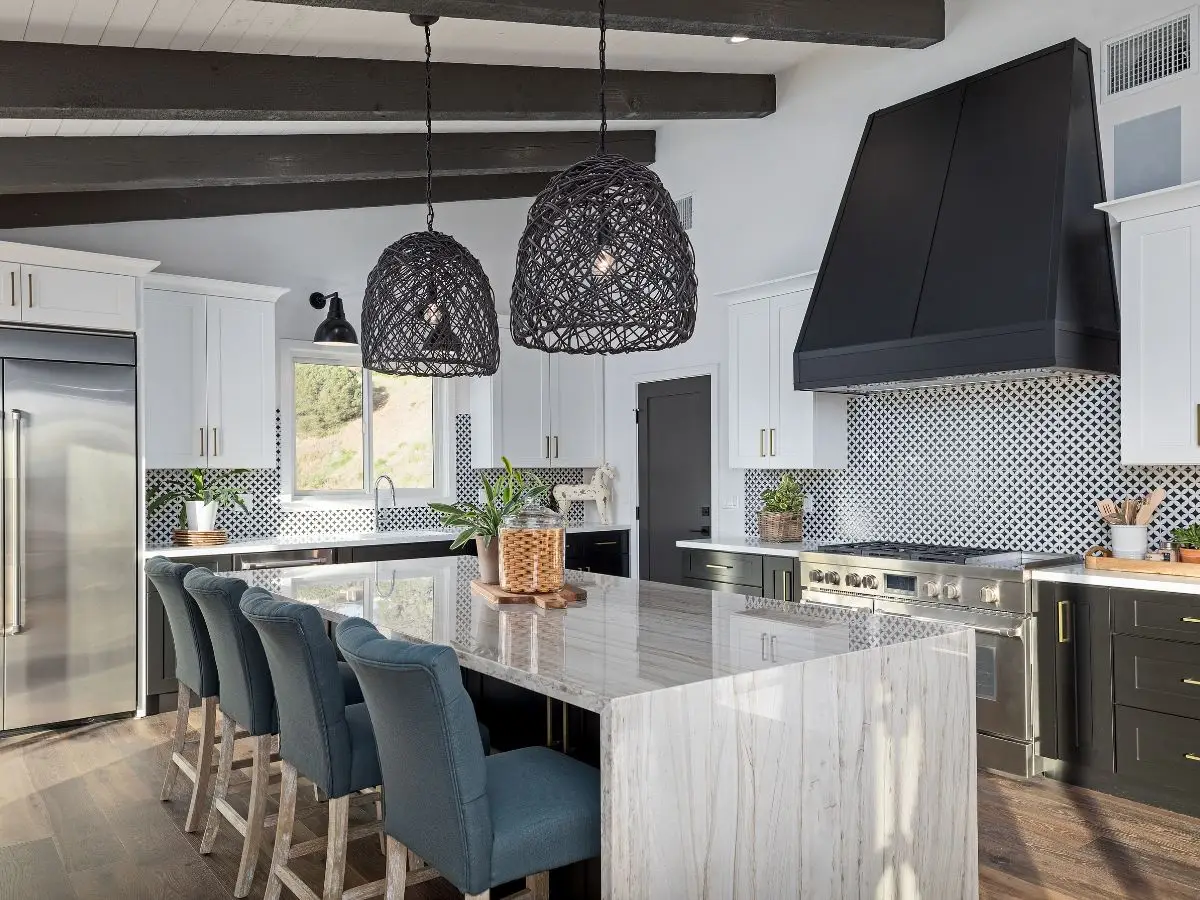
We present a few textured wallpapers for your consideration in this article.
Type of Wall Textures
Textured walls come in many forms, each with a unique look. Here are some of the more common design types:
Knockdown: This texture resembles a stucco finish with raised, rough patches. It’s achieved by applying a layer of joint compound and then “knocking down” the peaks using a trowel.
Orange Peel: Named for its resemblance to the skin of an orange, this texture features tiny bumps and dimples. It’s less pronounced than knockdown texture but still presents challenges for wallpaper application.
Popcorn: This heavily textured finish is often used on ceilings rather than walls. It features large, rounded bumps, giving it a popcorn-like appearance.
Sand Swirl: This elegant finish is created by applying a thick layer of joint compound, then using a brush to create swirling patterns. It offers a moderate level of texture.
Other: Some walls through aging, poor workmanship, or other causes become uneven, pitted or rough and can be wallpapered when remodeling. But some preparation may be required prior to adding the wallpaper.
Aesthetic Challenges
The unique three-dimensional quality of textured walls can become an aesthetic challenge when installing wallpaper. Wallpaper is designed for flat surfaces, and when applied to a textured wall, it can follow the contours of the texture, resulting in a bumpy or uneven appearance.
This effect can detract from the design of the wallpaper and create an undesired visual effect.
For a more detail understanding of the selection of non textured wallpaper please review our Blog Post

Practical Challenges
Beyond aesthetics, textured walls can pose practical issues for wallpaper application. The uneven surface can make it more difficult for the wallpaper to adhere properly. This can result in the wallpaper not sticking to the valleys in the texture, creating air pockets that could lead to bubbling or peeling over time.
Furthermore, the additional surface area created by the texture means that you may require more adhesive to ensure a firm bond.
Understanding the nature of your wall texture is crucial when deciding to wallpaper a textured wall. It impacts not only your choice of wallpaper but also the preparation and installation process. Keep in mind that each texture type might require a different approach to ensure a successful and visually pleasing result.
3. Choosing Wallpaper for Textured Walls
Weight and Thickness
Wallpapers come in various thicknesses and weights. When dealing with textured walls, you’ll want to choose a heavier, thicker option to hide the underlying texture effectively. Keep in mind that although these wallpapers offer better coverage, they can be more challenging to work with during installation due to their weight and rigidity.
The weight and thickness of wallpaper can greatly influence the outcome when covering textured walls.
Heavy and Thick Wallpapers: These types of wallpapers are ideal for textured walls as they are better at concealing the unevenness underneath. They have a robust and durable feel and are often textured or embossed, which adds to their ability to mask wall imperfections. Flocked, foiled, or heavyweight vinyl wallpapers are all examples of this category.
Installation Challenges: Despite their advantageous covering abilities, heavier, thicker wallpapers can pose unique challenges during installation. They can be unwieldy and more difficult to manipulate, particularly when applying on higher areas or around tricky spots like windows and doors.
It’s crucial to use a stronger adhesive for these types of wallpapers to ensure they securely stick to the walls.
For a more detail treatment for the installation of wallpaper please review our Blog Post.
Expertise Required: Additionally, due to the challenges they pose, heavier wallpapers might require a more experienced hand for installation. If you are a beginner DIYer, it might be worth considering hiring a professional or choosing a wallpaper that is easier to handle, like a medium-weight option.
Textured Wallpaper – Pattern and Color
The pattern and color of your wallpaper can significantly impact how visible the wall texture is. Darker colors and complex patterns tend to disguise texture more effectively than light colors and simple patterns.
The latter might cause shadows to form, accentuating the texture beneath. Before making a final decision, request samples of potential wallpapers and test them on your walls to evaluate their effectiveness in masking the texture.
The pattern and color of your wallpaper play significant roles in how effectively they can mask wall textures.
Darker Colors and Complex Patterns: These are typically more successful at concealing wall textures. Darker shades can diminish the appearance of shadows caused by wall unevenness, while intricate patterns can distract and camouflage any textural irregularities.
Testing is Key: However, what works in theory might not always translate in practice. Therefore, it’s essential to request samples of your preferred wallpapers to test against your specific wall texture. You can observe how different lighting conditions throughout the day affect the visibility of the texture under the wallpaper.
Textured Wallpaper – Materials
Material selection is crucial for textured walls. As previously mentioned, vinyl wallpapers are often the best choice. They are durable, moisture-resistant, and more forgiving of irregularities. However, they’re not the only option. Non-woven wallpapers, made from a blend of natural and synthetic fibers, are also a good choice due to their breathability and durability.
The wallpaper material is crucial when dealing with textured walls.
Vinyl Wallpapers: These are often the go-to choice for textured walls. They offer a balance of durability, water resistance, and ease of cleaning, making them suitable for almost any room. In addition, their thickness helps mask wall imperfections.
Non-woven Wallpapers: Another excellent choice for textured walls is non-woven wallpapers. They are breathable, washable, and tear-resistant, which makes them easy to install and remove. Their composition, a blend of natural and synthetic fibers, gives them a good level of thickness and durability.
Delicate Materials to Avoid: Wallpapers made from delicate materials such as silk, grass-cloth, or thin paper should be avoided when dealing with textured walls with pronounced unevenness. These materials tend to be more pliable and can easily reveal the texture underneath, negating the aim of creating a smooth appearance.
However, degrees matter here!. If the wall is not significantly uneven imperfections can add character. You get to play and find what works well aesthetically and visually.
4. Prepping Textured Walls for textured wallpaper
Cleaning and Prepping the Wall
Begin by cleaning the wall to remove any dust or grease if no wallpaper is currently installed. Otherwise wallpaper removal is necessary.
Cleaning: Begin by cleaning the walls with a mild detergent and warm water to remove any dirt, grease, or dust. Rinse with clean water and allow the walls to dry completely.
Repair: Inspect the wall for any cracks, holes, or rough spots. These imperfections should be fixed using a filler or joint compound. Apply it with a putty knife, and then sand the area once it’s dry to create a smooth surface.
Priming: Once the wall is clean and smooth enough, apply a primer. This provides an ideal surface for the wallpaper adhesive to stick to, and it prevents the wall from absorbing too much adhesive. The primer should be applied evenly with a paint roller and allowed to dry completely before proceeding.
Skim Coating
Skim coating is a process in which a thin layer of joint compound (also known as drywall mud) is applied over the entire wall to smooth out the texture. This process can be labor-intensive but worthwhile for highly textured walls.
Skim coating can allow you to be more selective with the type and texture of wallpaper given that the uneven texture of the wall can be reduced significantly of eliminated completely. Follow these steps:
Mix the Joint Compound: Start by preparing your joint compound. It should have a consistency similar to pancake batter. You can adjust the thickness by adding a small amount of water and mixing thoroughly.
Application: Use a wide drywall knife or trowel to apply the compound to the wall. Start from the top and work your way down, applying a thin, even layer. Try to keep the layer as smooth as possible, but don’t worry if it’s not perfect – you’ll be sanding it later.
Please below video for details illustration of How to Skim Coat a Wall
Wipe down the wall with a damp cloth to remove dust after sanding. Drywall sanding can be a dusty process so take care to prepare and protect the space and wear the write protective gear.
Drying and Sanding: Allow the joint compound to dry completely. This could take anywhere from a few hours to overnight, depending on the thickness of the coat and the humidity in the room. Once it’s dry, use a fine-grit sandpaper to smooth out any bumps or ridges.
Refer to above video for demonstration.
Repeat if Necessary: If the wall isn’t as smooth as you’d like, repeat this process until you’ve achieved your desired level of smoothness. This might be necessary if your wall was heavily textured.
Click Image
5. Wallpaper Installation On Textured Walls
Sizing
Before you start applying wallpaper, it’s essential to apply a ‘size’ or wallpaper primer. The size helps seal the wall and provides a smoother surface for the wallpaper to adhere to. It also prevents the wall from absorbing the adhesive too quickly, which can cause the wallpaper to peel or bubble.
Mix the size as per the manufacturer’s instructions. Use a roller or brush to apply it evenly across the wall, and let it dry completely before applying the wallpaper. Apply the size using a paint roller.
Lining
For walls with heavy texture, using a lining paper can be beneficial. This thick, plain wallpaper is hung on the wall before the decorative wallpaper, providing a smoother surface for the wallpaper to adhere to. Measure and cut the lining paper as you would regular wallpaper.
Apply adhesive to the back, position it on the wall, and smooth it out to remove any bubbles or wrinkles. The lining paper should be hung vertically if your wallpaper will be hung in the same direction, or horizontally (“cross-lining”) if you’re using a heavy or embossed wallpaper.
Adhesive
Choose a high-quality, heavy-duty adhesive for textured walls. Even if your wallpaper is pre-pasted, adding an extra layer of adhesive will provide a stronger bond and reduce the risk of peeling or bubbling. Apply the adhesive using a roller or brush, ensuring a consistent, even layer.
Technique
During installation, start at the top of the wall and work your way down, smoothing the wallpaper out from the center towards the edges. This will help to eliminate any air bubbles. Be careful not to overwork the paper, as this can cause it to stretch or tear.
After the wallpaper is in place, use a wallpaper smoothing tool to ensure it is firmly adhered to the wall.
For FAQs related to the treatment and installation of wallpaper please review our Blog Post – Click Image (Part – 2) below.
Choosing the right wallpaper for textured walls involves many considerations, from the type and color of the wallpaper to the preparation and installation process. However, with careful planning and attention to detail, you can achieve a beautiful result that complements your home décor and lasts for many years.
6. Textured Wallpaper – Conclusion
Choosing the right wallpaper for textured walls is not a decision to take lightly. Understanding the nature of your walls and the impact of your wallpaper’s weight, pattern, color, and material is key. Equally important is the preparation of your walls and the correct installation techniques.
To review Dos, Don’ts and other mistakes when installing wallpaper please review our Blog Post.
By considering these factors, you can turn a potentially tricky DIY task into an achievable and rewarding project. The result will be a beautifully transformed space that reflects your personal style and stands the test of time.
Remember to take your time during the textured wall papering installation process. It might seem like a lot of work, but the result is a beautiful, long-lasting transformation of your space.
Featured Related Blog Article


