This post may contain affiliate links which means I may receive a commission for purchases made through links. I present shower tiles ideas and products that I have curated specifically after reviewing and ensuring its quality! Learn more on my Private Policy page.
Shower Tiles – Materials and Their Properties
In a bathroom environment, selecting the right tile material is foundational. Tiles must withstand constant moisture, resist mold and mildew, and ideally complement the bathroom’s intended style. With a wide variety of materials available, understanding each option’s qualities is essential for ensuring longevity and visual appeal.
Porcelain and Ceramic Tiles: Porcelain and ceramic remain among the most popular choices for bathroom projects, and for good reason. Porcelain tiles are denser, making them more water-resistant and durable, ideal for high-moisture areas like showers. Ceramic, while slightly less water-resistant, offers a more extensive range of colors and styles, allowing for creative freedom. Both types of tiles are relatively DIY-friendly—requiring standard cutting tools and adhesive—and provide a professional finish with minimal expertise.

Glass Tiles: Glass tiles, prized for their reflective qualities, can create a sense of spaciousness within smaller showers. However, their fragility makes installation tricky, particularly for DIYers. To ensure a flawless finish, apply thin-set mortar with precision, and always handle with care to avoid cracks. Their maintenance is easy, as they resist stains and water penetration, but it’s wise to reserve glass for accents rather than expansive surfaces due to the risk of chipping over time.

Natural Stone (Marble, Slate, Travertine): Natural stones introduce an element of luxury, each tile uniquely patterned, offering organic appeal. Marble, for instance, with its veining, is elegant, though prone to etching and staining in a shower environment unless meticulously sealed. Slate and travertine, though more durable, also require regular sealing to prevent water damage. If choosing natural stone, a DIYer should invest in appropriate sealing solutions and expect more involved maintenance to preserve the material’s luster and integrity.

Metallic Tiles: For a modern or industrial look, metallic tiles—typically made from stainless steel or copper—offer distinct texture and sheen. Due to their susceptibility to scratching and tarnishing in high-moisture areas, these tiles are better suited as accents. DIYers should use specialty adhesives and cutting tools for metals to achieve clean, professional results.

Mosaic Tiles: Mosaics are fantastic for adding intricate detail and design complexity, making them a favorite for shower niches or accent walls. Often pre-mounted on mesh sheets, mosaic tiles simplify alignment for DIY installations but require careful grouting to avoid overfill and ensure proper spacing. Consider mosaics for strategic areas to introduce detail without overwhelming the space.

Shower Tiles – Choosing the Right Color Palette for Your Bathroom Style
Color plays an instrumental role in shaping a bathroom’s atmosphere, and recent trends reflect an evolving preference for both classic neutrals and bold, statement hues. Selecting the right colors is as much about personal style as it is about the bathroom’s overall spatial dynamics and lighting conditions.
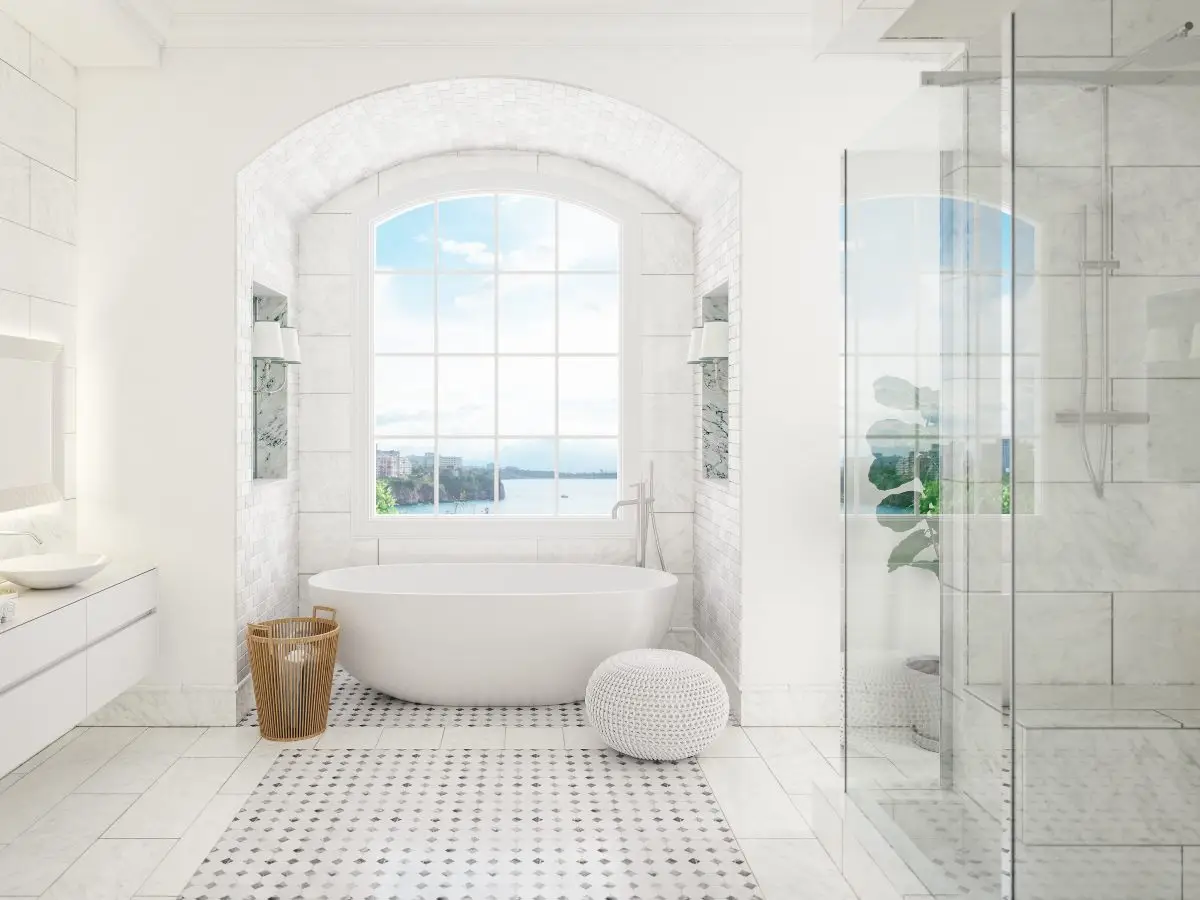
Neutral Tones (Grays, Whites, Beiges): Neutral colors dominate modern bathroom design, creating a canvas that feels clean and timeless. Grays and whites visually expand smaller spaces, while beige can introduce warmth. Using variations within one neutral palette—like pairing light gray walls with dark gray floors—adds depth and avoids a flat appearance. For homeowners, neutrals offer flexibility and a design that won’t quickly feel outdated.

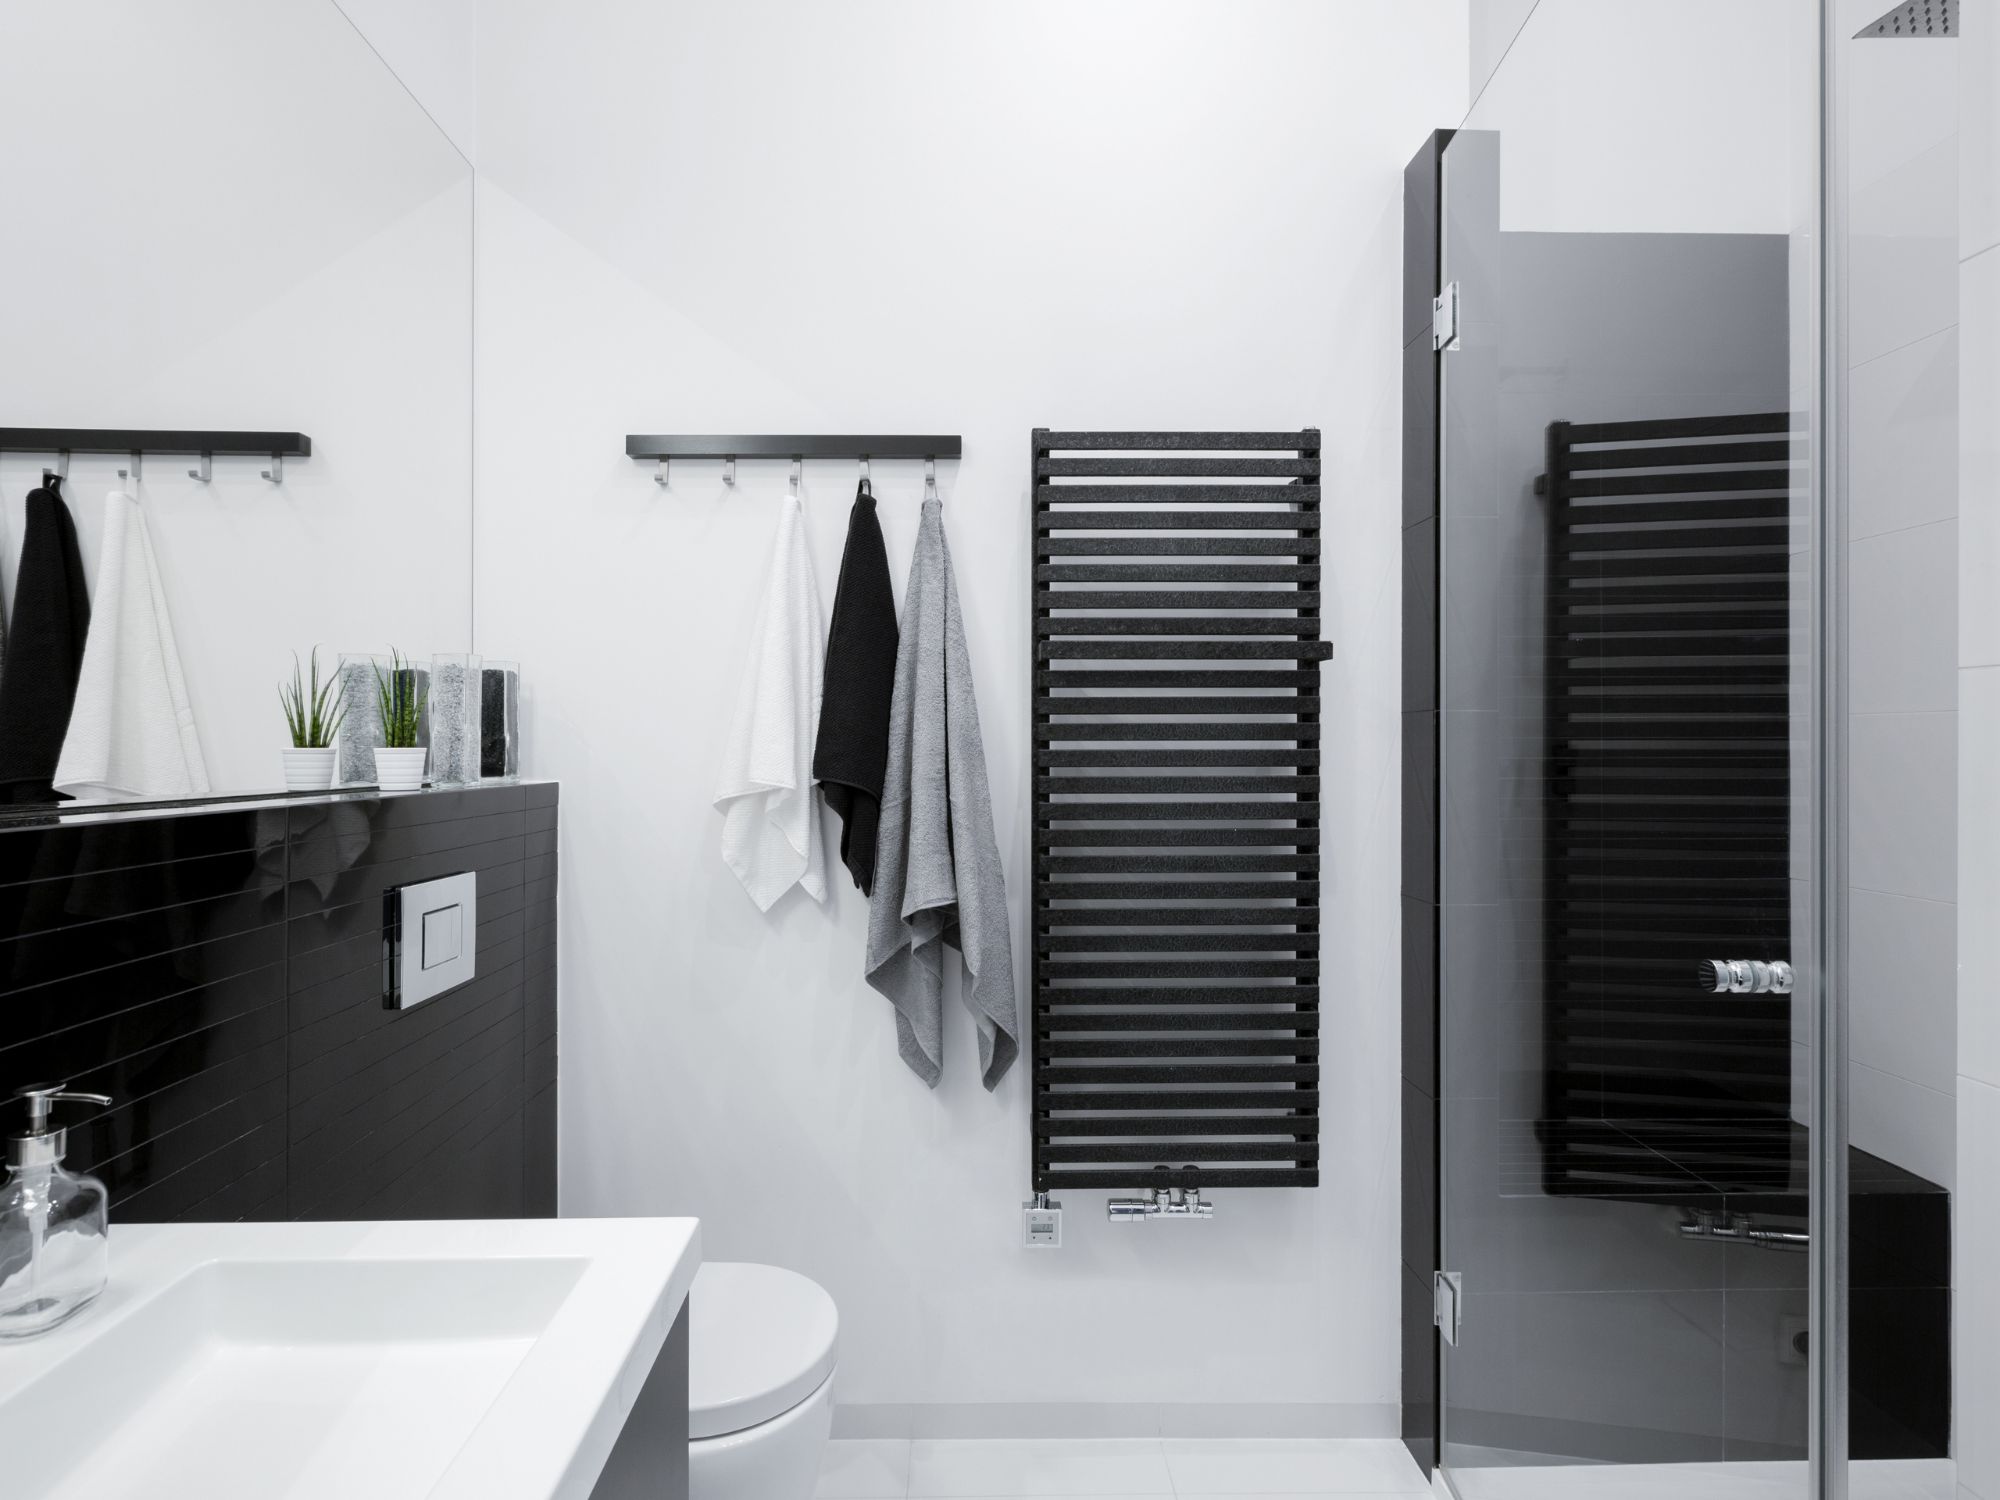
Bold and Dark Colors (Navy, Black, Deep Greens): Dramatic colors are on the rise, transforming bathrooms into more intimate and striking spaces. Navy and black tiles, particularly in matte finishes, provide a contemporary look but require strategic lighting to prevent the room from feeling closed in. Pairing dark tiles with contrasting grouts or accent tiles in brighter tones can add visual interest and structure.

Earthy Hues (Terracotta, Rust, Sage): Earth tones are increasingly popular for their grounding, organic appeal. Sage greens and terracotta bring nature-inspired colors into the bathroom, fostering a spa-like ambiance. Pair these colors with natural wood or stone to deepen the organic aesthetic. Earthy palettes can add warmth and texture, making them perfect for rustic or boho-styled bathrooms.

Vibrant Accent Colors: Adding accents in vibrant shades—like turquoise or mustard—infuses a sense of personality. Accent colors can be confined to one area, such as a niche or backsplash, to keep the look cohesive. Bright colors are best paired with neutral surroundings to allow the accents to pop without overwhelming the space.

Color Psychology and Style Matching: When choosing colors, consider the intended mood. Cooler tones like blue and gray are calming, perfect for minimalist or modern styles. Warmer tones like beige and rust enhance warmth, suiting rustic or traditional aesthetics. Matching colors to your style creates a harmonious environment, and DIYers should test paint samples in different lighting to confirm they achieve the desired look.
Shower Tiles – Using Patterned Tiles for Visual Impact
Tile patterns add a visual element that can transform a shower space from simple to sophisticated. Patterns can be achieved through tile shapes, colors, or even textures, each creating a unique effect within a bathroom.
Geometric Patterns: Shapes like hexagons, diamonds, and herringbone are visually captivating and add a sense of movement. Hexagonal tiles, for instance, evoke modern and vintage styles, while herringbone offers a timeless appeal. DIYers should consider pre-laying tiles to verify alignment, as small errors can disrupt the pattern’s continuity.

Moroccan and Mediterranean Patterns: These intricate designs bring a world of color and charm to a bathroom, offering an exotic flair. Limiting patterned tiles to one area, like an accent wall or floor, keeps them from overpowering the space. Given their intricacy, careful planning is necessary, as even slight misalignment will be noticeable.

Subway Tile Patterns: A classic choice, subway tiles offer endless pattern options—whether staggered, stacked, or vertically aligned. Vertical stacks create height, ideal for smaller showers, while staggered brick patterns add texture. DIYers will find subway tiles user-friendly, as they align well with simple spacers and basic cutting tools.

Textured Tiles: Textured tiles, including 3D effects, add depth and dimension. These tiles are best placed where they can be seen and appreciated, such as on shower feature walls. DIYers should handle textured tiles carefully to avoid breakage and use grout sparingly to preserve their relief.

Custom Mosaic Patterns: Custom mosaics offer an unparalleled opportunity for personalization. By combining shapes and colors, DIYers can craft designs that reflect personal style. While challenging, the results are rewarding; with pre-planning and mesh sheets, achieving custom mosaics becomes a realistic goal.
Practical Considerations for DIY Installations
When it comes to DIY tiling, preparation and execution are paramount to a professional finish. Detailed attention to each step—from planning and waterproofing to cutting and grouting—ensures longevity and quality.
Planning and Measuring: Begin with precise measurements and map out a tile layout. Laying out tiles in advance provides a clearer vision, helping DIYers spot potential issues early. Tile spacing tools and chalk lines can aid in keeping everything aligned.

Waterproofing and Substrate Preparation: Waterproofing is critical in wet areas. Applying a waterproofing membrane over cement boards and sealing joints ensures water doesn’t seep through to structural components. DIYers should double-check coverage and allow adequate curing time for the best results.

Tile Adhesive Selection: Choosing the right adhesive depends on tile material and substrate. Thin-set mortar is ideal for shower walls, while pre-mixed adhesives simplify the process for small areas. Applying the adhesive in even layers with a trowel ensures firm tile adherence.

Grouting Techniques: Proper grout application is essential for a clean, finished look. Choose grout color to either blend or contrast with the tile, depending on the desired effect. For ease, work in small sections, pressing grout firmly into joints, then wiping excess with a damp sponge to maintain clean lines.

Cutting and Drilling Tiles: Glass cutters, tile nippers, and a tile saw are invaluable for achieving precise cuts. For drilling into tiles (especially delicate ones like glass), diamond drill bits are recommended to prevent cracks. Practice on spare tiles to avoid costly errors.

DIY Mistakes to Avoid: Common mistakes include using too little adhesive, skipping waterproofing, or rushing grout applications. Taking time to properly level and align each tile, following drying times, and applying even pressure during installation are key to avoiding these pitfalls.
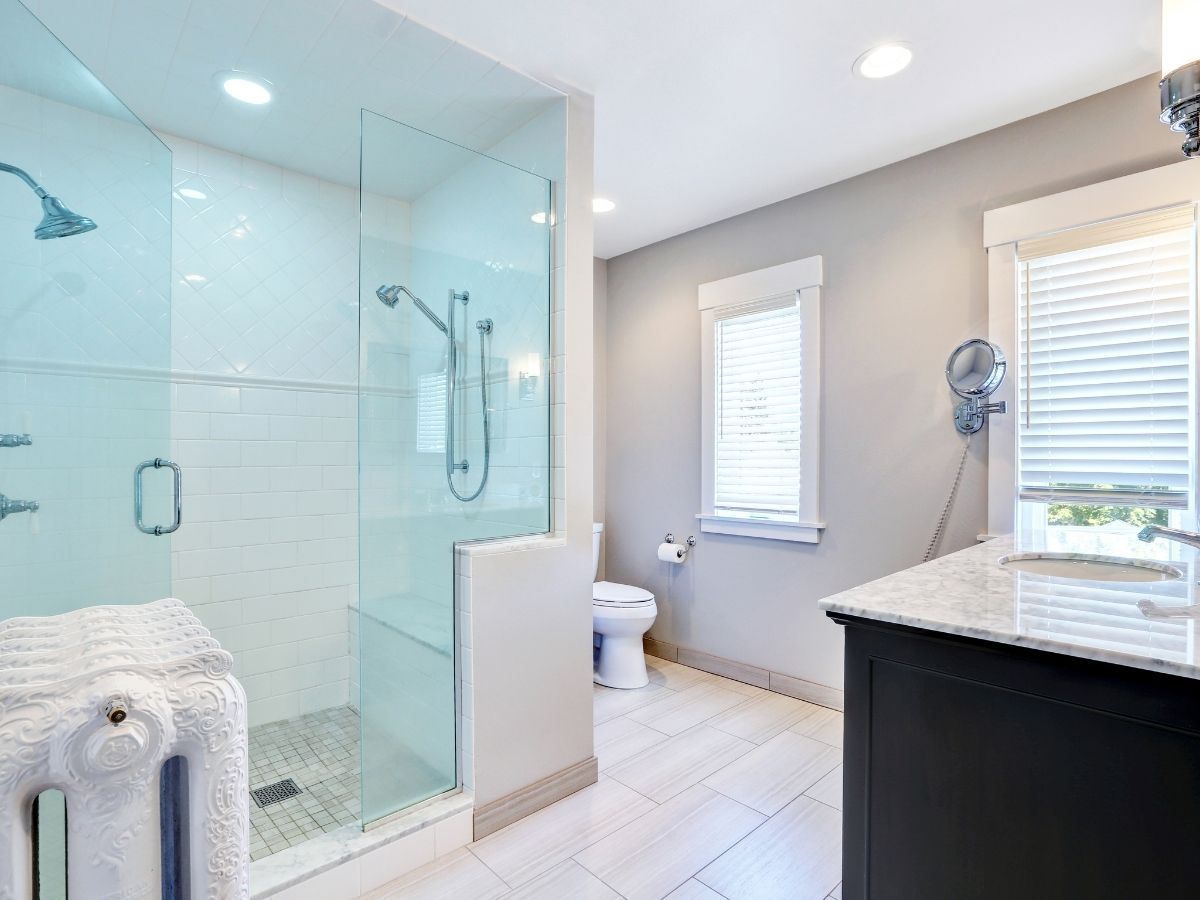
Grout and Sealant Choices: Enhancing Durability and Aesthetic Appeal
Grout and sealants serve as both functional and aesthetic components in any bathroom tiling project. They help secure tiles, protect from water damage, and contribute to the final look of the space. Careful selection and application of grout and sealant can significantly affect both the appearance and longevity of a shower tile installation.
Grout Types and Colors: Grout comes in sanded and unsanded forms, as well as epoxy-based and cementitious types. Unsanded grout is generally preferred for tighter joints (1/8 inch or less), while sanded grout suits larger gaps, offering a firmer hold. Epoxy grout, though more expensive and challenging to apply, provides unmatched water resistance, making it an excellent choice for showers. Color-wise, grout can either blend in for a seamless look or contrast to make tiles pop. Neutral-colored grout, such as white or gray, is a classic choice, whereas black or colored grout can add a bold, modern edge.

Application Tips: Before applying grout, ensure tiles are completely dry and clean to avoid smudges or stains. Using a rubber grout float, press grout into the joints with a firm, even hand to prevent air pockets, which can lead to cracking over time. After applying, wipe the tiles with a damp sponge in a diagonal motion to remove excess grout, being careful not to disturb the joints. For DIYers, patience is crucial—grouting should not be rushed, and tiles should be re-wiped with a dry cloth post-application to prevent grout haze.

Sealant Types and Application: Grout is naturally porous and requires sealing to prevent moisture infiltration, mold growth, and staining. Penetrating sealers offer longer-lasting protection than surface sealers, as they seep into grout lines and provide deep moisture resistance. In areas like showers, using a high-quality penetrating sealer ensures better durability. Apply the sealant with a small brush or spray applicator, avoiding tile surfaces to prevent a slick, glossy finish. For natural stone tiles, an additional layer of sealer may be needed to protect the tile itself from water damage and stains.

Maintenance and Resealing: Regular maintenance involves resealing grout periodically, especially in high-moisture zones like showers. Homeowners should plan to reseal grout annually to maintain its protective barrier. Cleaning with non-abrasive cleaners also prolongs grout and tile life, keeping the shower looking fresh without compromising the seal.
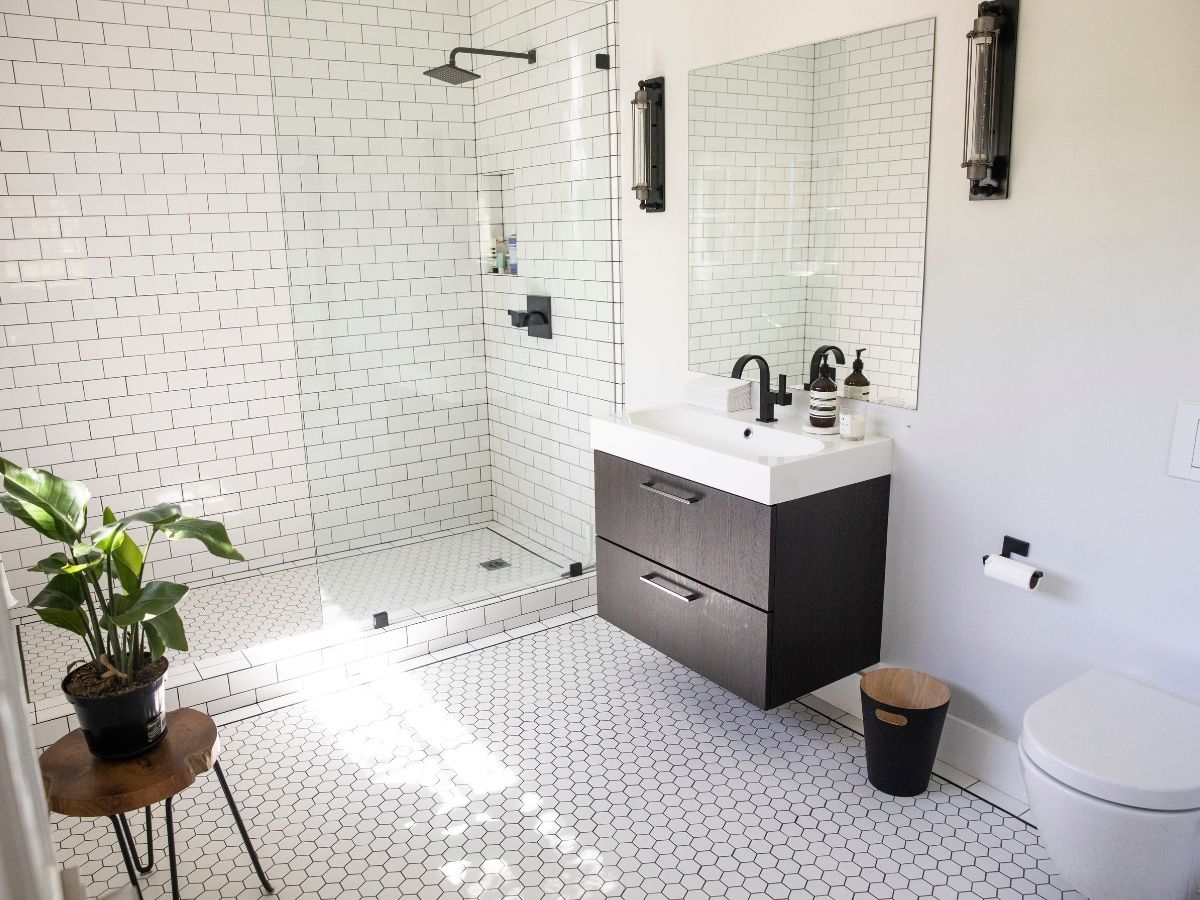
Budgeting and DIY Resources: Ensuring a Cost-Effective and High-Quality Result
A realistic budget and access to quality resources are key components of a successful DIY bathroom remodel. Budgeting allows for better decision-making, ensuring that every dollar spent aligns with the project’s goals.
Creating a Detailed Budget: Start by itemizing essential expenses, including tile, grout, adhesive, tools, fixtures, and accessories. Allocate funds for each category, keeping a contingency for unexpected costs such as additional waterproofing materials or specialized tools. Breaking down costs by each area (e.g., shower wall, floor, niche) helps homeowners gauge where to allocate more or less based on priorities.

Sourcing Quality Materials: Quality materials are worth the investment, especially in wet areas. Reputable tile suppliers often offer warranties and expert guidance, making them reliable sources. For cost savings, consider online sales, local warehouses, or bulk purchase discounts. However, inspect each tile for quality and color consistency, especially when buying natural stone.

Essential Tools for DIYers: Key tools for a shower tile project include a tile saw, level, grout float, notched trowel, tile spacers, and a measuring tape. Rentals can reduce costs, especially for more expensive tools like a wet tile saw. Familiarizing oneself with tool operation through online tutorials or practice cuts reduces the risk of mistakes and improves results.

Learning Resources and Tutorials: Home improvement websites, YouTube, and tile manufacturer websites often provide step-by-step guides tailored to DIYers. Professional resources from tile associations or industry experts can also provide credible advice on topics like waterproofing, cutting, and layout. These resources can clarify complex steps, building confidence and ensuring each part of the process meets professional standards.

Planning for Unexpected Issues: Factor in potential issues such as uneven walls, incorrect measurements, or unexpected material needs. Leaving room in the budget and timeline for such occurrences reduces stress and prevents the need for rushed fixes. For DIYers, patience and adaptability are key, especially when approaching technical aspects like grout application or sealant selection.
Resources
Bathroom and Shower Tile DIY Resources
| Video Title | Web Address |
|---|---|
| How To Tile A Shower | From A to Z | Watch on YouTube |
| How to Tile a Shower | Tile Prep and Installation | Watch on YouTube |
| How To Tile A Shower | Start To Finish Walls | Watch on YouTube |
| Shower Tile Installation | Step-by-Step Guide | Watch on YouTube |
| How to Tile a Shower | The Home Depot | Watch on YouTube |
Bathroom and Shower Tile Sources
| Company Name | Web Address | Range of Products | Operating States |
|---|---|---|---|
| Daltile | daltile.com | Ceramic, porcelain, stone tiles | Nationwide |
| TileBar | tilebar.com | Porcelain, ceramic, stone tiles | Nationwide |
| Marazzi USA | marazziusa.com | Ceramic, porcelain, stone tiles | Nationwide |
| Arizona Tile | arizonatile.com | Porcelain, ceramic, glass, natural stone | Western & Southwestern US |
| Mohawk Industries | mohawkind.com | Ceramic, porcelain, stone tiles | Nationwide |
| Florida Tile | floridatile.com | Ceramic, porcelain tiles | Nationwide |
| Dal-Tile Corporation | daltile.com | Porcelain, ceramic, stone tiles | Nationwide |
| Crossville Inc. | crossvilleinc.com | Porcelain tiles | Nationwide |

Frequently Asked Questions
The best tile for a shower is typically porcelain or ceramic due to their exceptional water resistance, durability, and affordability. Porcelain is denser and less porous, making it highly water-resistant and ideal for both walls and floors. Ceramic is slightly more porous but still works well on shower walls when properly sealed. Natural stone tiles like marble and travertine offer luxury appeal but require frequent sealing and maintenance to prevent staining and water damage.
Glass tiles are excellent for decorative accent walls due to their modern appearance but can be slippery when used on floors. Choose tiles with a slip-resistant finish, especially for shower floors, to enhance safety.
The best cleaning solution for shower tiles is a pH-neutral cleaner, which safely removes dirt, soap scum, and mineral deposits without damaging the tile surface or grout. A homemade solution of equal parts vinegar and water can also be effective but should be avoided on natural stone tiles to prevent etching. Use a soft sponge or brush to scrub the tiles gently, focusing on grout lines where mold and mildew tend to accumulate.
Rinse thoroughly with warm water and dry with a microfiber cloth to prevent water spots and streaks.
Porcelain is generally better for showers because it is denser, less porous, and more water-resistant than ceramic. Its low absorption rate makes it ideal for wet environments like shower walls and floors. Ceramic tiles, while more affordable and easier to cut during installation, are more porous and better suited for less demanding applications such as shower walls.
For the most durable and low-maintenance shower surface, porcelain is the superior choice.
Porcelain tiles are the easiest to maintain due to their non-porous, water-resistant surface, which makes them resistant to stains, scratches, and mold. Larger tiles are particularly advantageous because they reduce the number of grout lines, which are prone to dirt buildup. Darker grout colors can further simplify maintenance by concealing stains.
Choose matte or textured porcelain tiles for floors to minimize the appearance of water spots and streaks.
Porcelain tiles are the best for mold prevention due to their low porosity and resistance to moisture absorption. Glass tiles also resist mold effectively because of their smooth, non-porous surface, which makes cleaning easier. Proper grout sealing and regular maintenance are essential to preventing mold growth.
Additionally, ensure adequate ventilation in the bathroom to keep humidity levels low and further reduce the risk of mold and mildew.
Using ceramic tile in a shower is not inherently bad, especially on walls where water exposure is less intense. However, since ceramic is more porous than porcelain, it must be properly sealed to prevent water damage and mold growth. For shower floors, choose slip-resistant ceramic tiles to ensure safety.
Regular maintenance and resealing of grout lines will help maintain ceramic tile longevity.
Selecting the right shower tile depends on factors like style, budget, and maintenance preferences. Porcelain is a top choice for its durability, water resistance, and low maintenance, making it suitable for both walls and floors. Natural stone adds an elegant, high-end appearance but requires more care and sealing. Glass tiles create stunning accent walls but can be slippery on floors.
Always consider slip-resistant tiles for safety, especially on shower floors.
A well-installed and properly maintained tile shower can last 20 to 50 years or longer. Key factors that affect its lifespan include the quality of installation, the type of tile used, and the regularity of maintenance. Ensuring proper waterproofing, sealing grout lines, and addressing repairs promptly can significantly extend a tile shower’s life.
To determine whether your shower tile is ceramic or porcelain, check the tile’s water absorption rate, which is typically indicated by the manufacturer. Porcelain tiles have a water absorption rate of 0.5% or less, while ceramic tiles absorb more water. You can also tap the tile—porcelain usually sounds denser and less hollow than ceramic. Additionally, the tile’s back may have a marking indicating its type.
Porcelain tiles can be slippery when wet, particularly if they have a polished finish. To reduce the risk of slipping, choose tiles with a textured or matte surface, or look for tiles with a certified slip-resistant rating (COF or DCOF). Many manufacturers offer porcelain tiles specifically designed for wet areas like shower floors.
Porcelain is considered the best material for shower walls and floors due to its water resistance, durability, and low maintenance. Natural stone, such as marble or travertine, provides a luxurious look but requires frequent sealing. Glass tiles work well as decorative accents but can be slippery on floors. Acrylic panels offer a low-maintenance alternative for walls while being easy to clean and waterproof.
Porcelain tiles generally cost more than ceramic due to their higher density, water resistance, and longer lifespan. On average, porcelain tiles range from $3 to $10 per square foot, while ceramic tiles cost between $1 and $5 per square foot. Installation costs may also be higher for porcelain because it is harder and requires specialized cutting tools.
Matte tiles are better for shower floors because they provide superior slip resistance, making the shower safer. Polished tiles are more suitable for shower walls, where they create a sleek, modern appearance and are easier to wipe clean. Consider combining both finishes for a functional and stylish shower design.
Yes, ceramic tile is suitable for shower walls when properly sealed and maintained. Avoid using it on shower floors unless it has a slip-resistant surface. Regular grout sealing and routine cleaning will ensure the tile stays in good condition and resists water damage.

