This post may contain affiliate links which means I may receive a commission for purchases made through links. I only recommend products that I have personally used or curated specifically after reviewing and ensuring its quality! Learn more on my Private Policy page.
Traditional Shelves, Open Shelves and Floating Shelves – How To Install Kitchen Shelving for walls?
The allure of traditional shelves, open shelves or DIY floating shelving for walls, lies in the marriage of imagination, hands-on challenge, and the creative act of visioning and bringing the planned to reality. DIY shelving is where the artistic meets the functional. Shelving from a functional perspective serves either as replacement for upper cabinets used as storage space or simply for display purposes, in which case it serves as an aesthetic feature in the room.
Cabinet space is still an important feature of most kitchens but a floating lower shelf or total replacement of cabinets in favor of shelves is an emerging elegant trend that adds to the look and feel of kitchens.
Any seasoned DIY enthusiast knows that successful projects, especially those involving kitchen shelves – either floating or open wall shelving, starts with clarity of intention.
You must set an objective and layout a plan to be able to work towards it. Check our recent blog article for floating shelving ideas to transform your kitchen.
The elegance of the finished product is a majestic feel and visual!
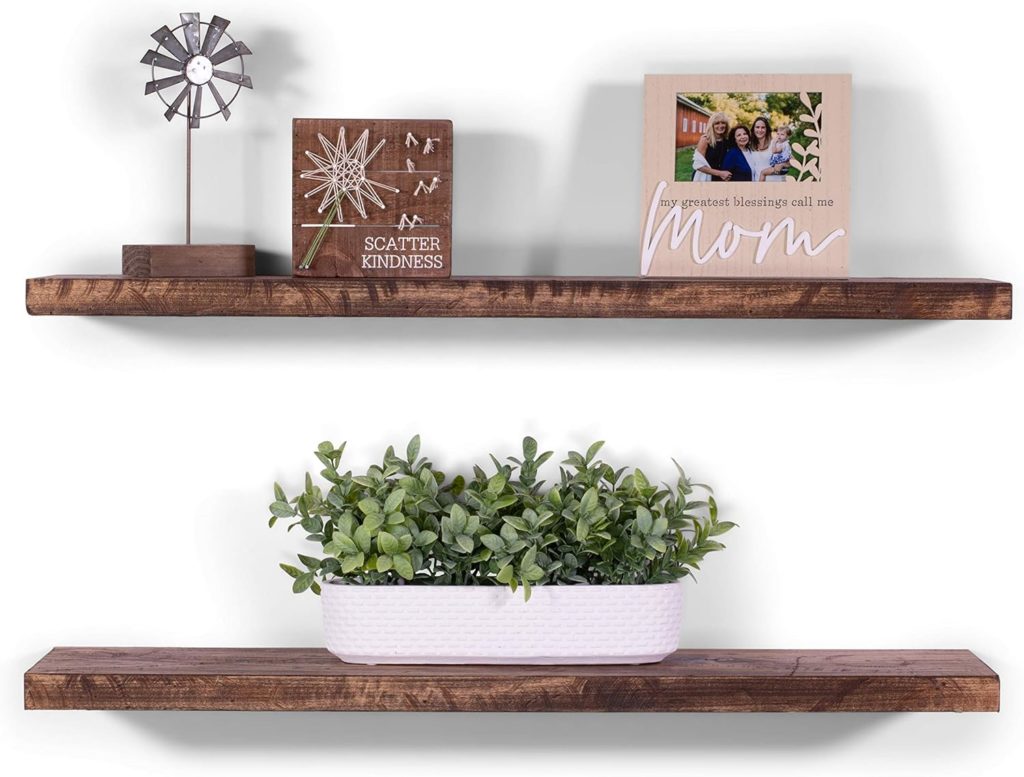
Click Image For Product Details

Before the fervor of creation envelops your mood, and before you drill your first pilot hole or set that shelf bracket, moments of reflection are crucial. Imagine installing that envisioned traditional or floating shelf, only to realize it’s a touch too low for all the dishes and slightly askew such that it does not capture the wall stud framing which would impact its structural integrity as well as it’s curb appeal.
To avoid that there a a few important considerations to step through prior to engaging in the execution phase.
Transitioning Vision To Reality
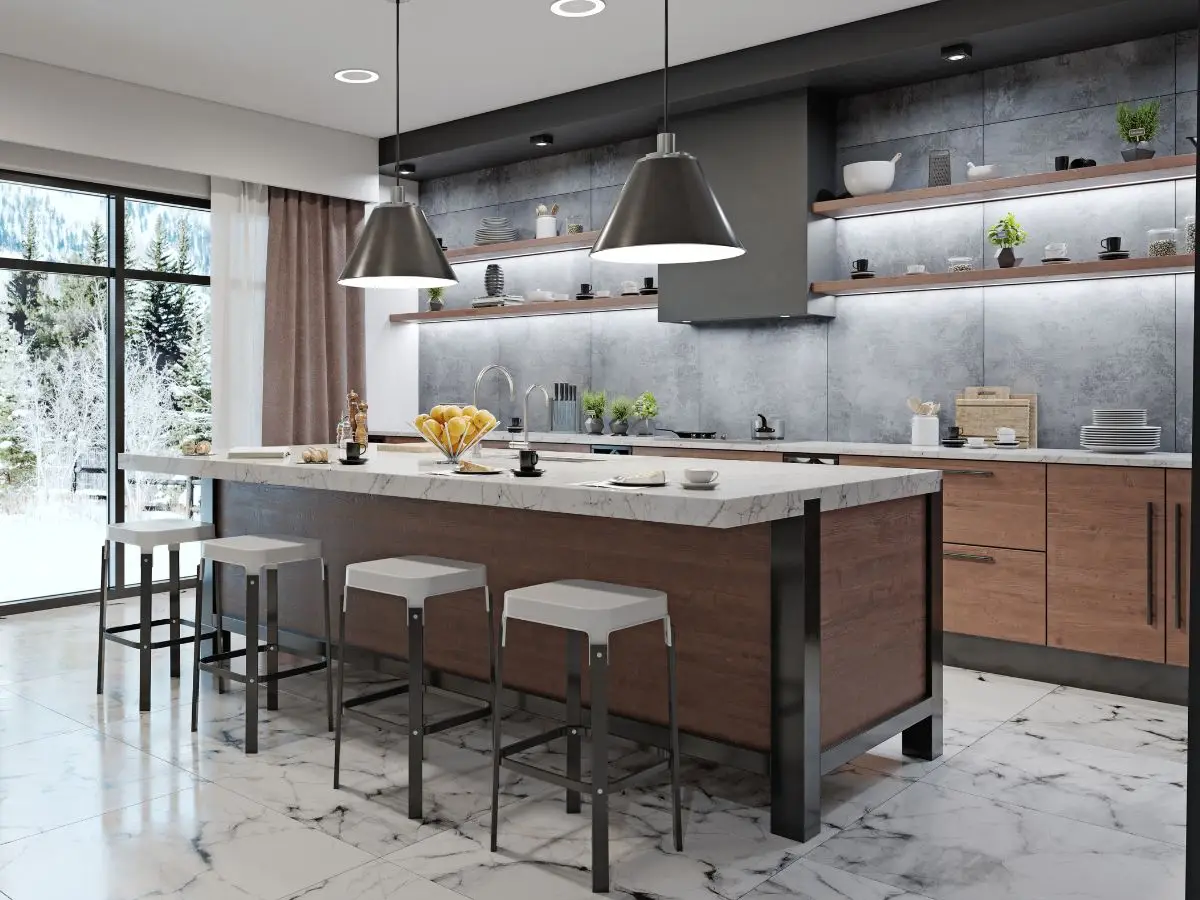
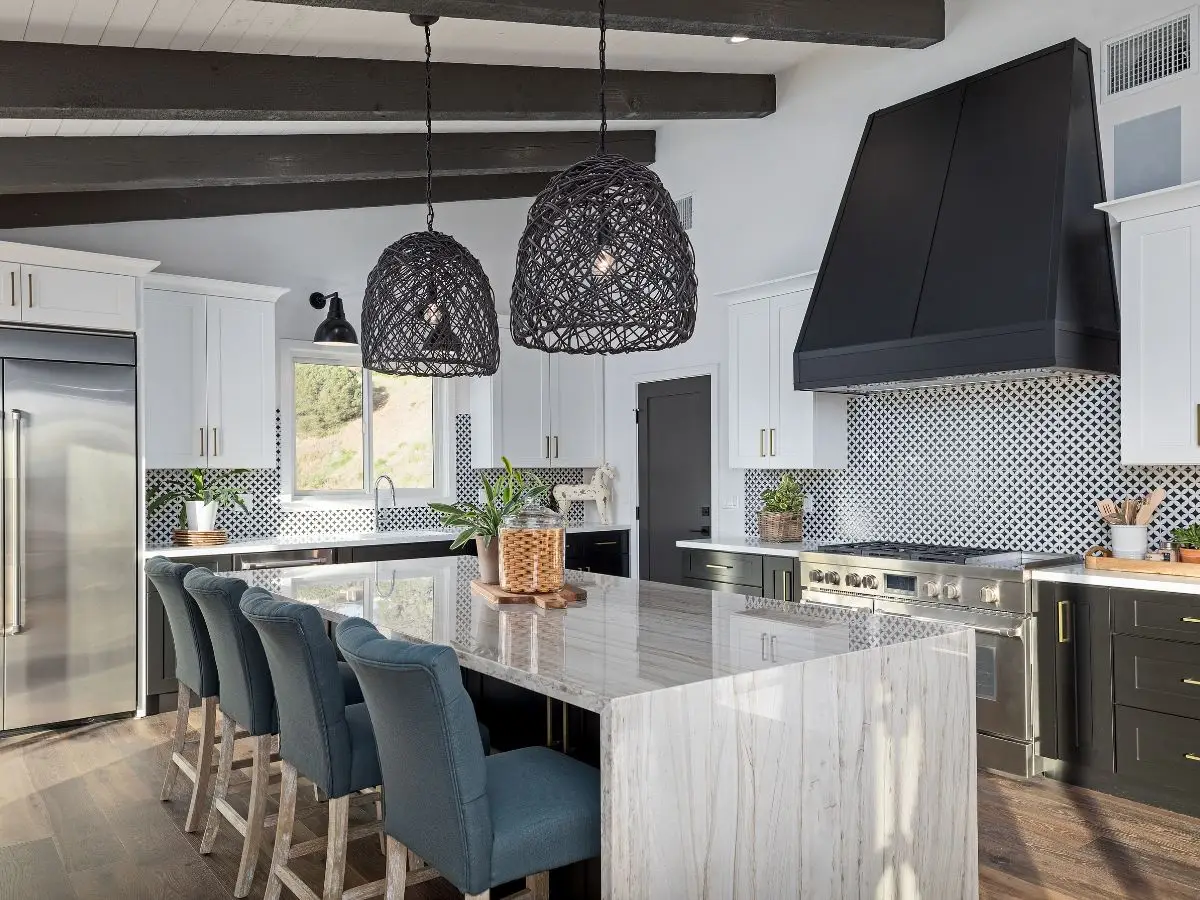
The Spatial Canvas: Before crafting those floating kitchen shelves, take some time to understand the space you’re diving into. Have a vision of the end product and how you will use it. Measuring isn’t just about getting numbers; it’s about visualizing. As you assess the depth and span of the space – picture how your floating or open shelves, will merge with the room’s aura – consider the image below and note how the every detail is integrated.
Remember that not all shelves are sold in its finished state and can be worked to meet your decor needs. However, these considerations must be defined during the planning phase of the remodel project.
Click Image For Product Details
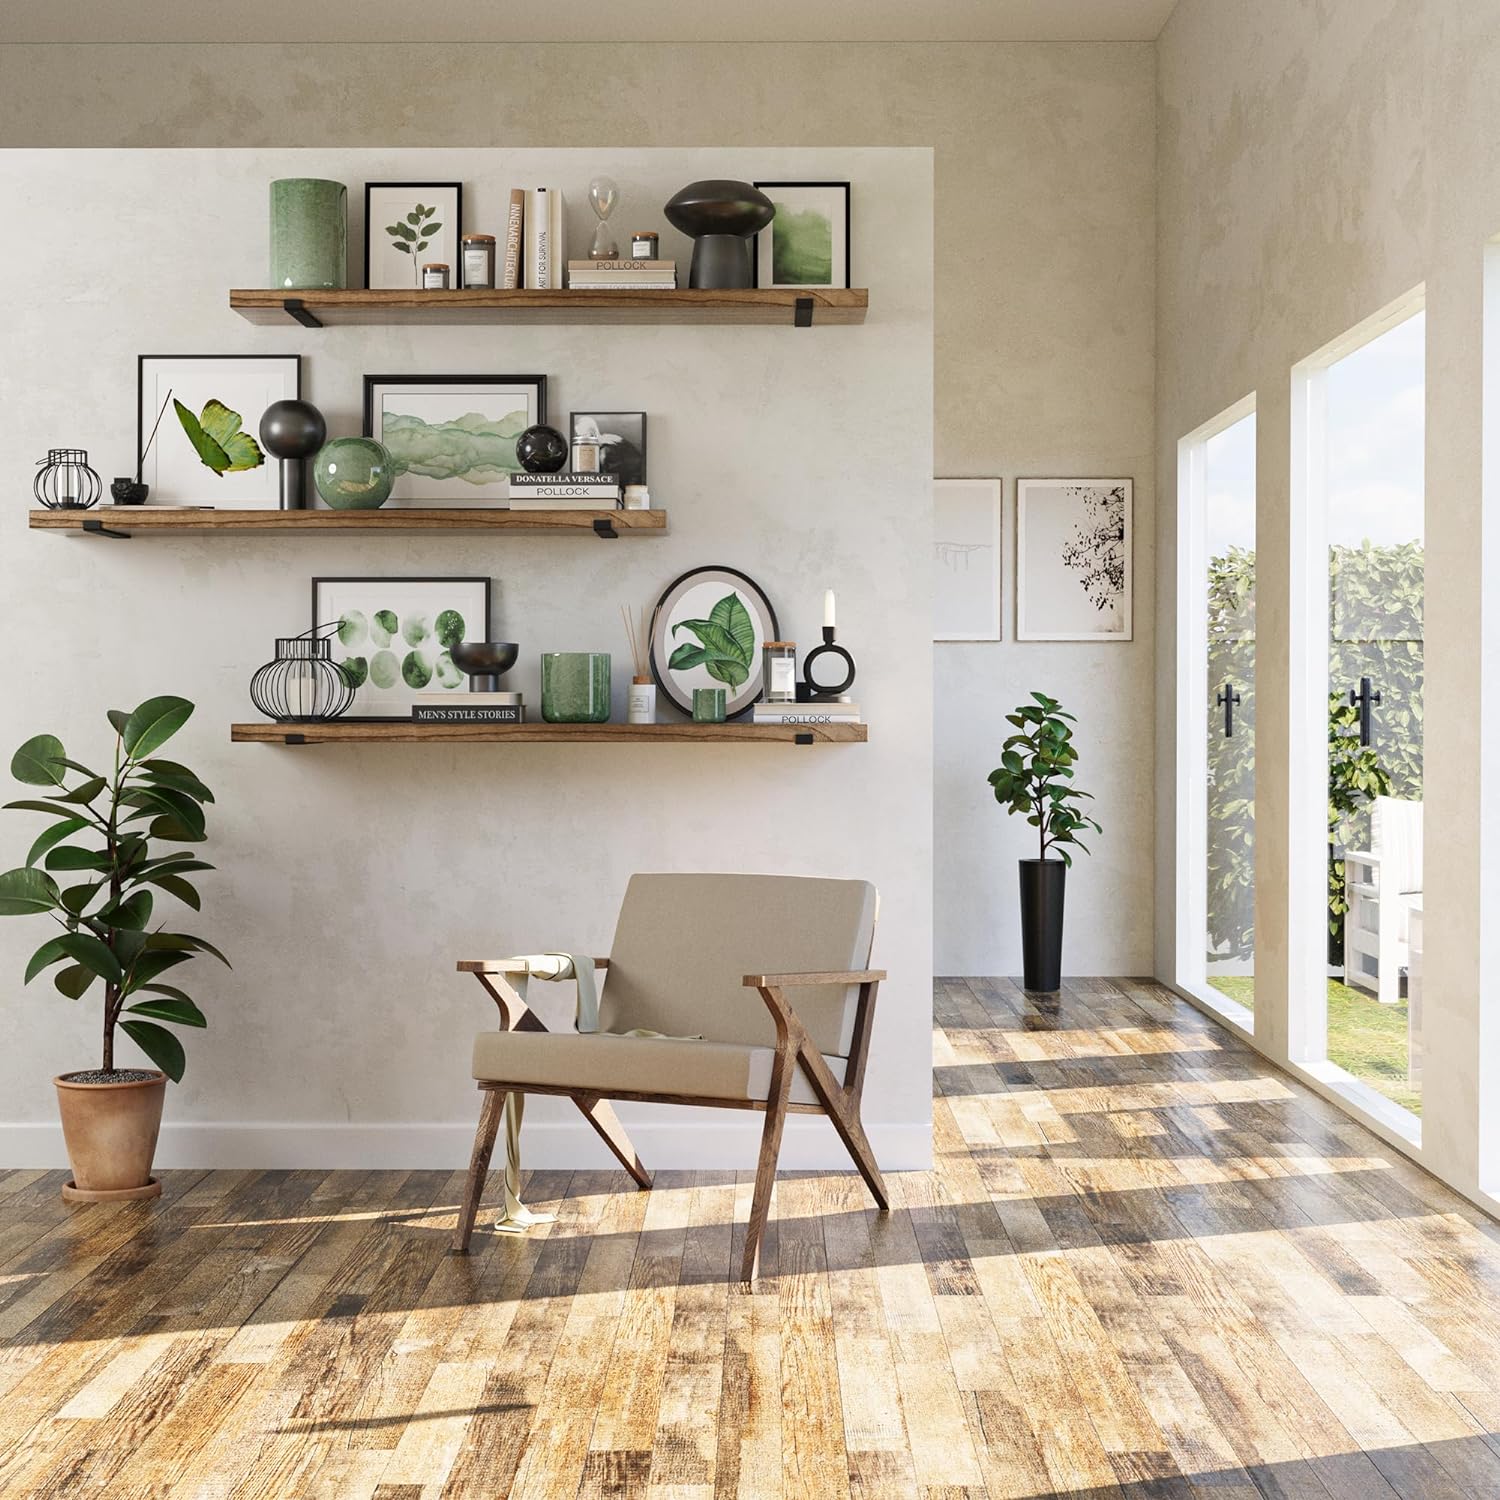
Measurements
Measurements are more than digits; they’re the playground and boundaries for your creative expression. Therefore knowing the dimensions of your intended project is key to defining you ultimate vision.
Quantity and Depth – Striking the Right Note
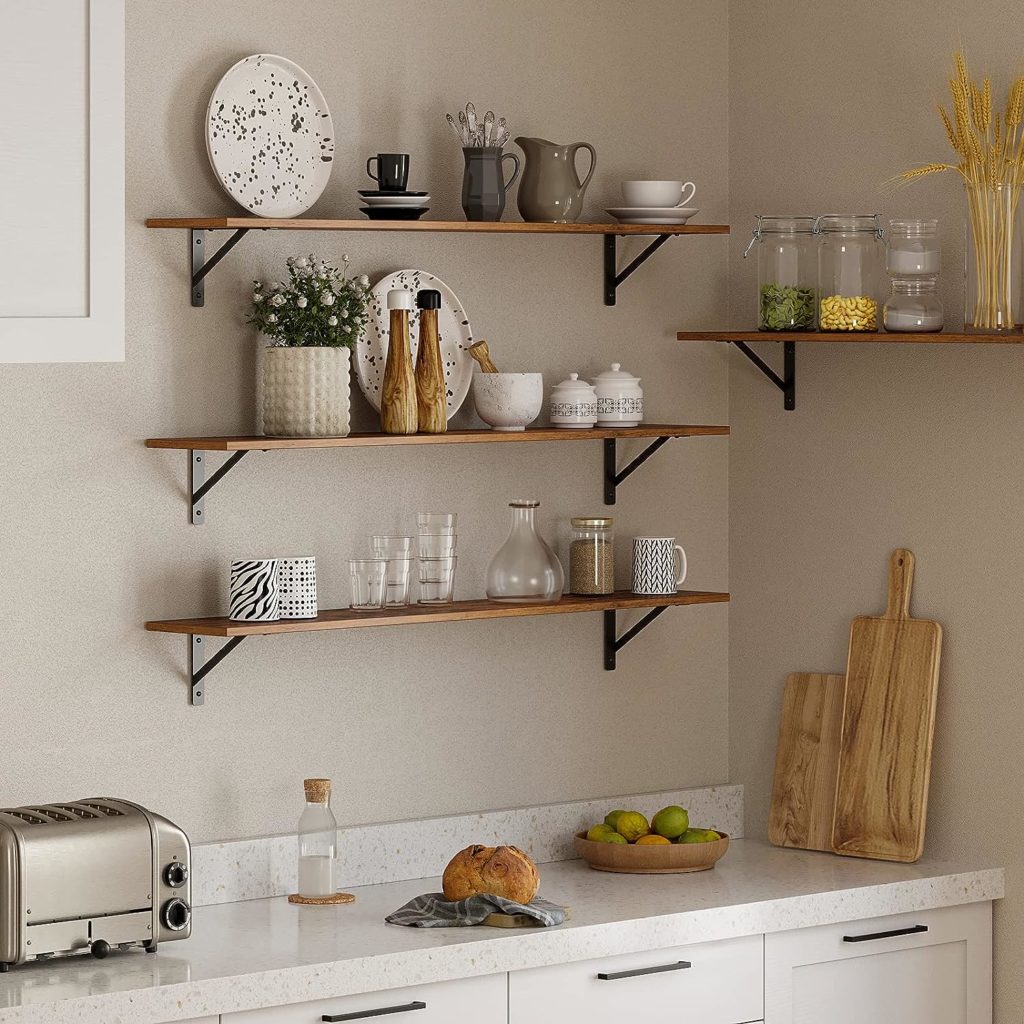
It’s beyond the number of shelves; it’s about their rhythm in your space. Will one long floating shelf provide a sleek touch, or will multiple shelves, cascading shelves, or maybe two shelves or more, offer a patterned allure?
Deciding on the quantity, style, pattern and depth of these shelves are pivotal. They should sync with their purpose and the aesthetics you target.
Click Images For Product Details
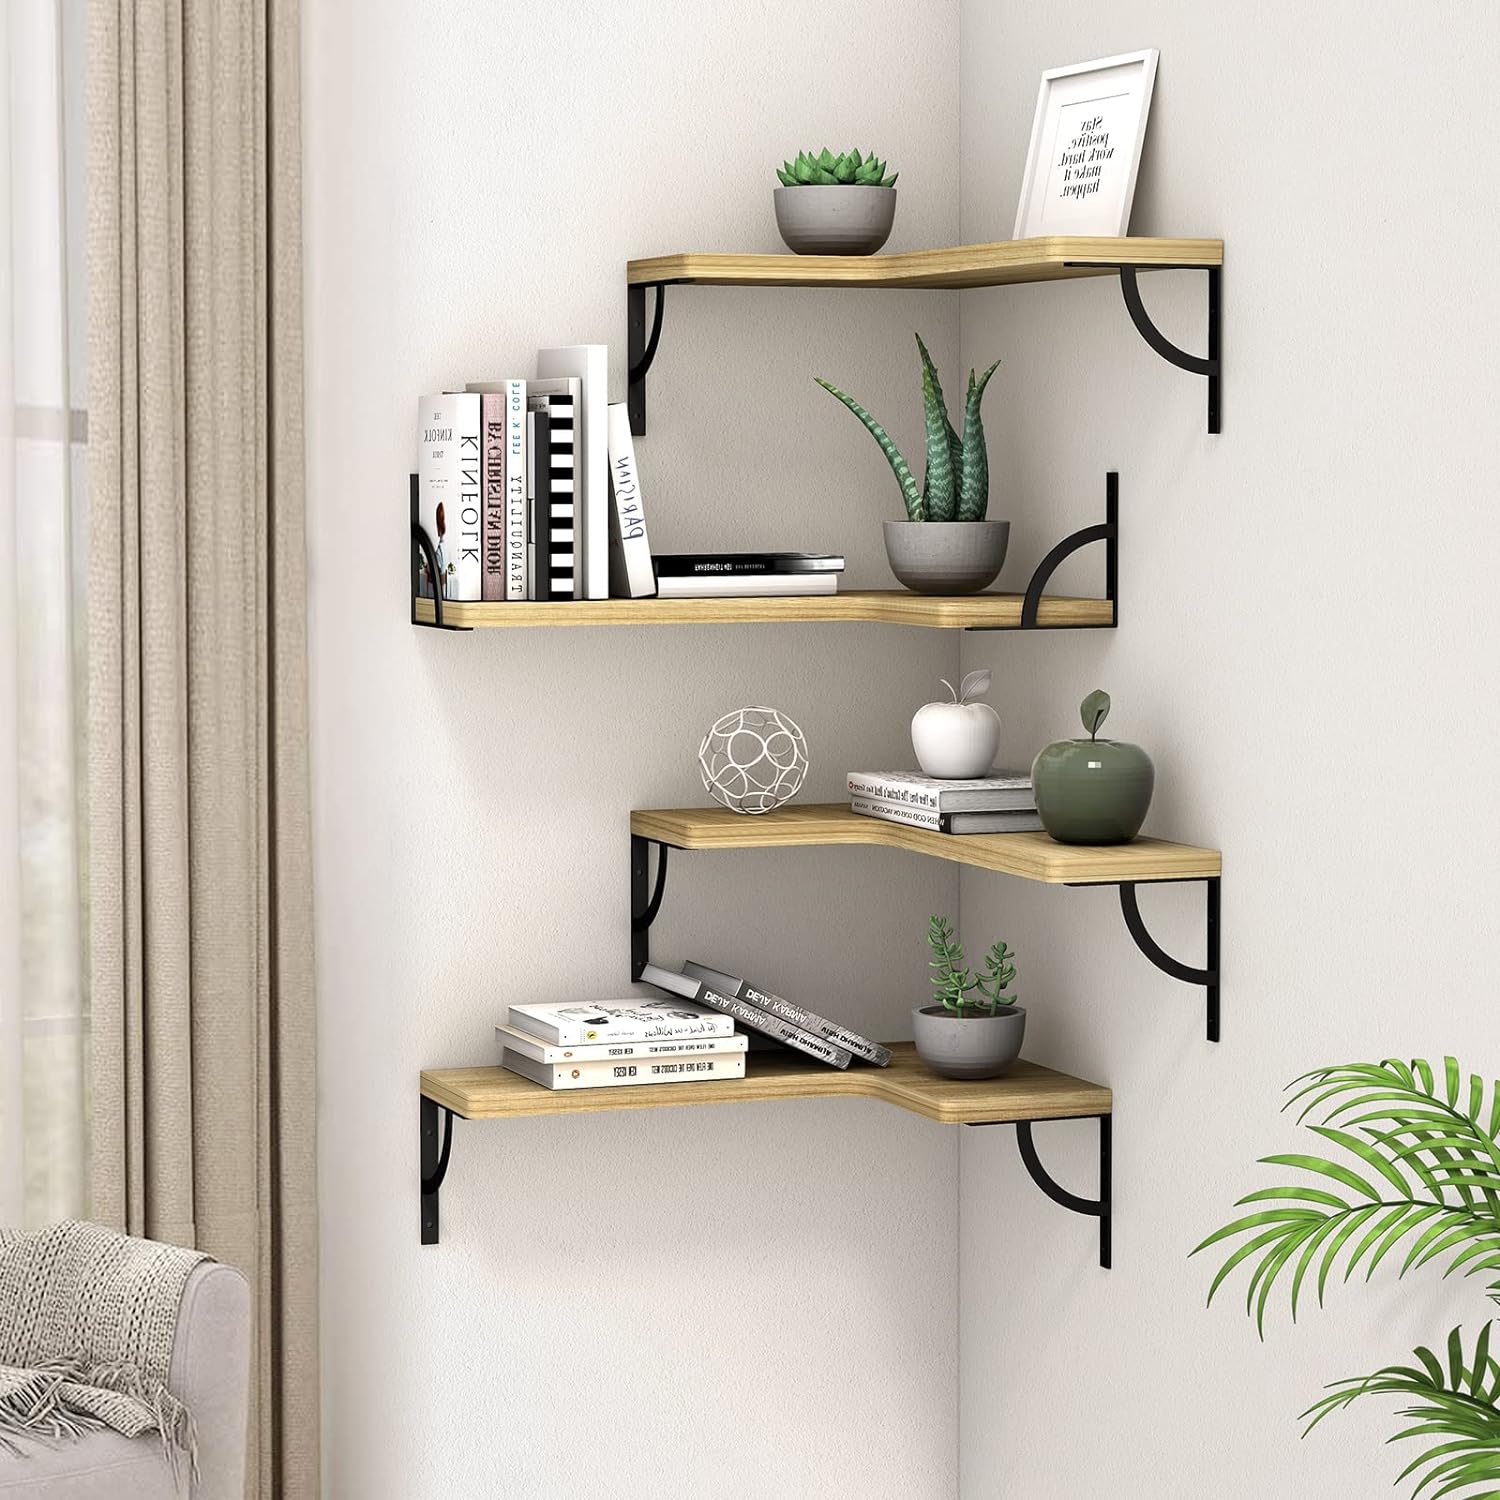
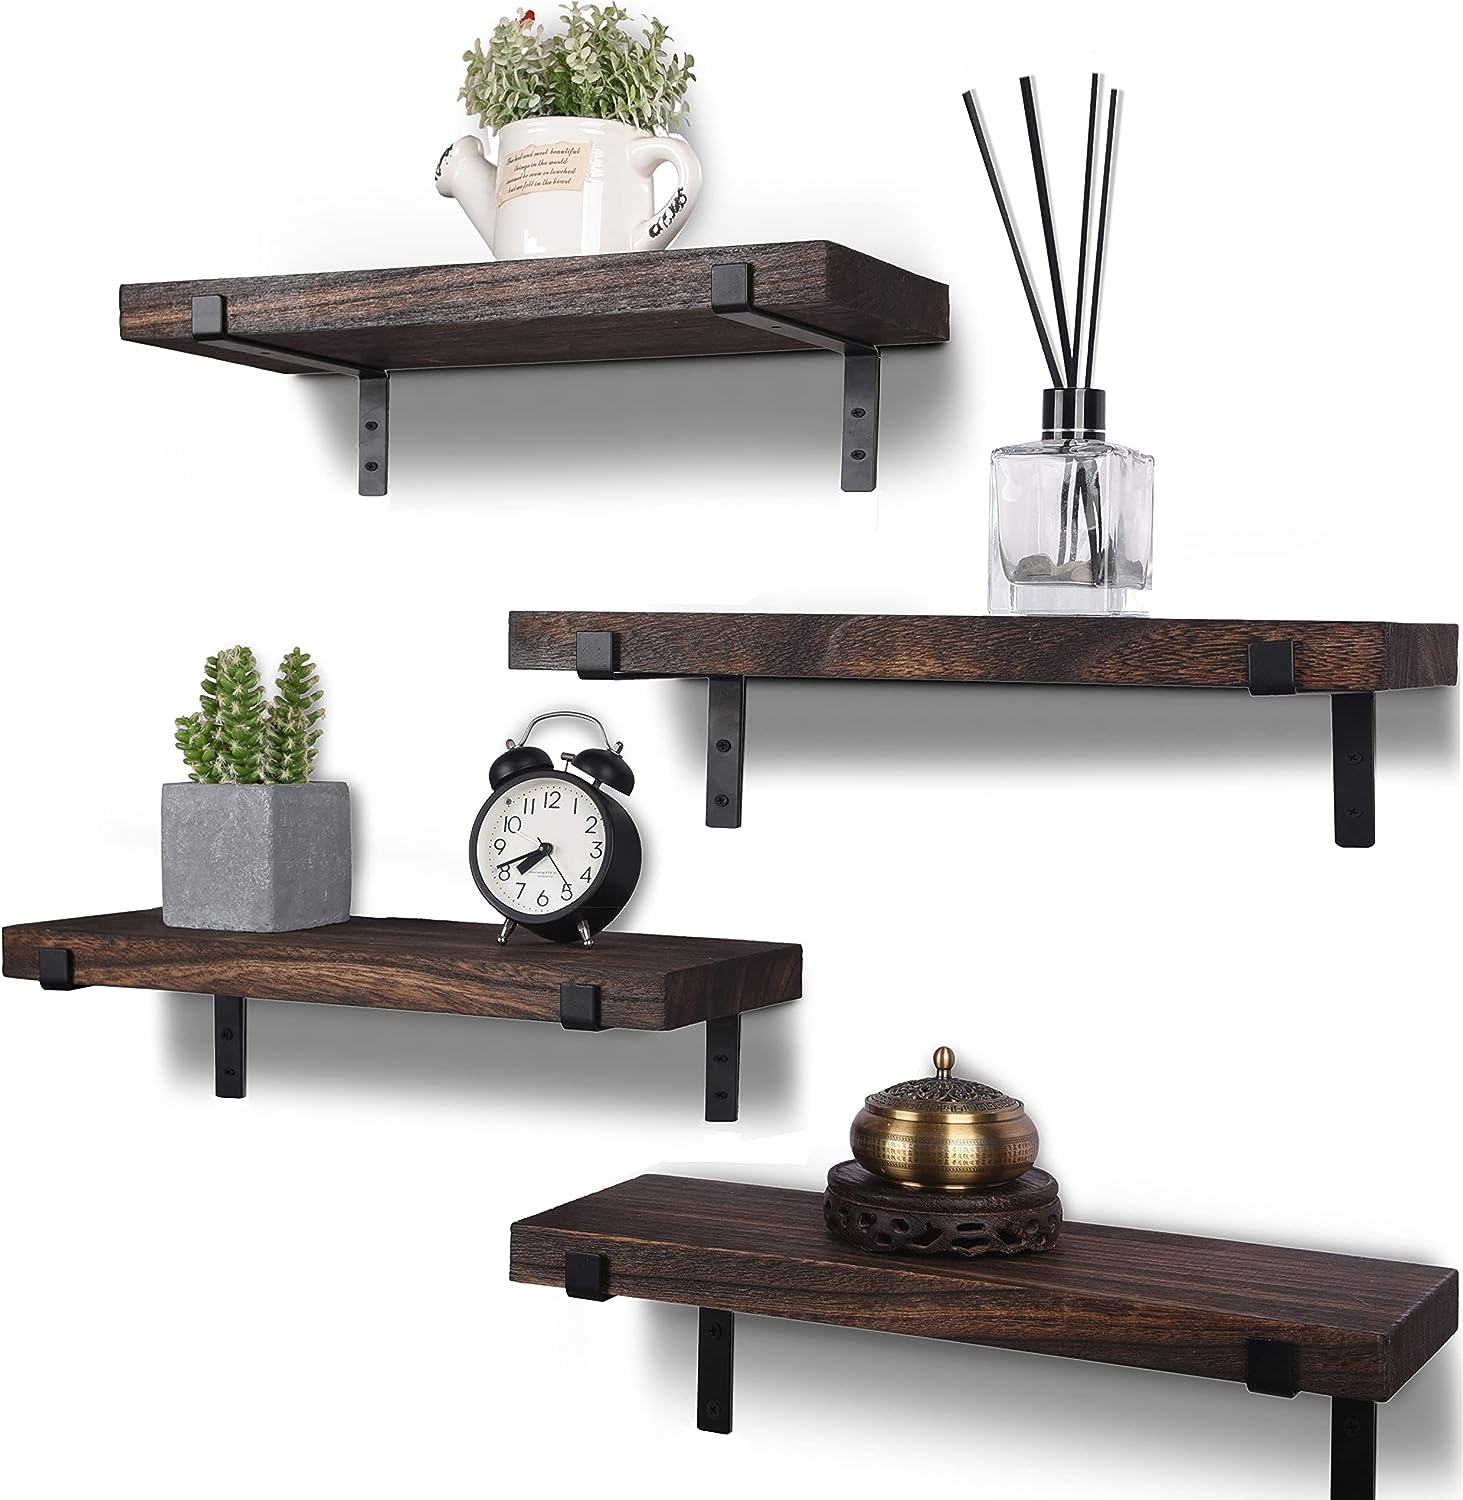
HXSWY Rustic Wood Floating Shelves for Wall Decor Farmhouse Wooden Set of 4 Dark Brown
Weight Considerations – The Heart of Functionality
This might be technical, but it’s foundational. What’s going on these shelves? Hefty cookbooks, delicate China, or plants? Your decision between sleek floating shelf brackets and heavy-duty shelf brackets is more than about looks.
Click Images For Product Details

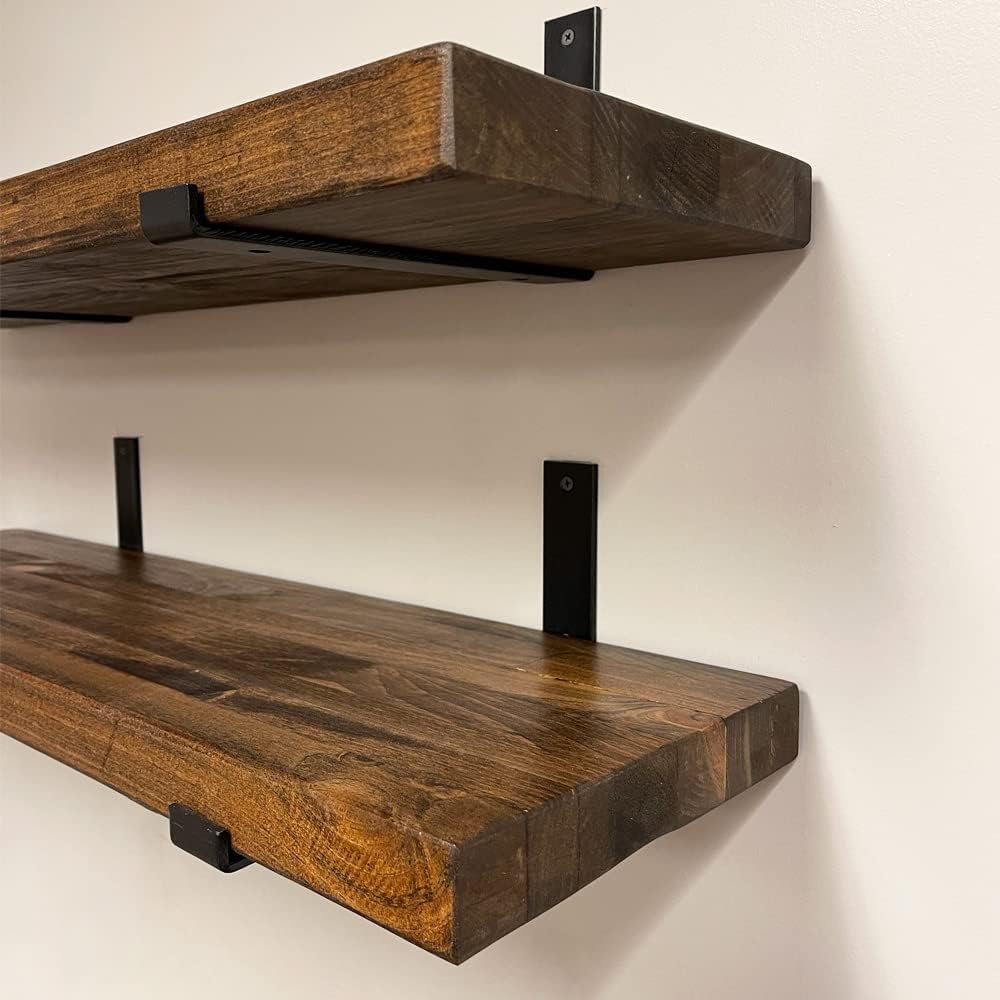
It’s about ensuring that the weight of your kitchen dishes or any item to be placed on them doesn’t compromise safety.
In sum, prepping for a DIY kitchen shelves project or shelve installation in any other room is a dance of passion and precision. The heart craves beauty, and room of a kitchen must echoes one’s essence. The mind, logical and sharp, crafts the blueprint for this vision but desires safety and precisions – requiring a decision as to the potential need for the right tools and materials including the need for light duty vs heavy-duty brackets and other decisions.
Planning To Install Kitchen Shelves
Every exquisite DIY project emerges from a vision, yet it’s the materials and tools, like sturdy shelf brackets or the ideal drill bit, that breathe life into that dream. As a painter requires impeccable brushes and colors, a DIY enthusiast craves the ultimate building blocks for their floating shelves project.
In the realm of DIY kitchen shelf installation, your choice in materials and tools doesn’t just sculpt the final aesthetic; it ensures the durability and utility of the shelves.
Shelve Material – Your Kitchen’s Showpiece
Your shelf material choice sets the tone for the kitchen shelve and its load capacity – which will then dictate the need for heavy duty shelf brackets and the type of wall brackets needed.
Wood: Wood is a timeless option which radiates warmth. Whether reclaimed barn wood exuding rustic charm or sleek oak for sophistication, wood is unparalleled in versatility. Depending on the length, depth and design of the selves an exquisite finish relies on workmanship
Pro Tip – Wood glue is critical to achieve seamless connections.
Metal: For those envisioning industrial elegance or a modern minimalist vibe, metal shelves stand strong and resilient. They come in many different finishes, sizes for all applications. The ultimate choice relies on your preference and decor aspirations.
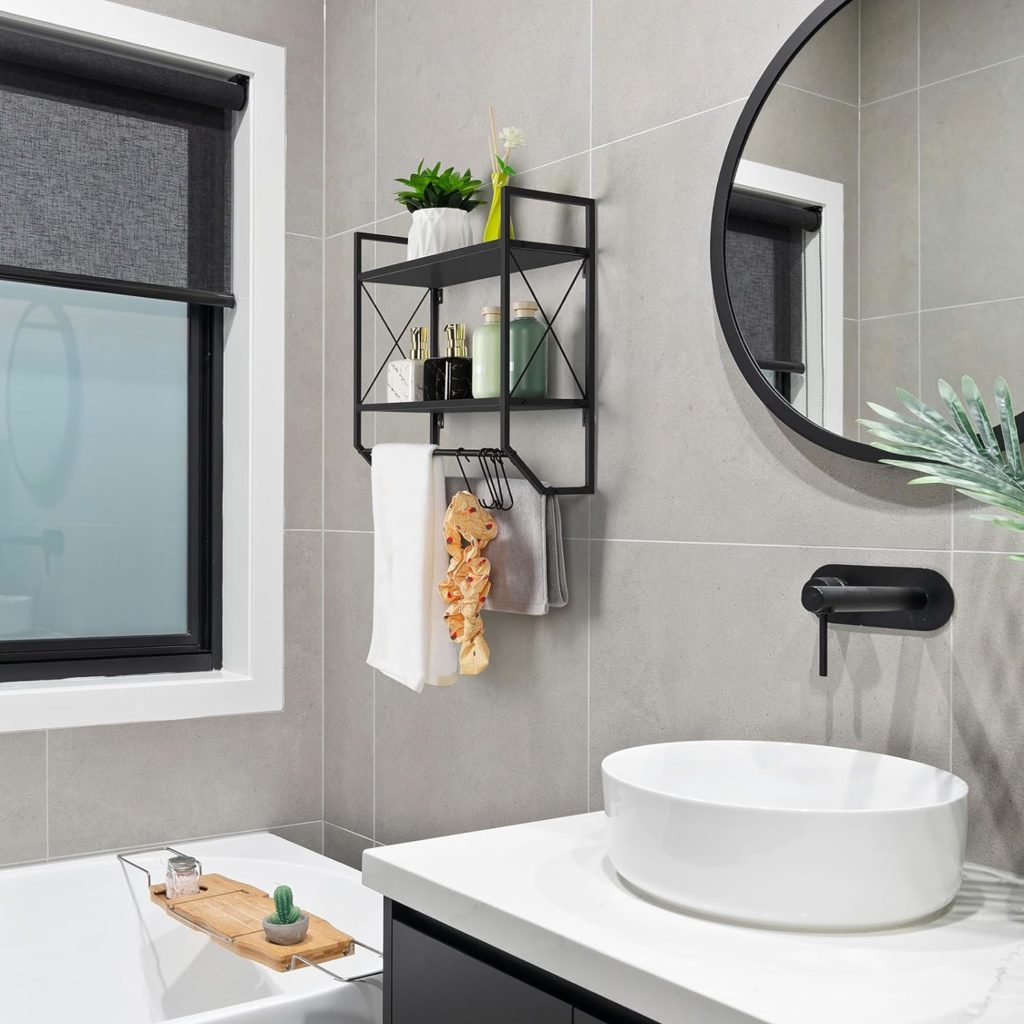
Glass: Ideal for lighter items, glass shelves exudes sophistication and amplify space. These make for exquisite application or for decor display on small walls in small rooms such as in bathrooms, and other spaces.
Click Images For Product Details
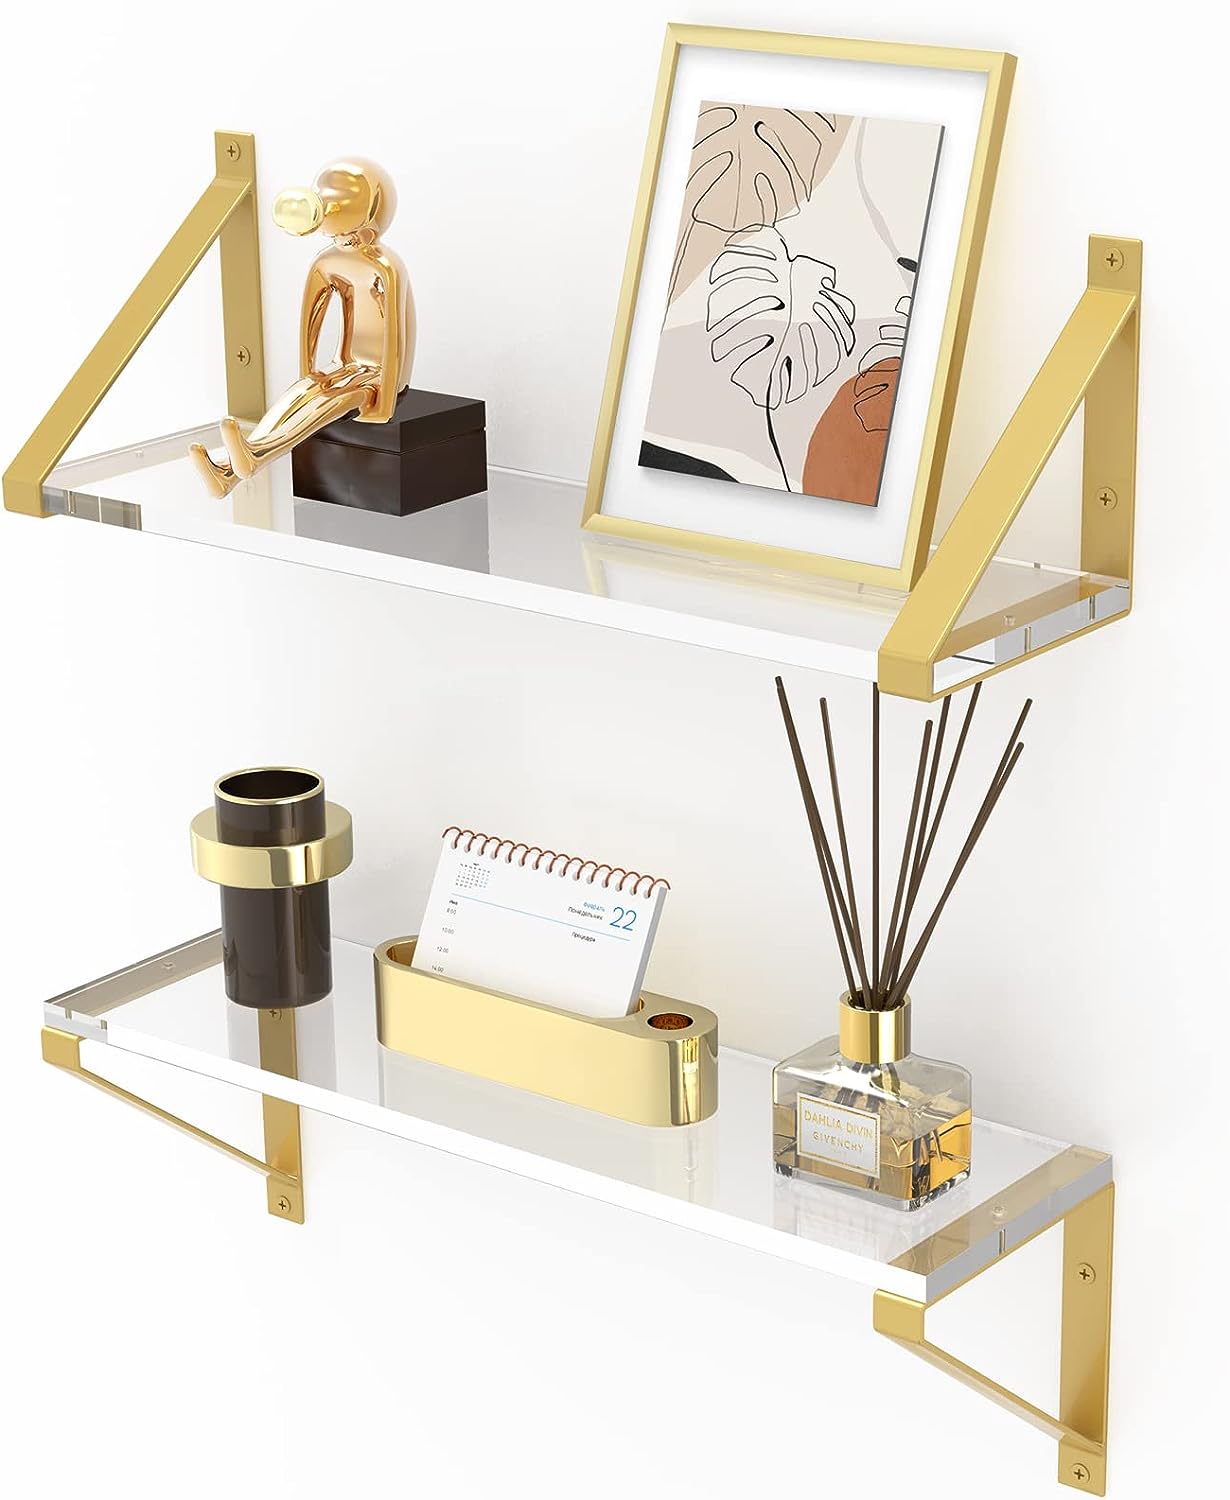
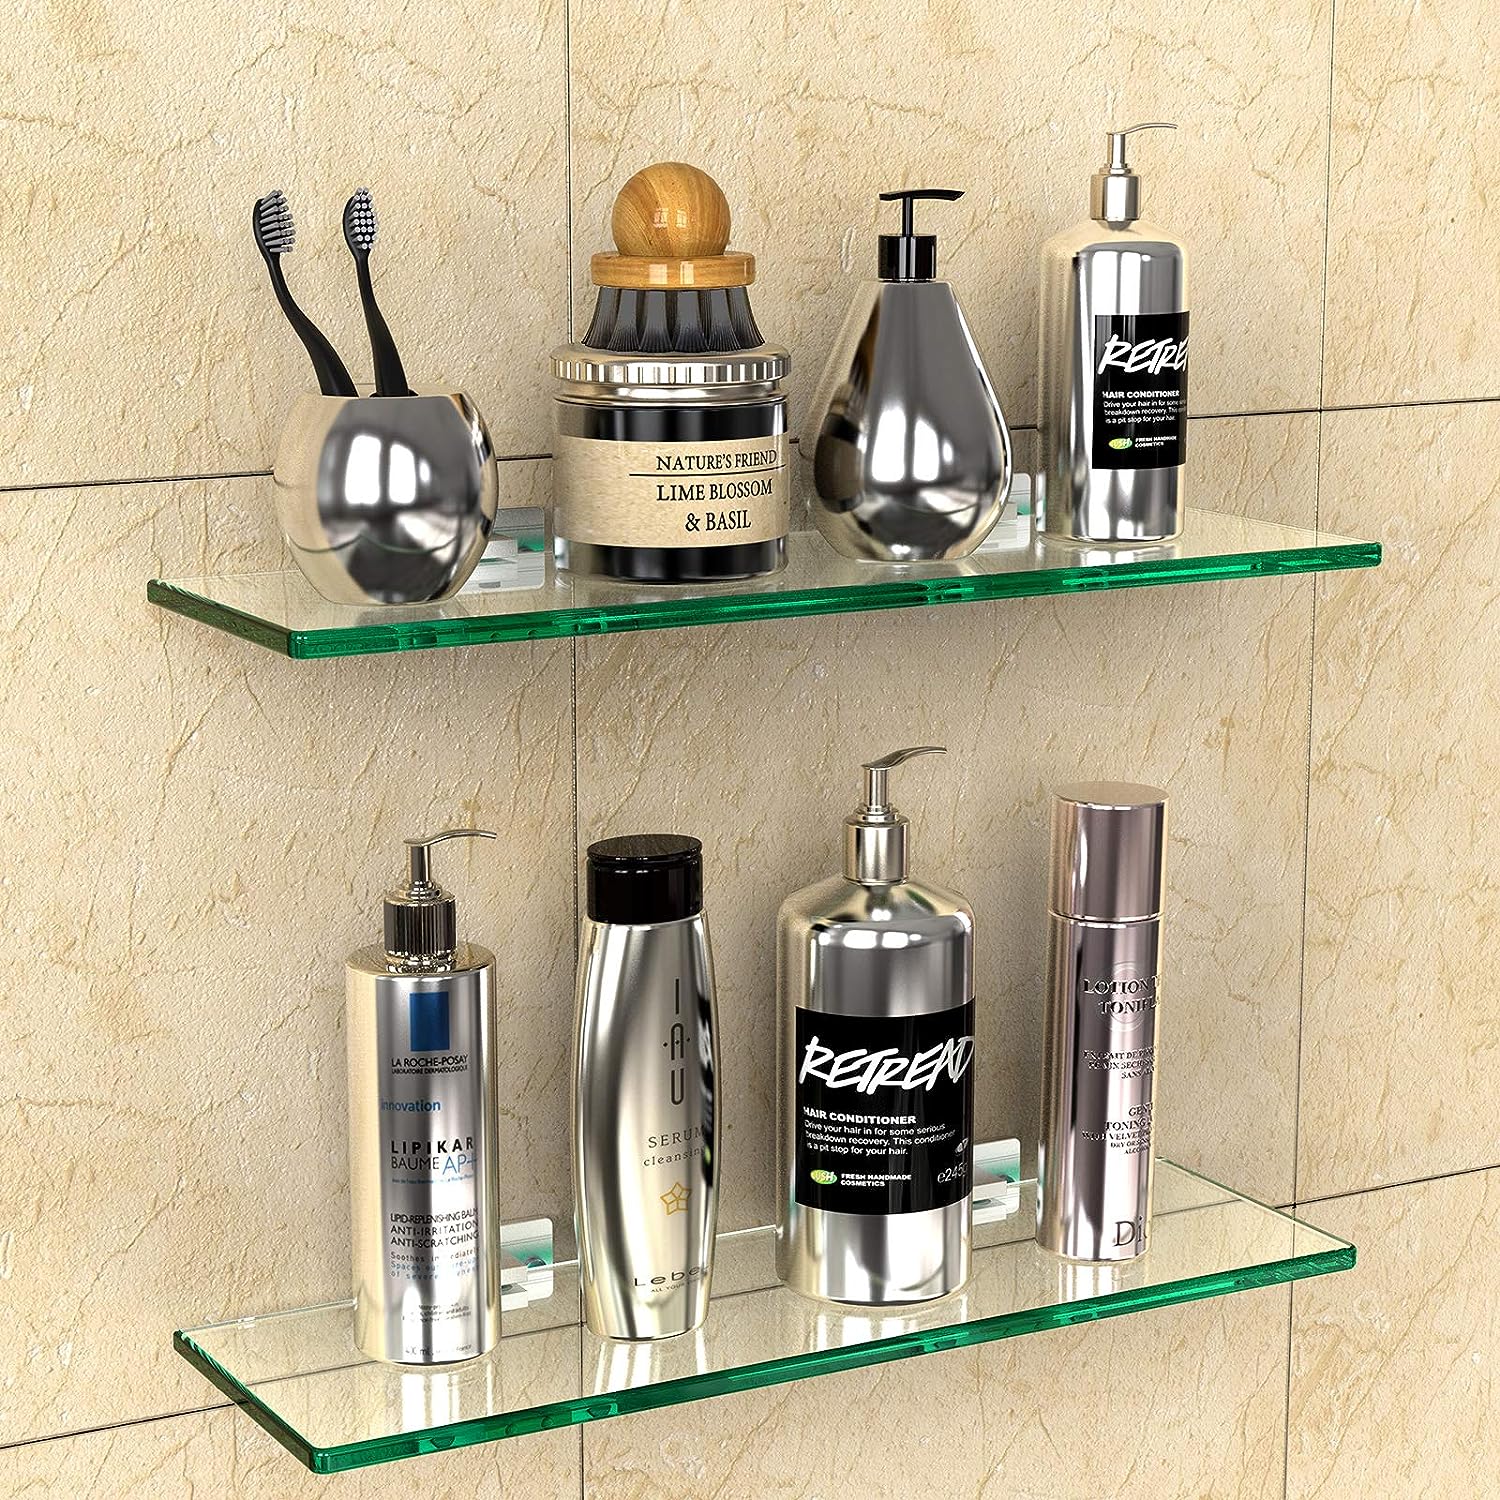
Combination: Blended materials provide for an intricate, layered aura, cherishing the best attributes of each material type.
Brackets and the Mounting Ensemble
Shelves may steal the spotlight, but it’s the brackets and wall studs that shoulder the burden. Metal brackets are preferred but other material types are also use including wood or industrial polymers.
Standard Brackets: The traditional, visible type, transforms into decorative facets on their own. These are the most popular brackets and can add to the décor element of the room or kitchen versus the hidden brackets for floating shelves. They both add uniqueness to the decor and blends with the decor statement of the room. Floating shelves confirms more readily to a minimalist vibe while traditional brackets aligns to less contemporary styles.
Click Images For Product Details
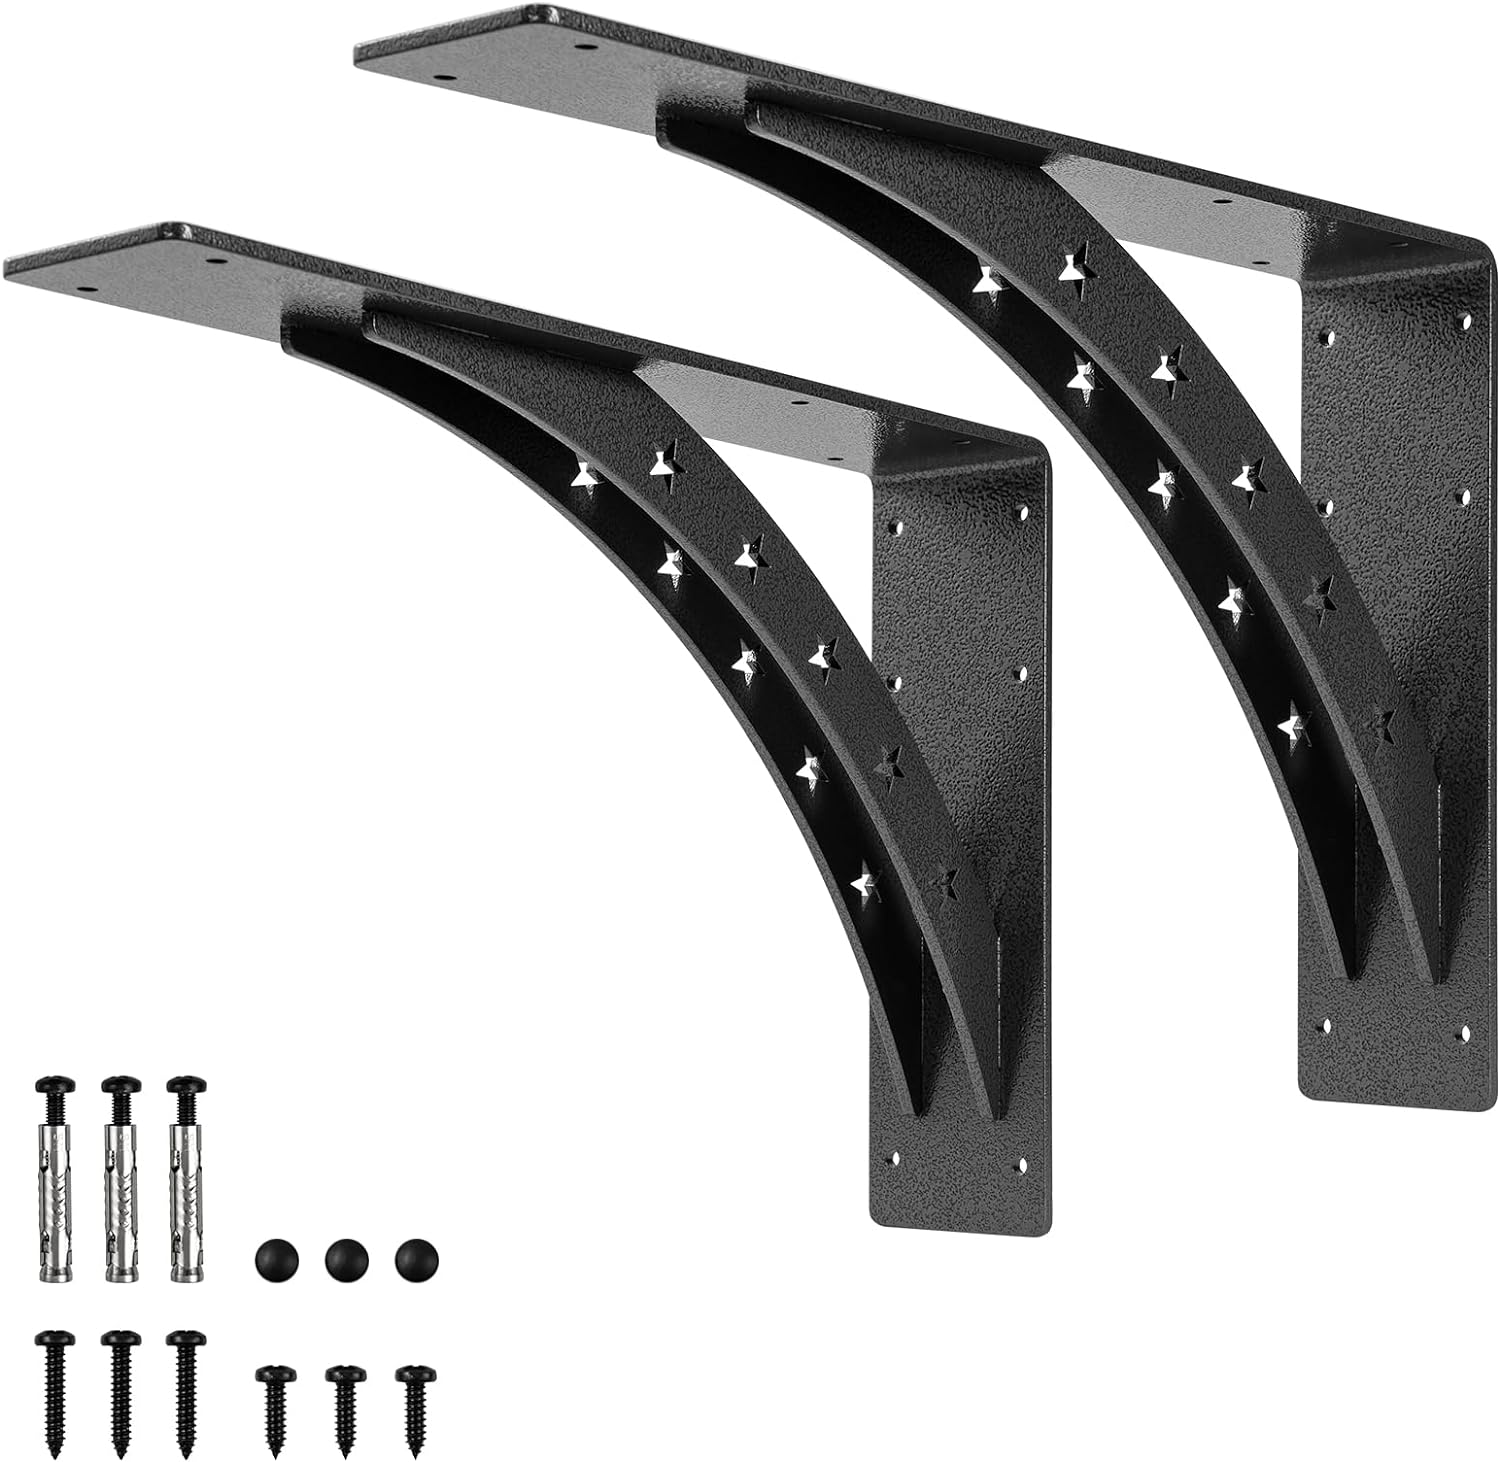
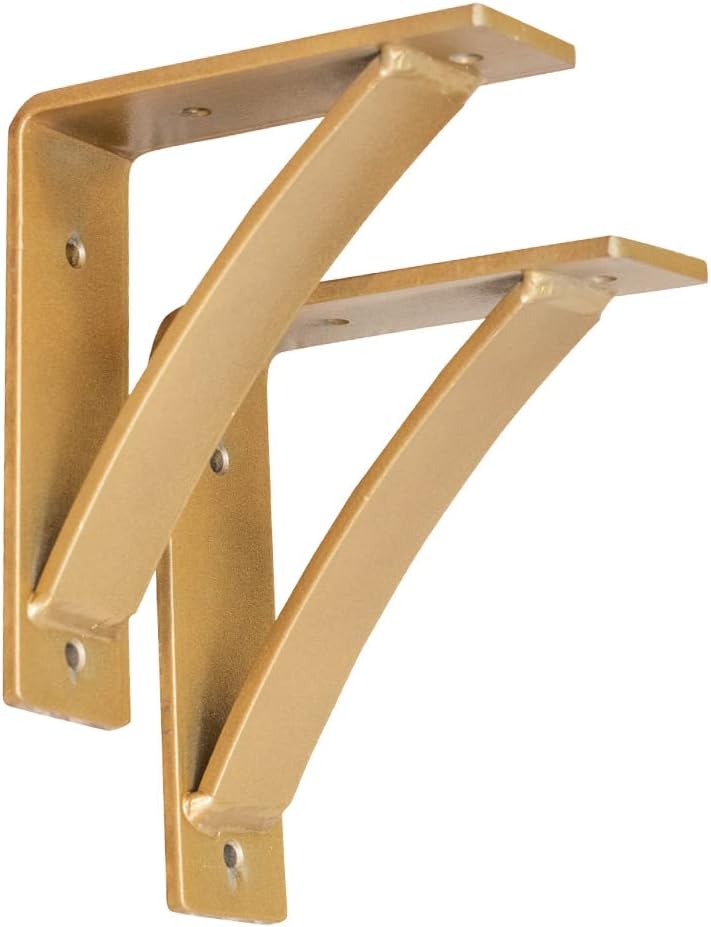
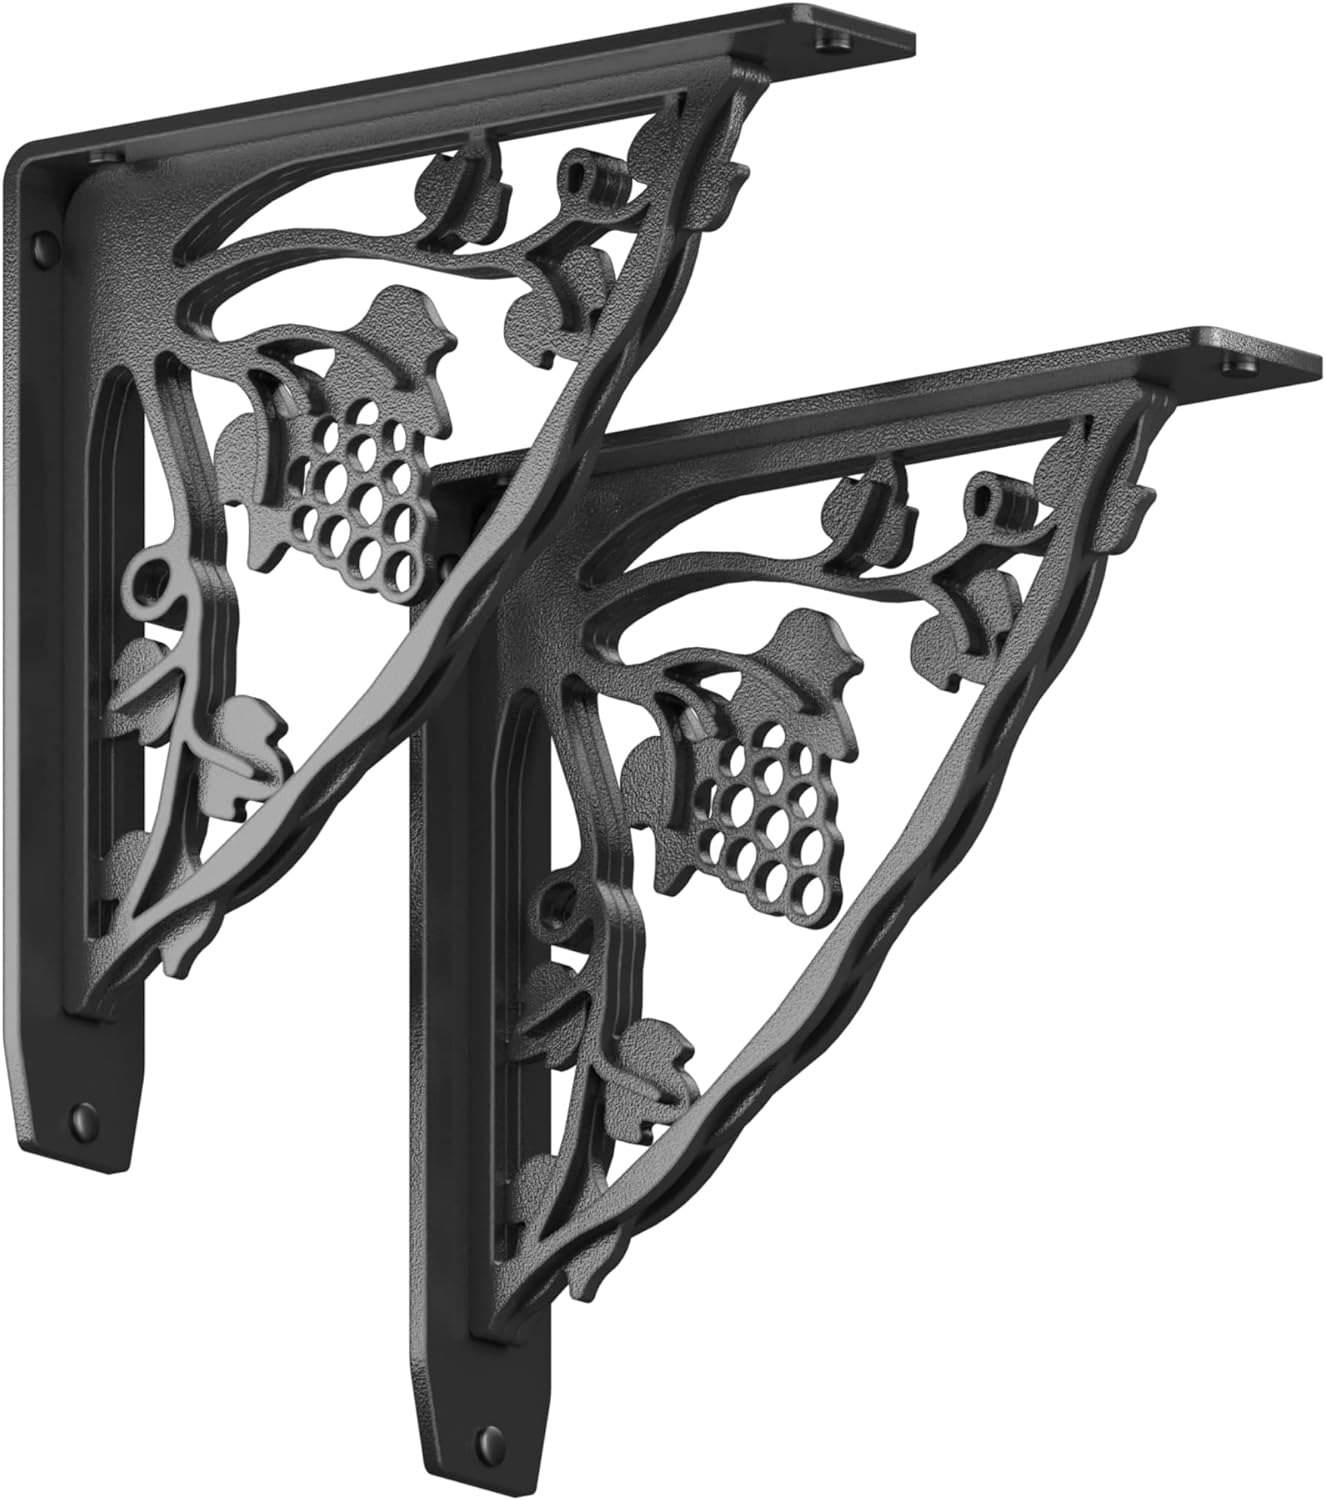
Floating Shelf Brackets: These concealed gems bestow upon shelves the illusion of levitation, echoing a crisp contemporary flair. However, the net effect is still the same. Although hidden, the brackets and the unit to which it is attached dictates the load capacity of the shelves.
Click Images For Product Details
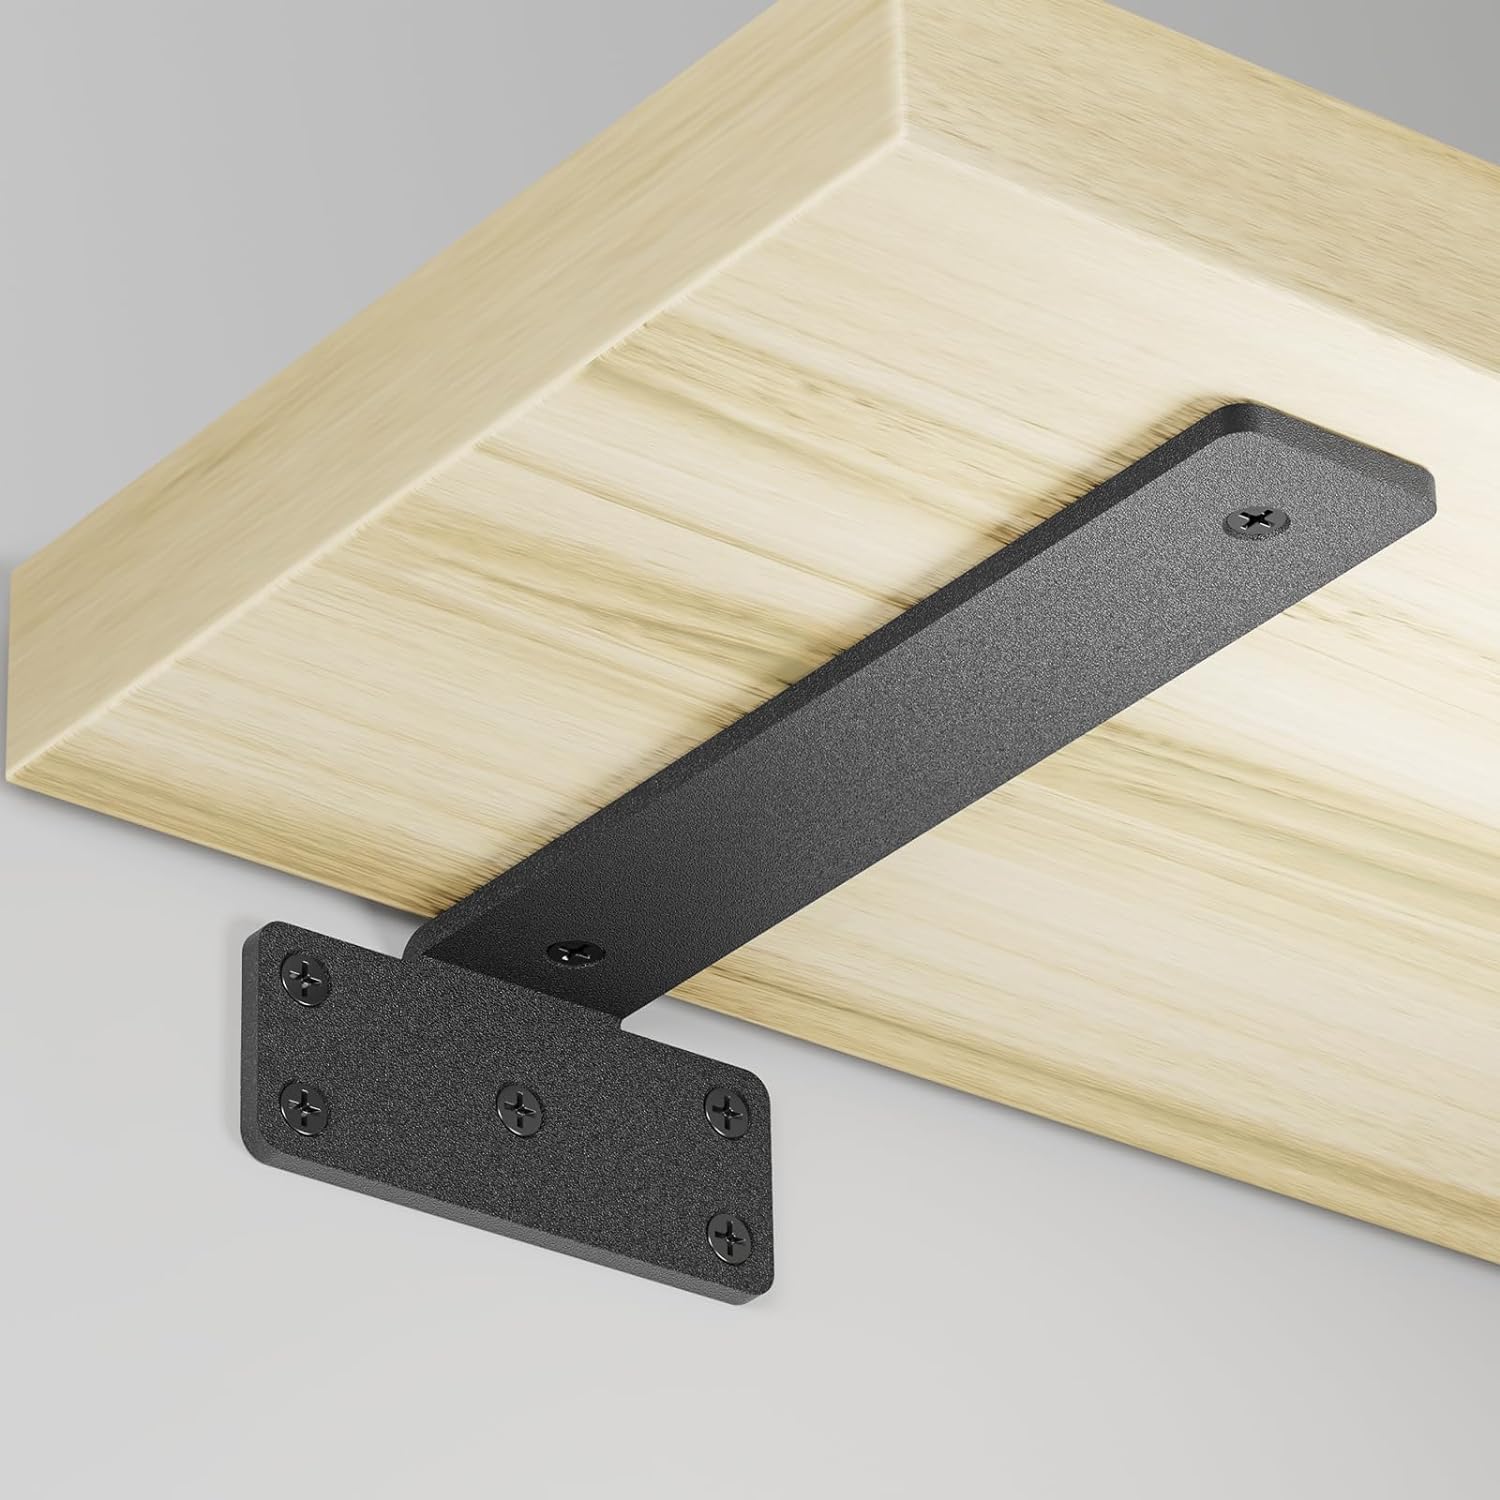
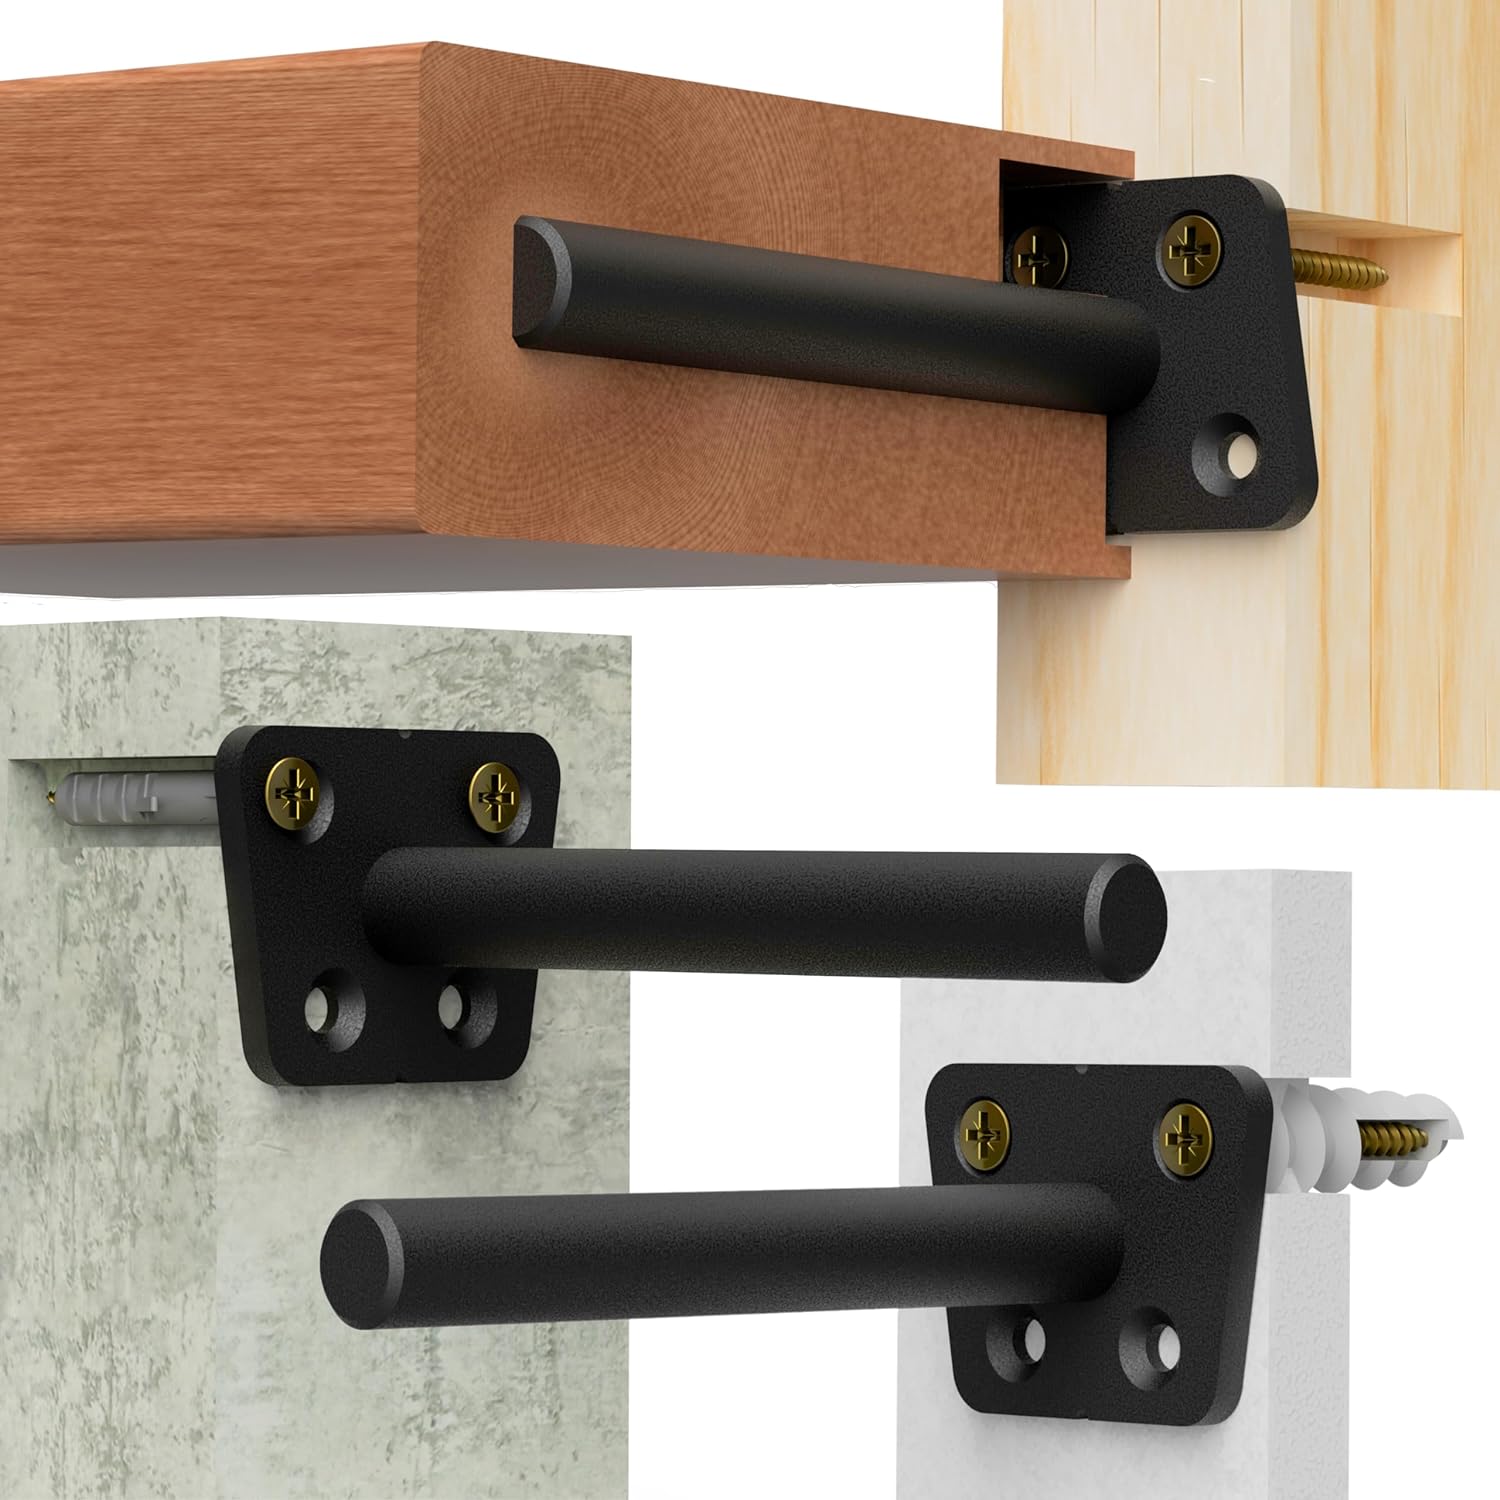
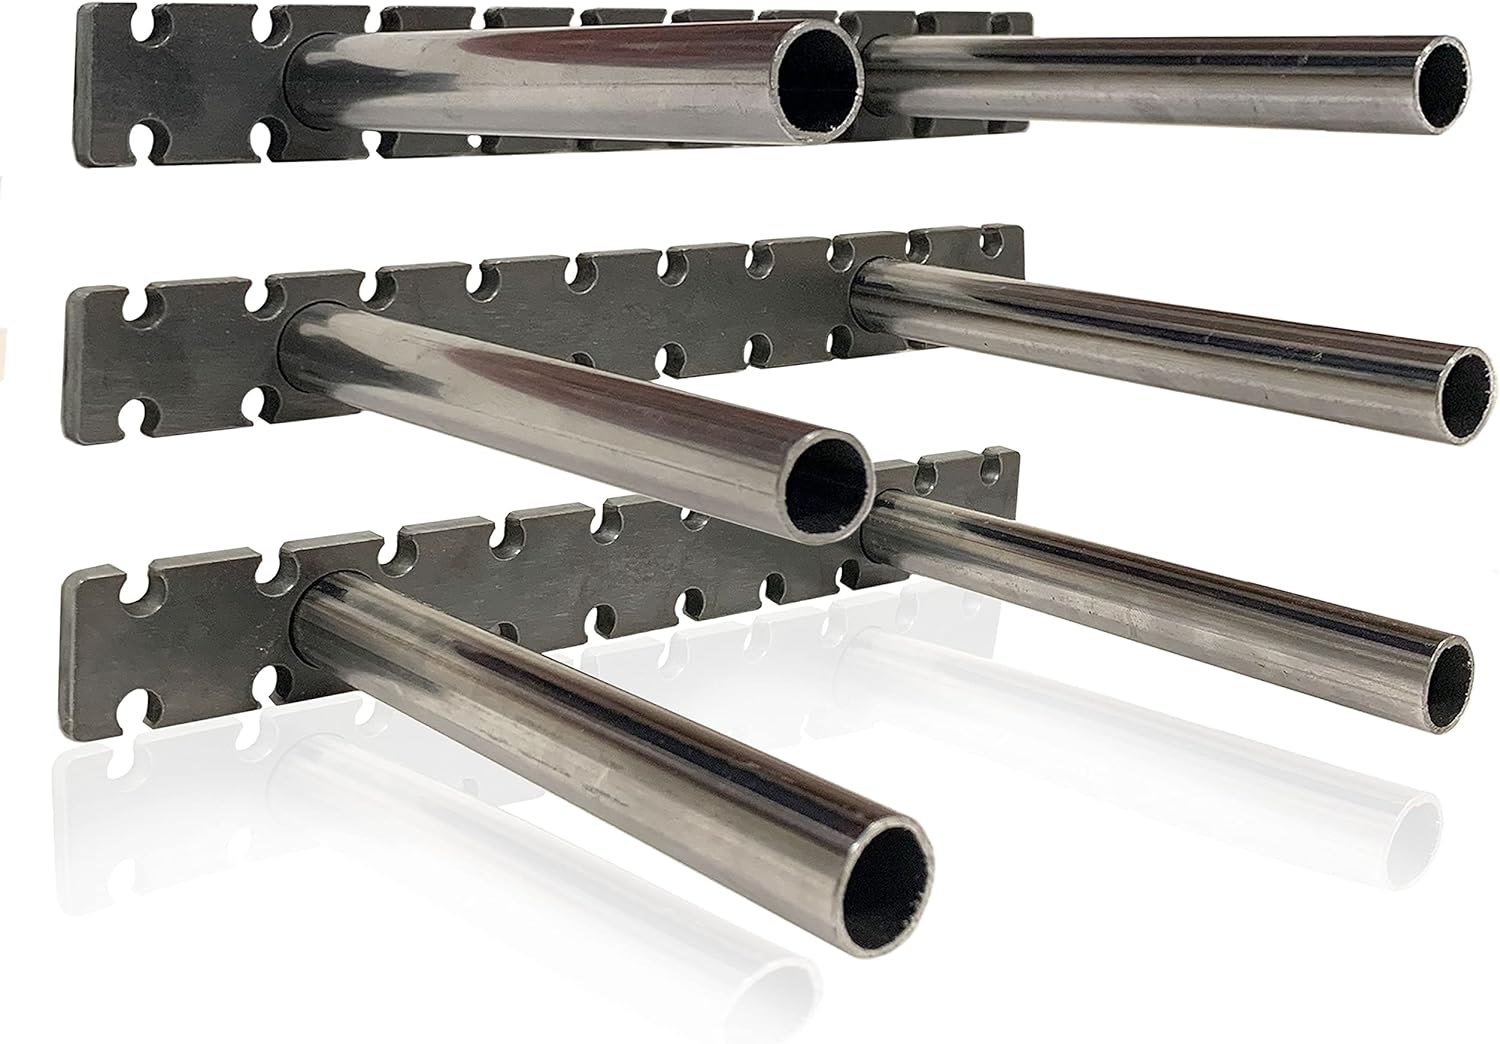
Small shelves with small items require less study or intrusive brackets and vice versa.
Wall-mounted Standards and Arms: Epitomizing adaptability, these systems allow for on-the-fly shelf height modifications, attuned to evolving demands. These are more attuned to industrial applications than for for the home.
Tools To Install Your Shelves
Apt tools can spell the difference between seamless placement and a botched shelving job. Amongst the key tools required includes:
Stud Finder: Use a stud finder to locate the wall studs. This tool is a linchpin, ensuring your traditional or floating kitchen shelves gain the robust support they merit by being anchored in the wall structure.
Securing the bracket into a wall stud safeguards against unwarranted weight-induced mishaps.

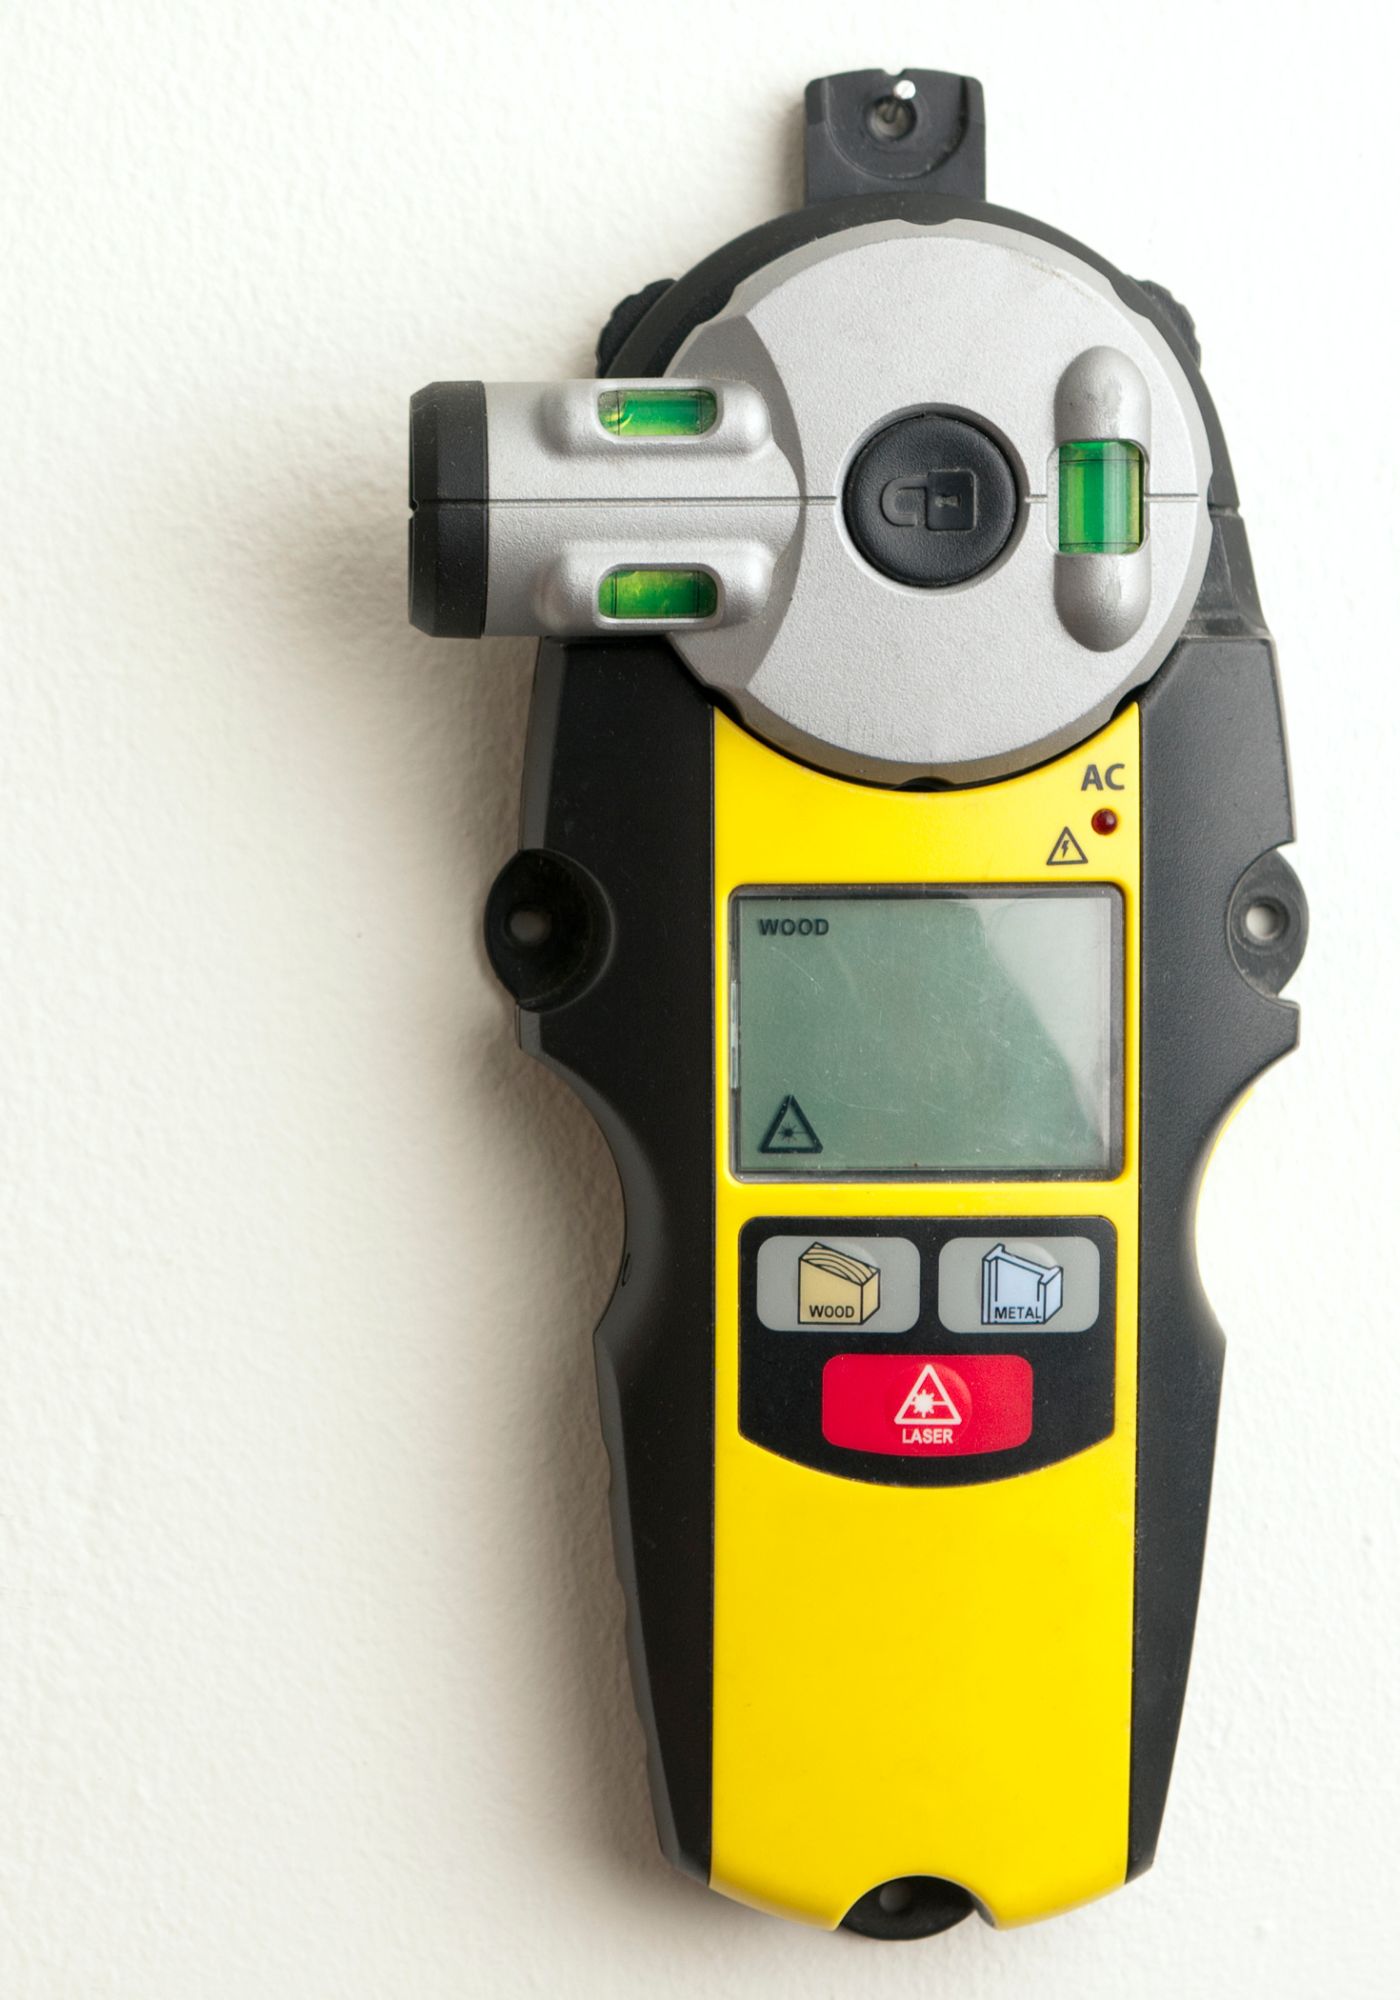
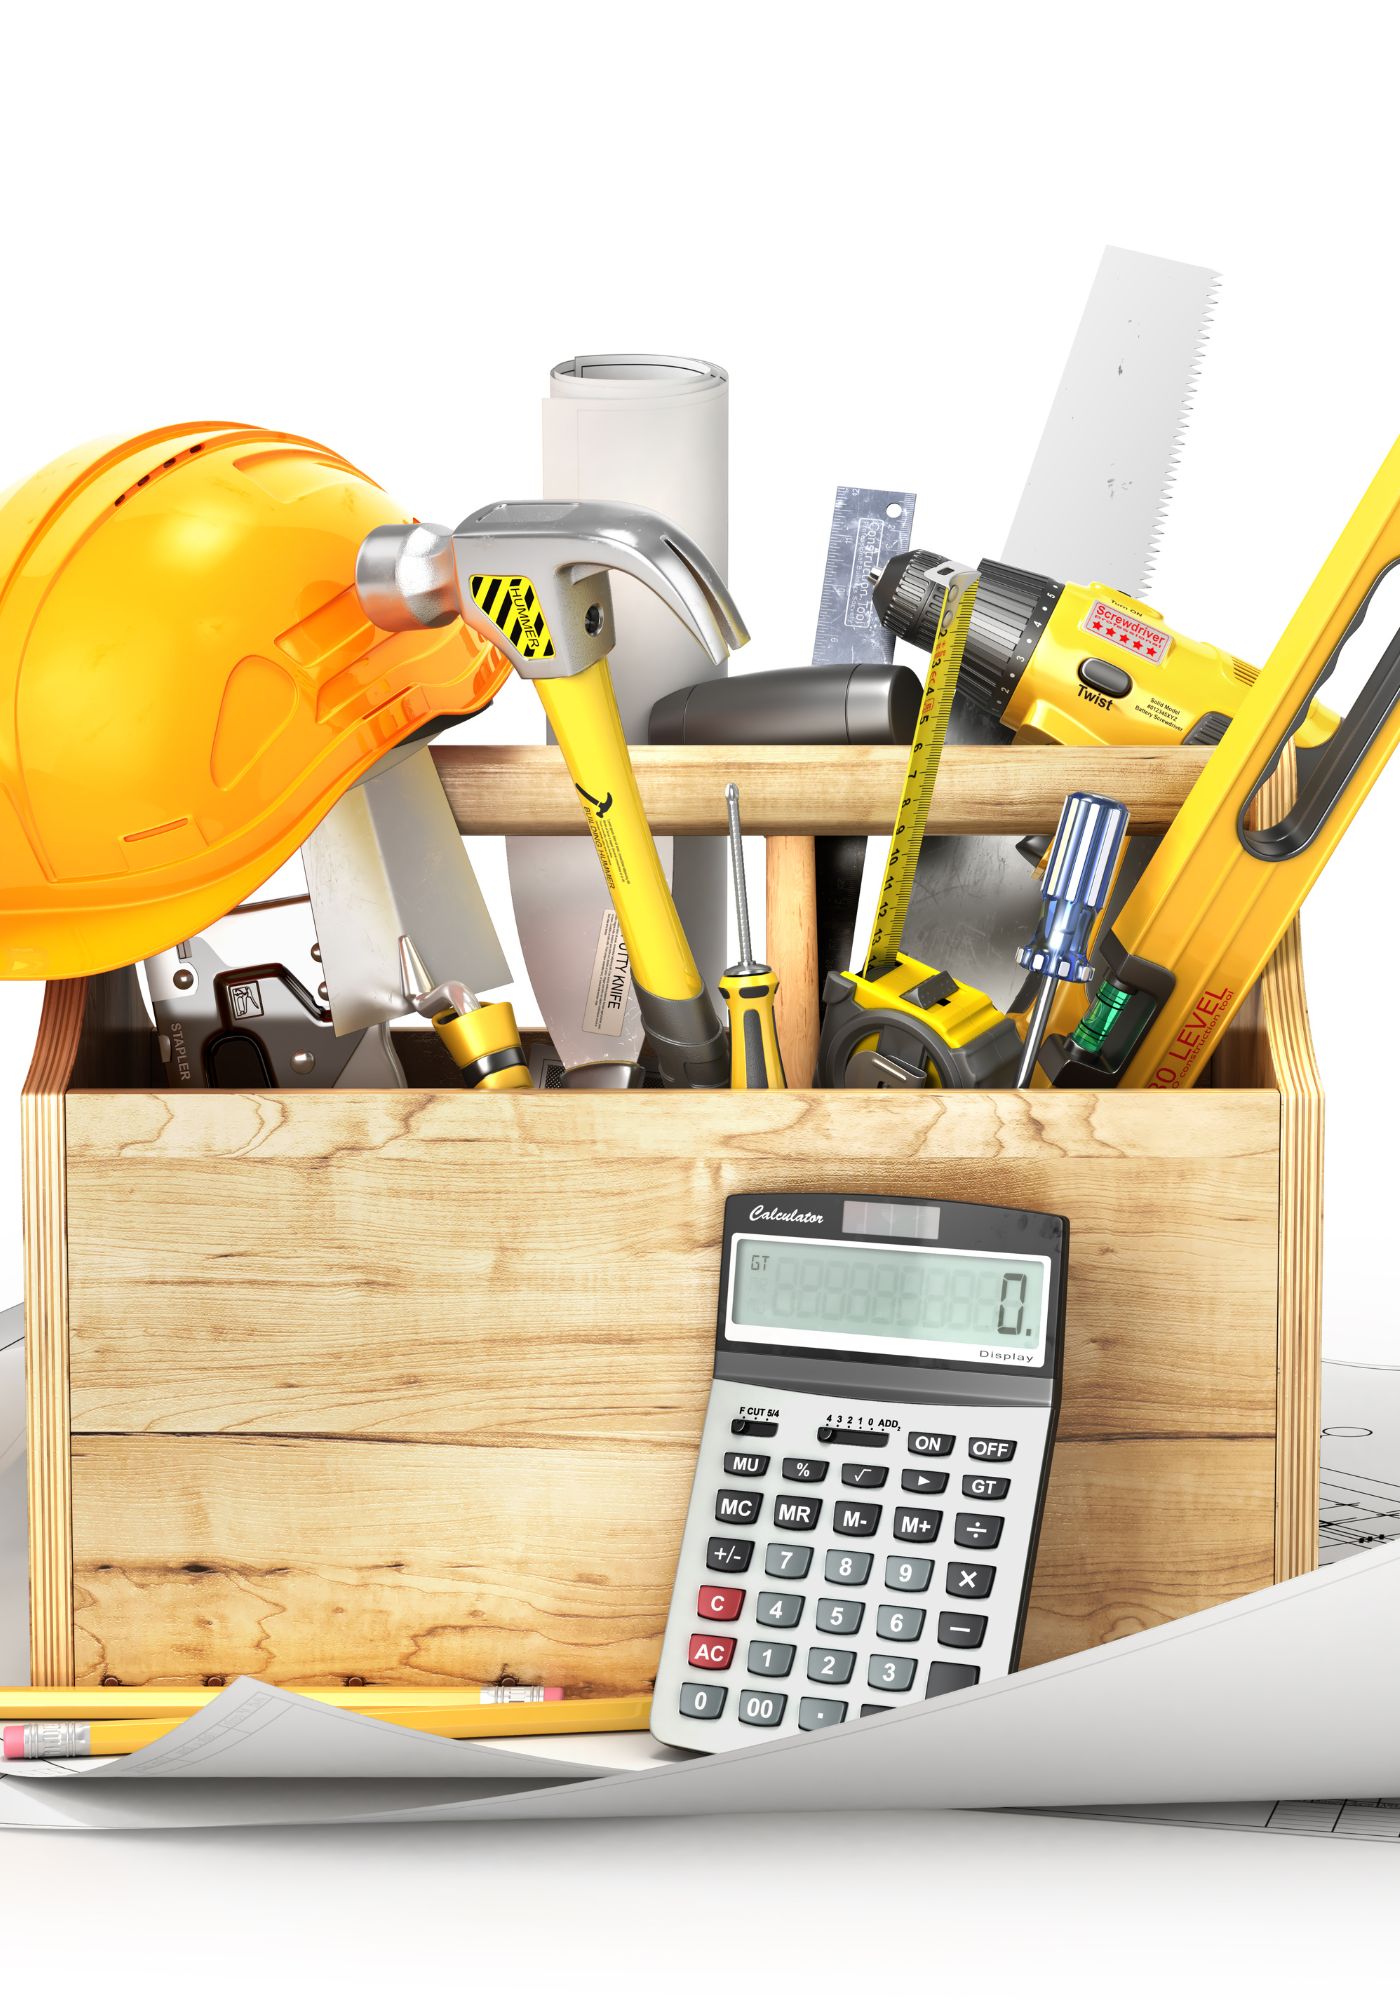
Pencil and Measuring Tape: When installing shelves, precision reigns supreme. Accurate measurements and annotations curtail mishaps and spare your wall from unwanted holes which would require touching up later.
Laser and Level: Sidestep the dreaded askew shelf by using a level and/or laser. A level/laser guarantees uniformity and equilibrium.
Drill, Screws, and Heavy-Duty Anchors: The bedrock of installation, assuring your shelves remain steadfastly anchored depends on the use of the right anchors for the right support. If the location of the brackets coincide with studs then screws must be used. Do Not use nails!
However, the right caliber of screw is critical, specialized wood screws are preferred. Consult with your local hardware store based on the duty of the shelves and brackets you intend to install.
Click Images For Product Details
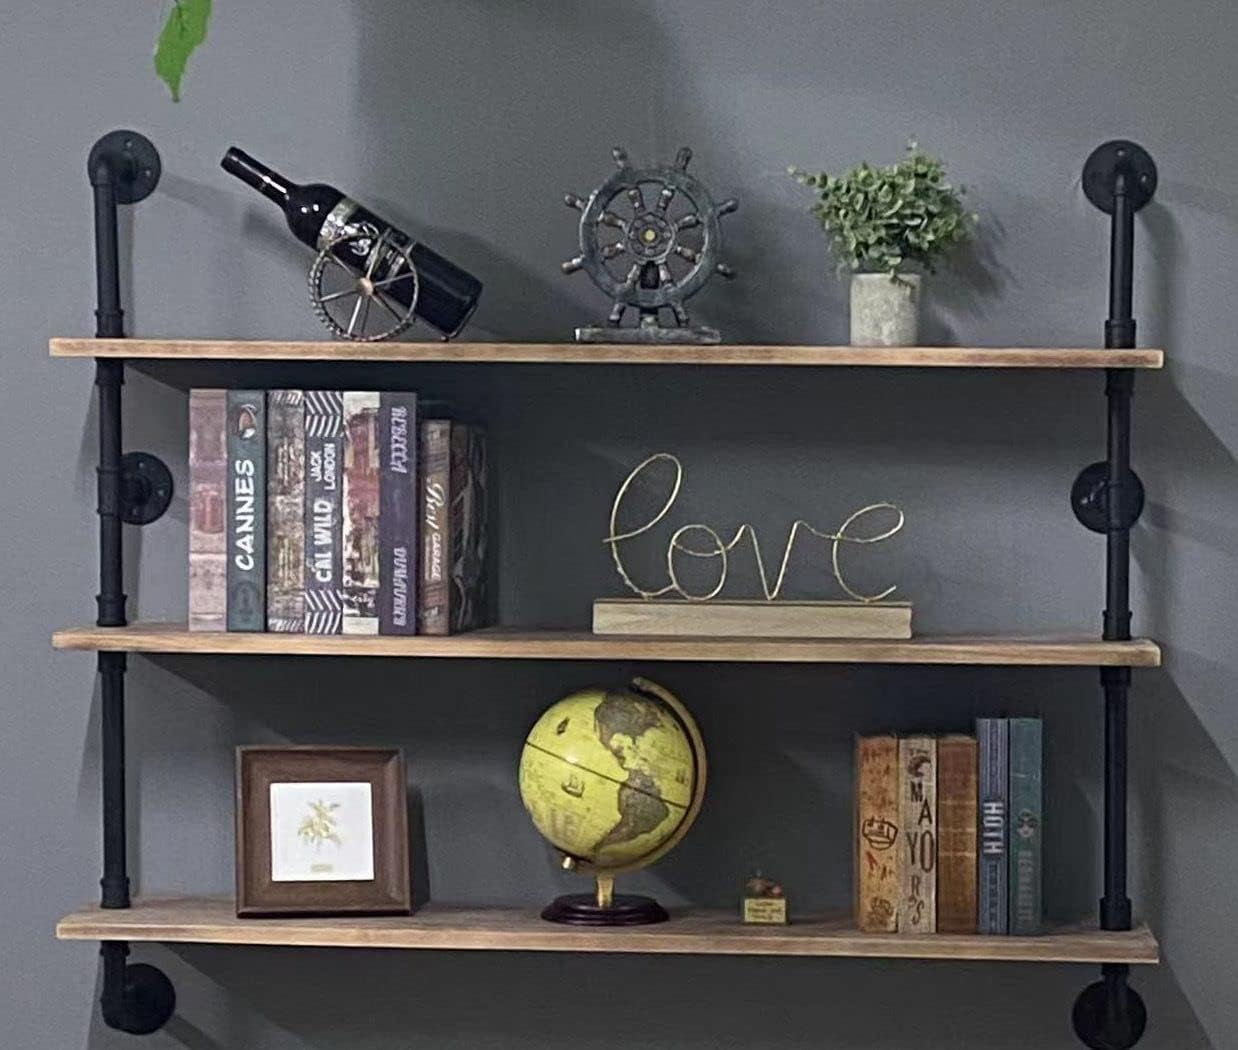
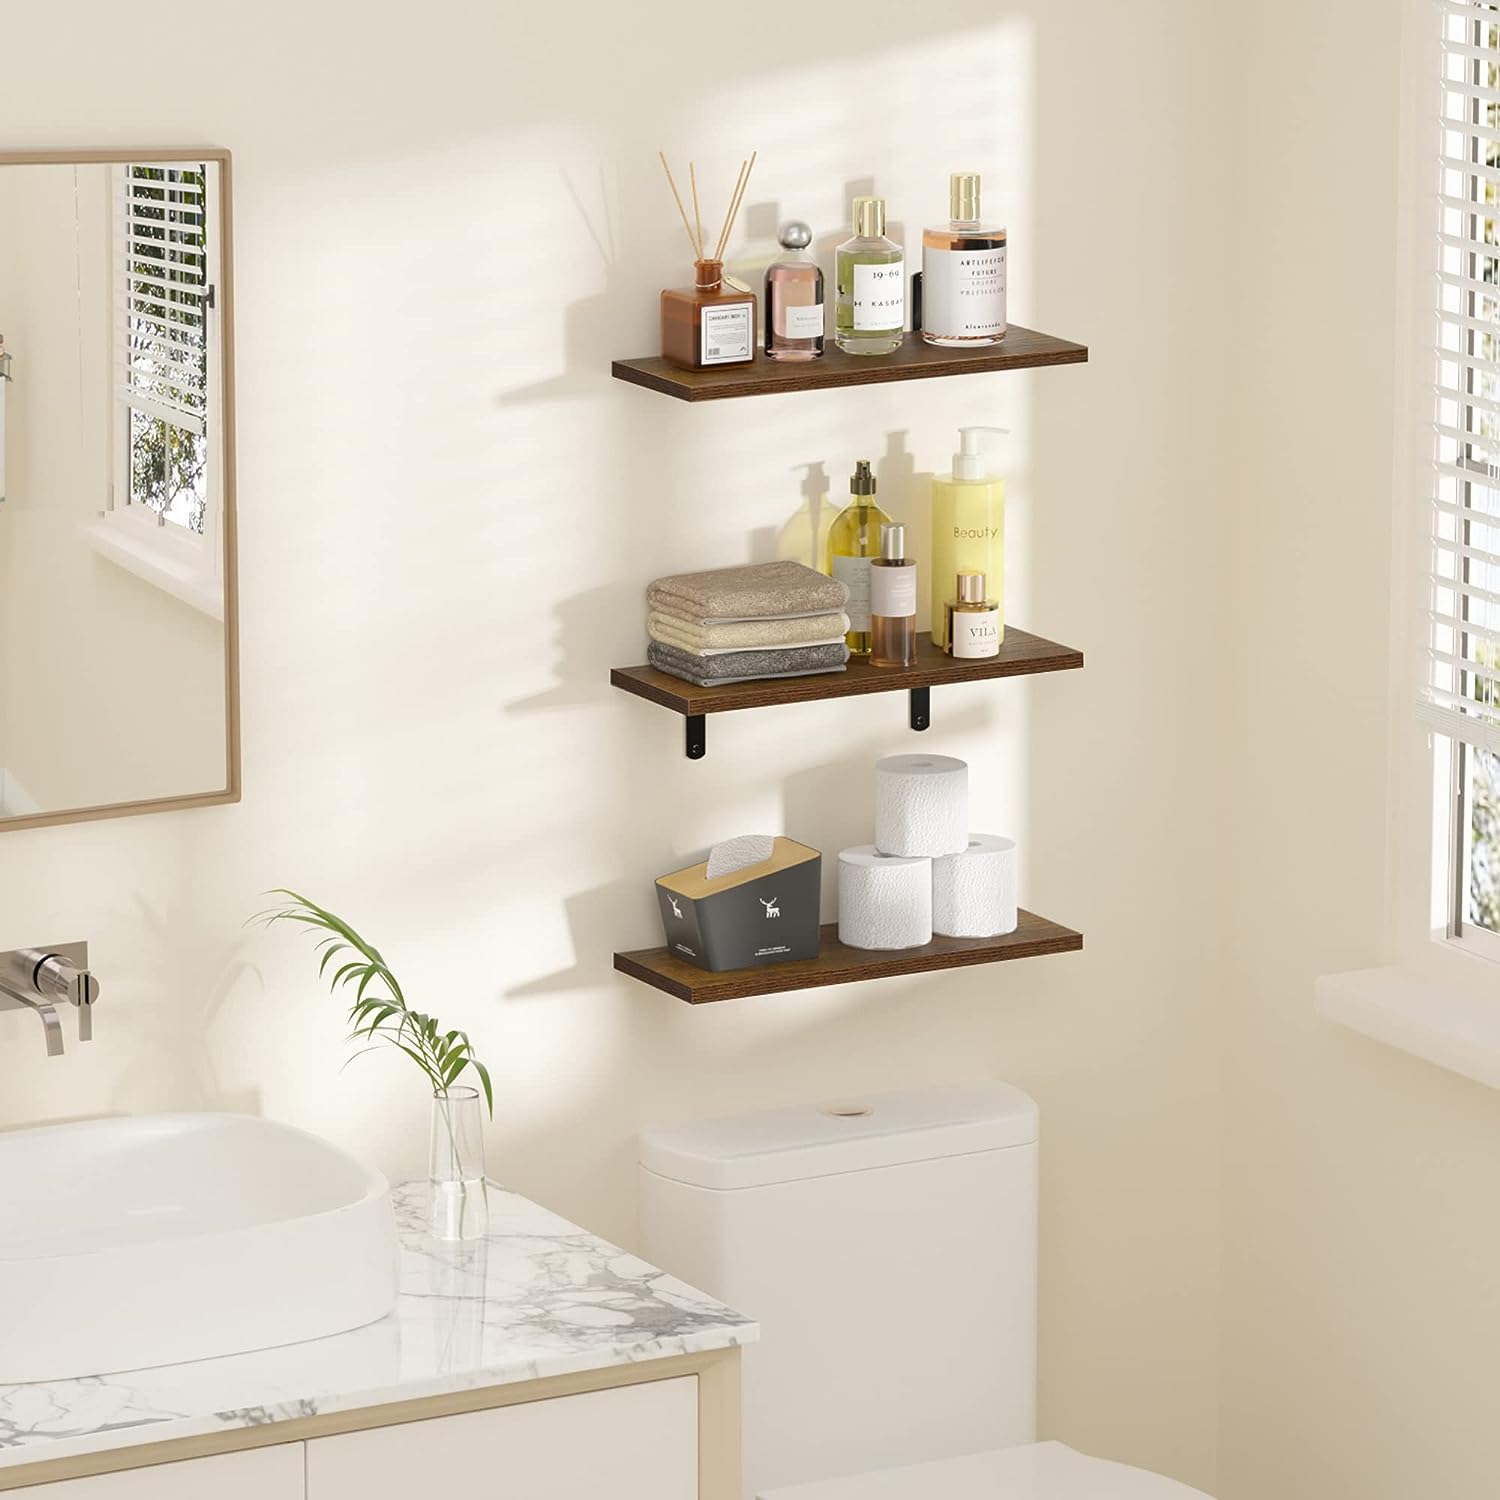
Non Drywall Installation
For installation in brick, block, concrete wall, drywall or other support types specialize anchors are required – these can be bought at your local hardware store to match the duty of the shelving.
The type of wall material will dictate the type of drill to be used as concrete and brick may require a high impact drill to be able to drive the anchor through the wall material.
The heart of a successful DIY project lies in the foresight and underscores a devotion to planning, precision, preparation i.e. have the right materials, tools and knowledge.
How to install shelves with brackets
Anchoring Shelves To Solid Support
One of the the key questions that must be answered is – how much weight each wall bracket must support? To do so is to determine the duty requirement bracket supports – heavy duty shelves require extra support.
Behind each wall, obscured by paint, tile, or wallpaper, exists a lattice of wall studs. These uncelebrated pillars, often hidden from the eye, are indispensable in the blueprint of any house.
Click Images For Product Details
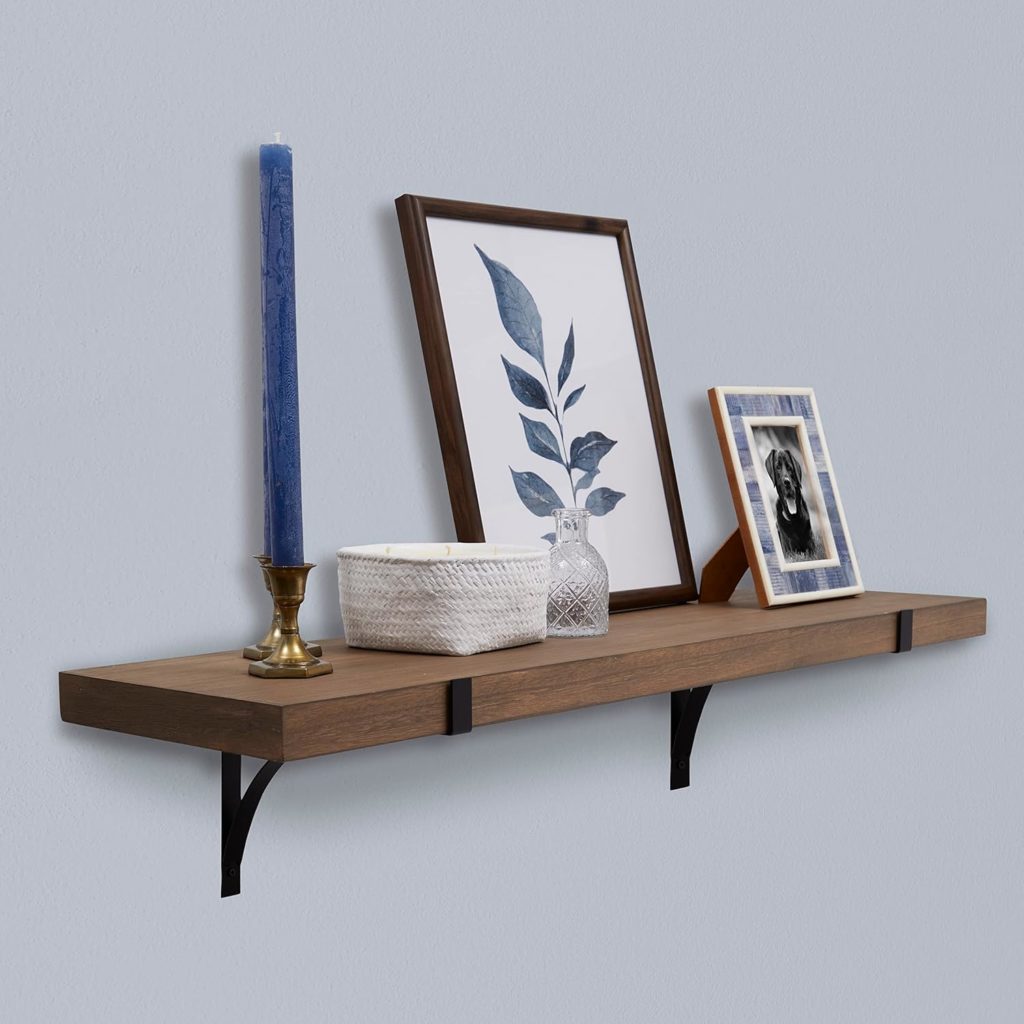
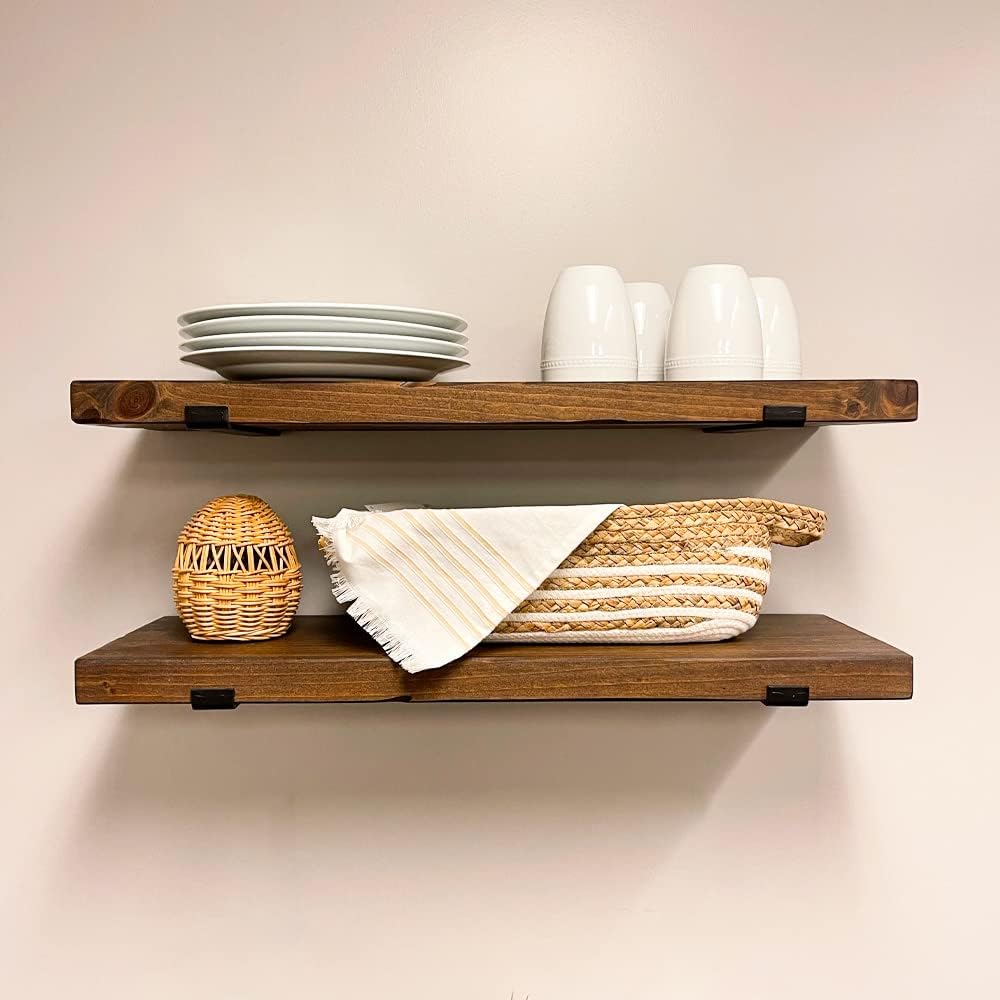
As you gear up to install your open shelves or floating shelves harnessing these studs is non-negotiable and key to achieving structural strength. Heavy duty shelves are a must if you intend to place heavy items on the shelves such as china and pots.
If you are purchasing shelving and brackets, please consult the manufacturers instruction to ascertain how much weight is supported by each bracket.
The Sturdy Structure Within Walls: Studs, whether wood or metal, serve as the veritable backbone of your wall’s anatomy. Mirroring the skeletal framework in humans, they bestow structural integrity. This ensures walls withstand the pressure of wall-mounted fixtures, including floating shelves laden with kitchen dishes, books, or ornamental pieces.
The Imperative of Anchoring to Studs: Envision suspending a weighty painting merely on a nail embedded in the superficial drywall. Gradually, gravity would take its toll, heralding potential wall damage or even a full-scale collapse. In the same vein, wall shelves, especially designed for hefty loads, necessitate anchorage to something more formidable.
When you install floating shelves or brackets into studs, you’re capitalizing on the wall’s most robust segment, guaranteeing both stability and safety.
Charting Through Stud-less Terrain
Occasionally, our ideal shelf placement defies the stud’s location. While seemingly a hiccup, contemporary tools present a workaround. Drywall-specific wall anchors come to the rescue. Maybe!. It all depends on the shelf capacity needed.
In general, opt for heavy-duty anchors rated for substantial weight. Even then, refrain from overburdening shelves. Visit your local hardware store to see the various types available.
In Summation: Akin to architectural masterpieces, the triumph of a DIY floating shelf or normal shelving endeavor, rests on its foundational strength. In this undertaking, the stud finder isn’t merely a tool; it’s the beacon directing you to the wall’s secure zones.
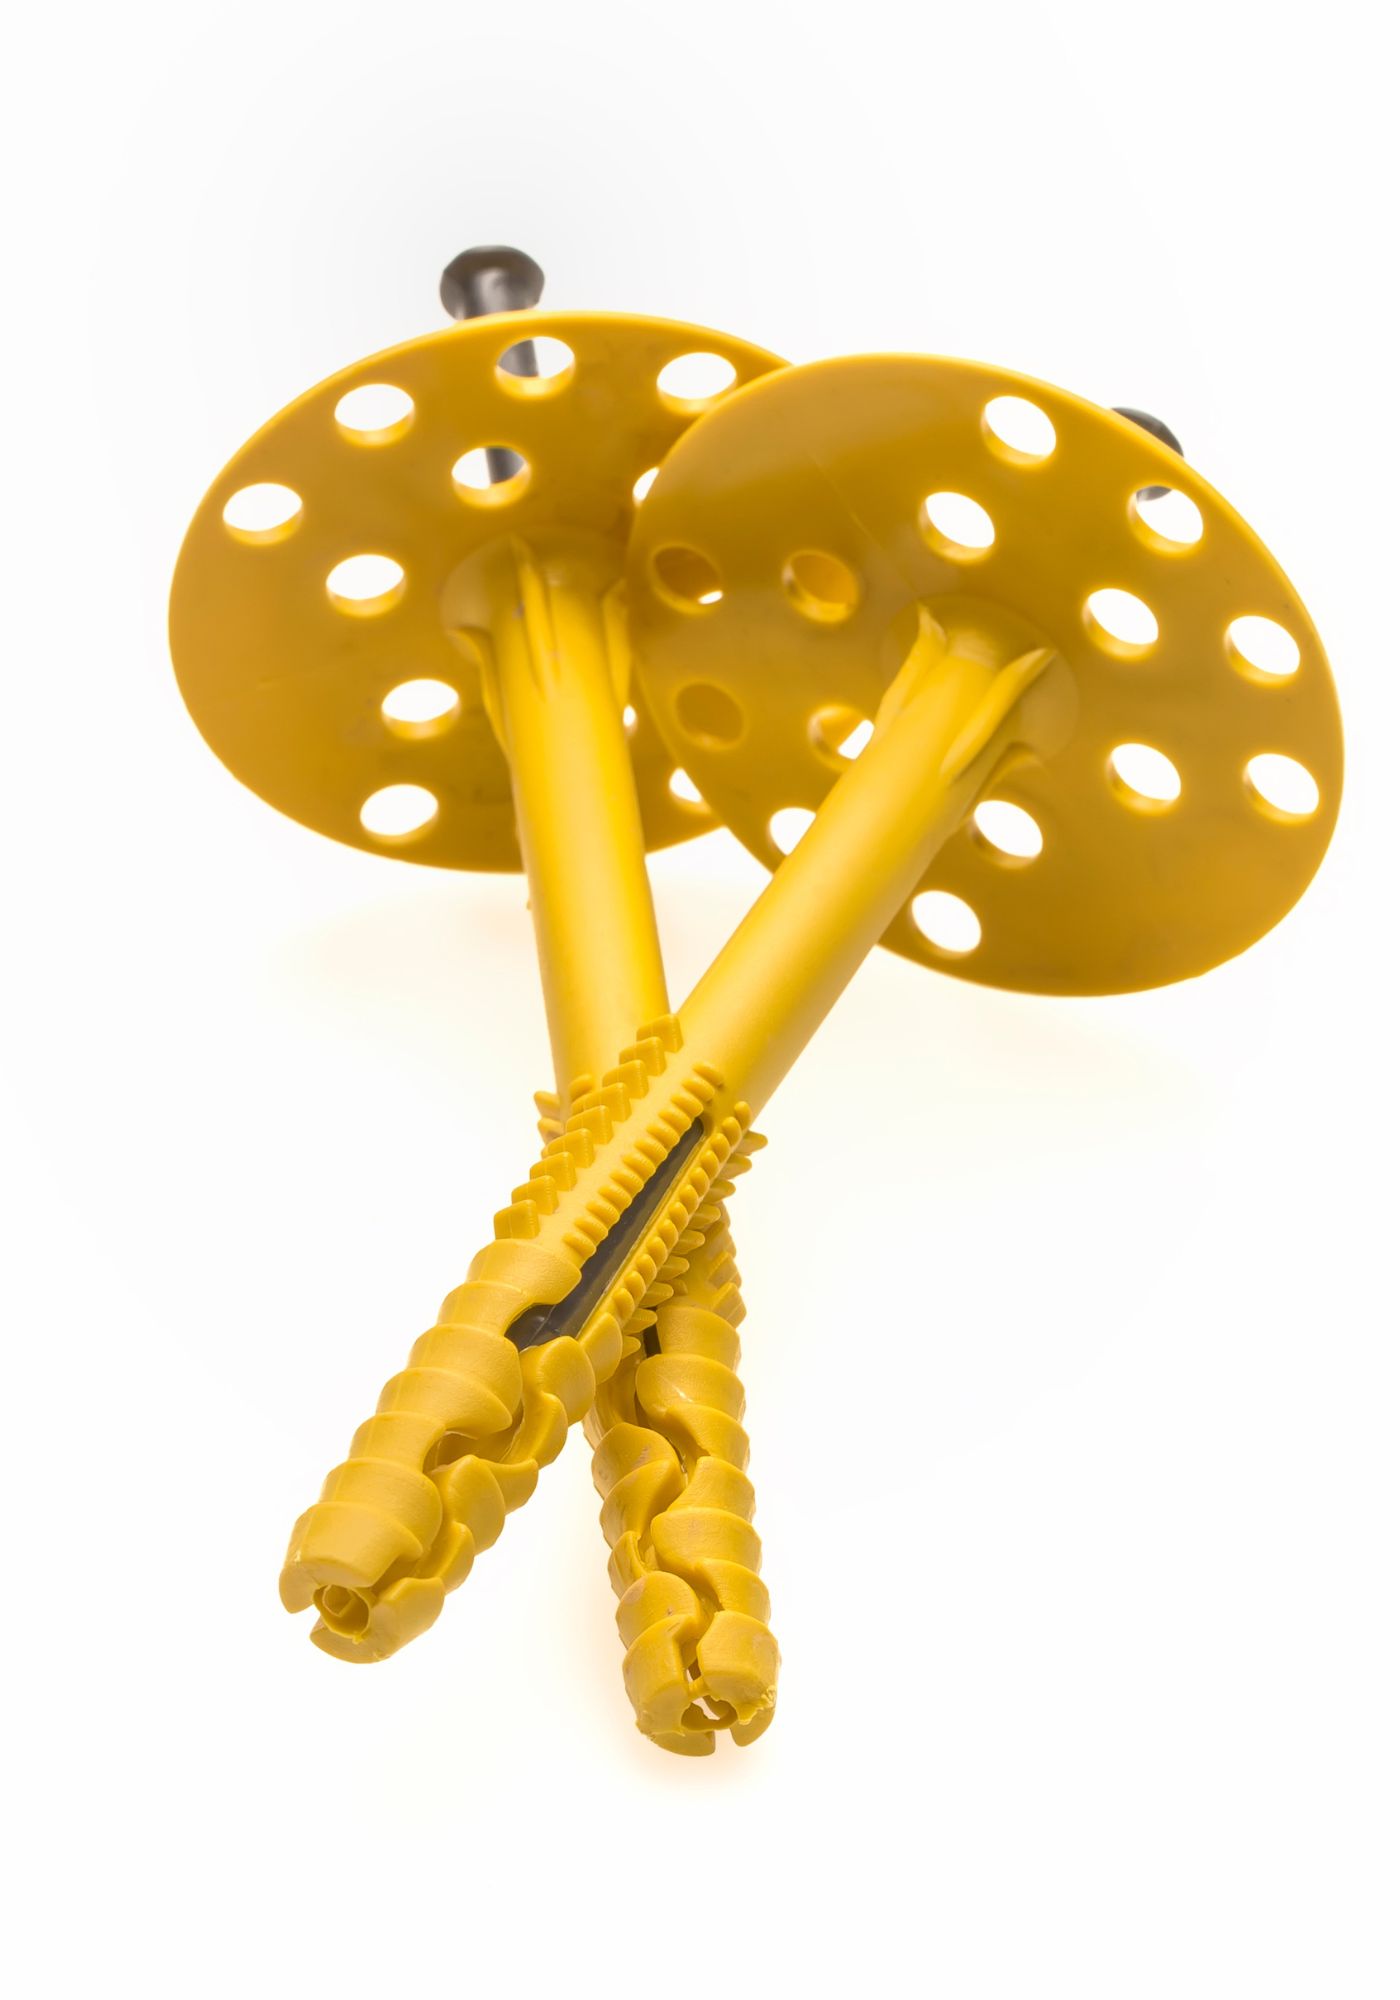
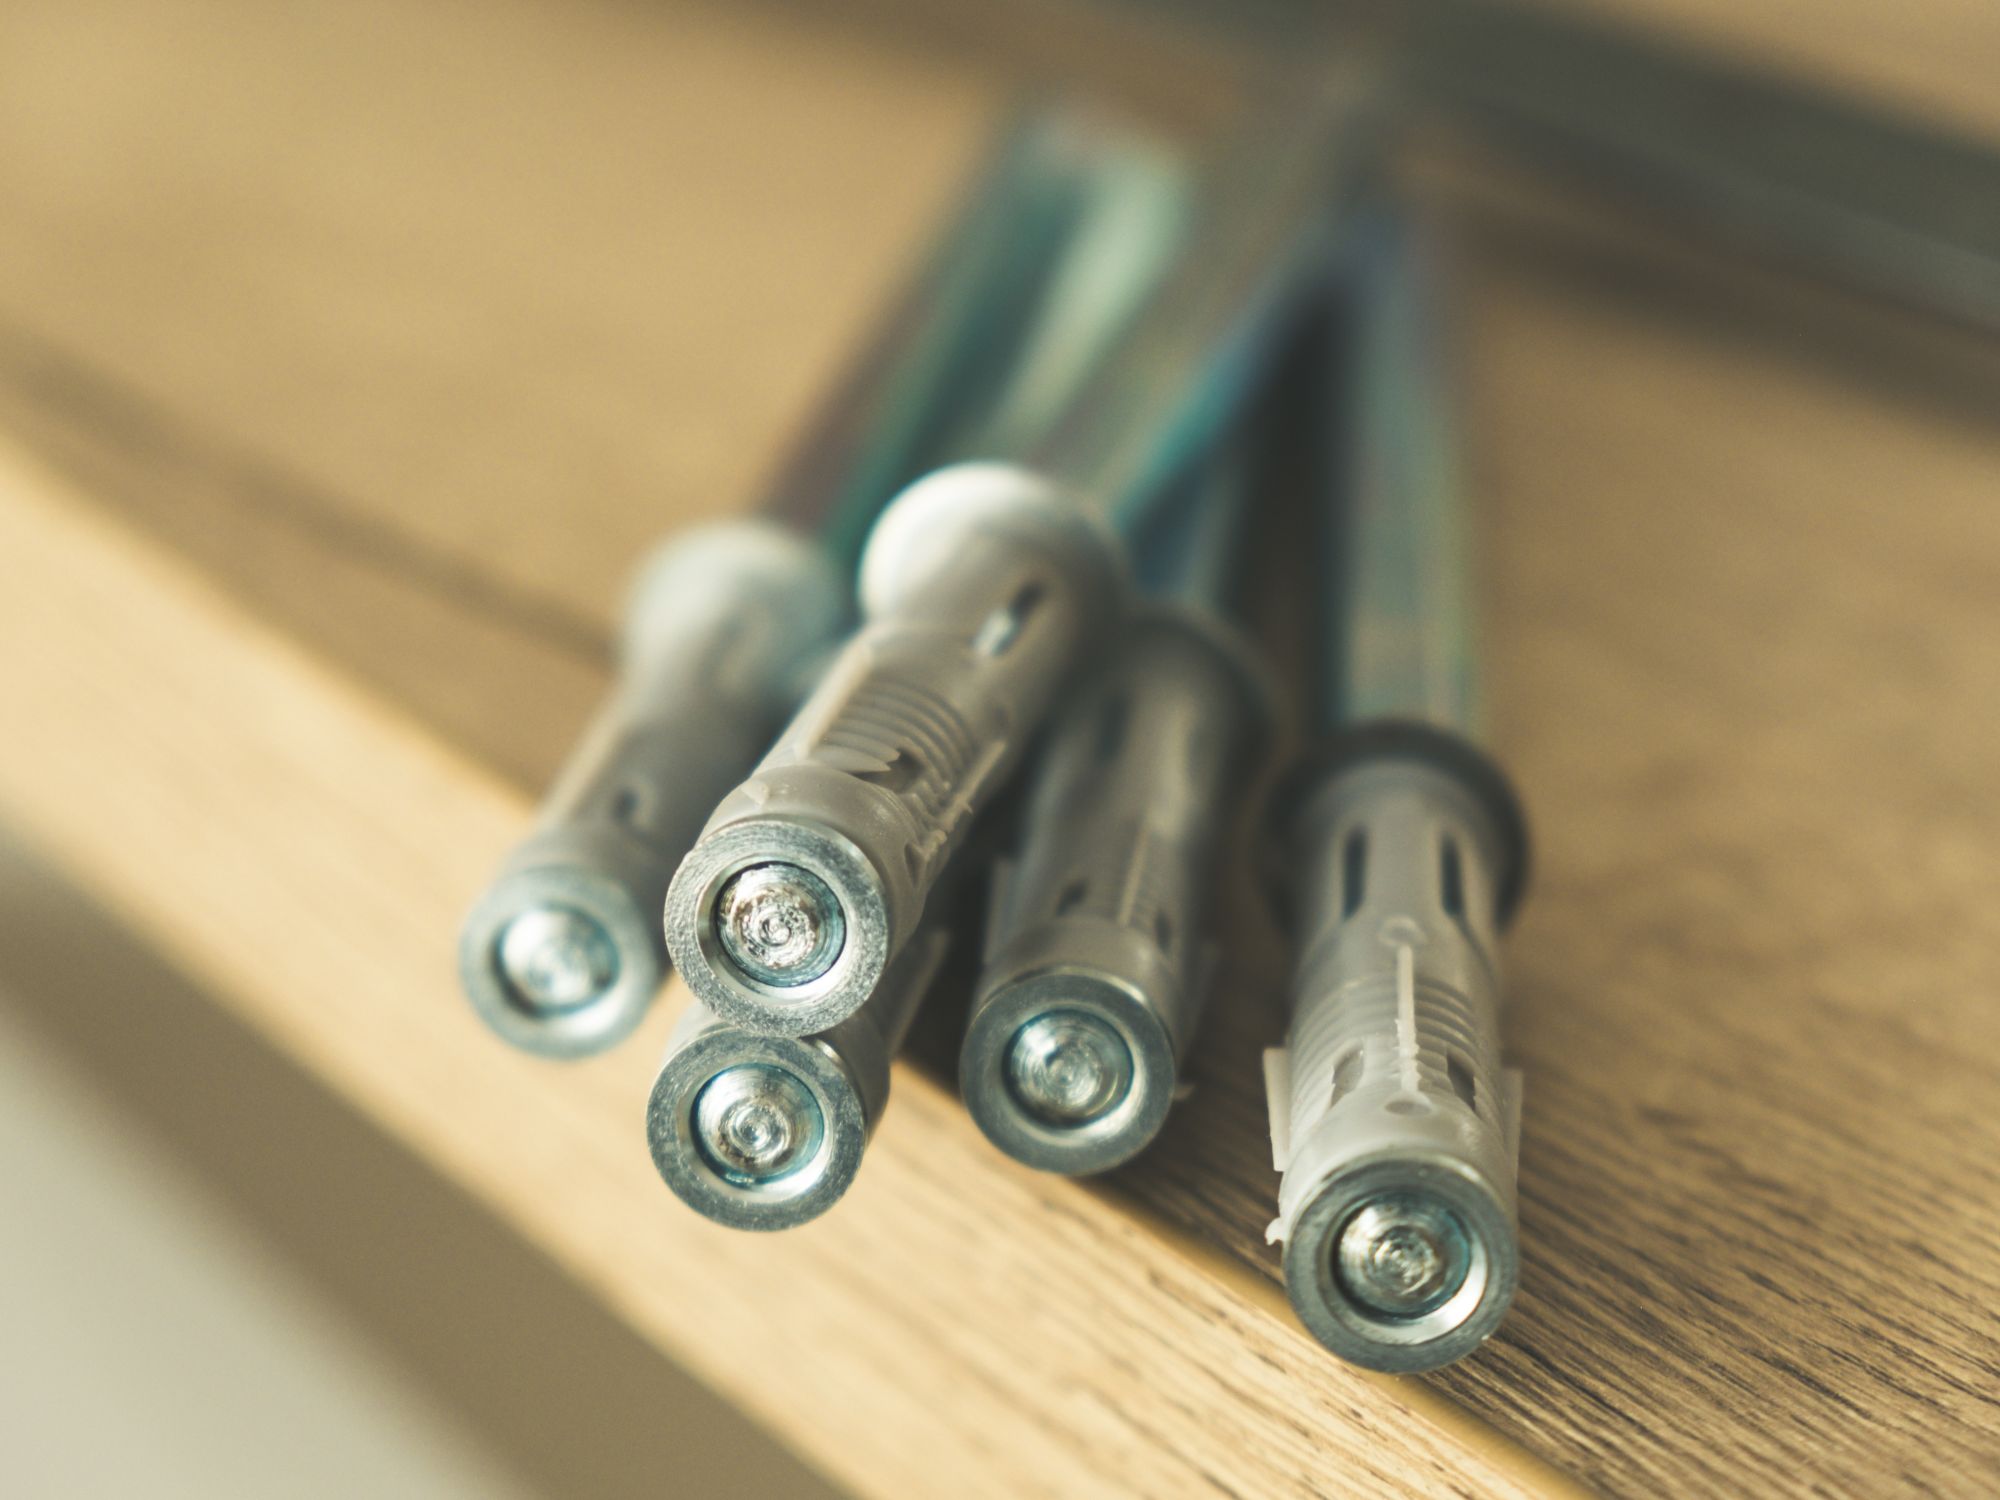
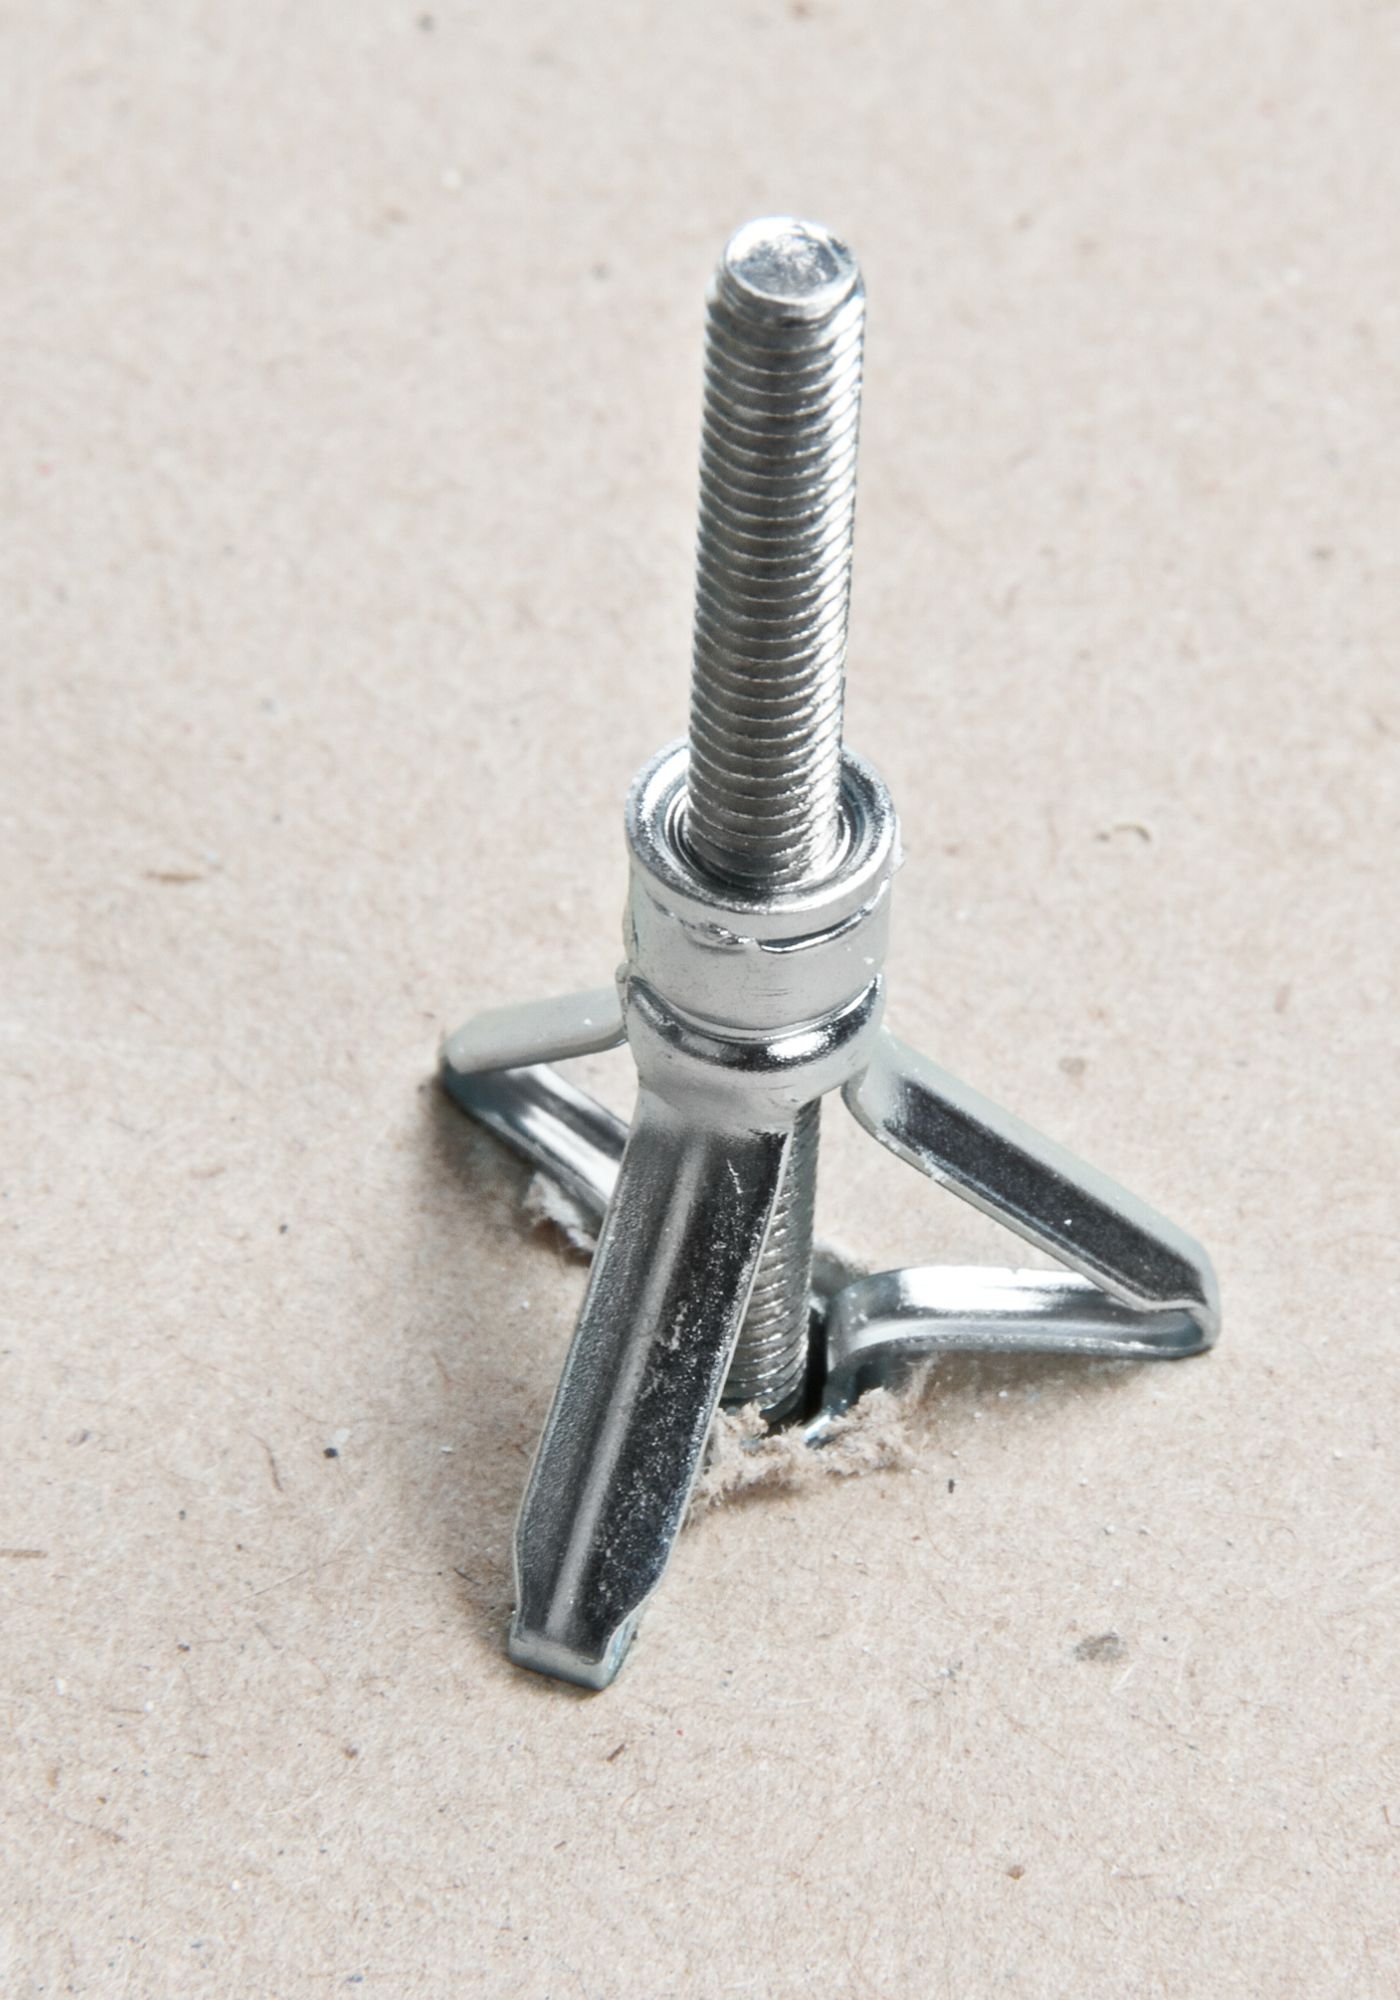
Where studs are not available or does not coincide with the bracket locations the appropriate anchors must be chosen depending on the type of wall material and the weight requirements. Here are a sample of various duty anchors.
Ready, Set, Go! – Bracket Installation For Traditional, Open and Floating Shelves
Choice of Shelving
Now that we have reviewed the key needed skillsets, knowhow, and have acquired all tools, materials and supplies let us delve into performing the installation.
Choice of Shelving: The first order of business is to install the brackets but first you must decide or you would have by now decided on whether your are going with a traditional or floating brackets and shelves? Regardless of whether you’re gravitating towards minimalist floating shelves or the timeless charm of traditional or even open shelving, mastering bracket installation is pivotal.
Floating Shelves: Floating shelves have catapulted to fame, revered for their streamlined and avant-garde façade. The enchantment, though, is anchored in their internal fixtures.
Please visit our other post for detail regarding Floating Shelves Installation.

Traditional and Open Shelves: The conspicuous, oftentimes ornate design of the traditional brackets dovetails with the shelf’s aesthetic, bestowing a design dimension whilst furnishing unyielding support.
Installing Brackets
Measuring and Demarcation
Accuracy reigns supreme. Methodically determine and gauge the positioning for each bracket. Aim for uniform spacing and congruence. If only one end of the shelve will have access to a stud then begin measurement and installation at that end before installing the anchor at the other end. This end will therefore be a firm foundation from which to ensure level and sturdiness is achieved.
Post-measurement and re-validation, mark the location of the stud with a pencil. These marked locations are very essential and foundational to the work ahead.
Alignment and Equilibrium
Syncing the brackets with studs is important for optimal anchorage. In scenarios devoid of studs, anchors or heavy-duty wall anchors must be used as already discussed above.
Before commencing any drilling, place the shelf bracket against the wall at the location where you determine the stud is located and where along which the shelve will run horizontally. Leveraging a level or preset laser to affirm its vertical and most importantly its horizontal alignment. It may be useful to have a “sidekick” who can help throughout the project.
This is imperative; as a misaligned bracket can culminate in lopsided shelves.
Bore and Anchor
At the marked locations, perforate the wall. If said location coincide with studs, you’re in luck; otherwise, wall anchors rally to your aid as noted above. Ascertain these anchors are tailored for the intended shelf load capacity requirements.
If an anchor is required usually a pilot hole is first drilled into the wall followed by the placement of an anchor. Once the anchor is in place proceed to install and secure the bracket.
For drywall tune down the drill to a low toque position to avoid damaging the drywall.
Remember if only one bracket will be in a stud install that bracket first and perform all leveling and alignment from that end. Ensure a snug fit for screws or wall anchors but do not over tighten and tightened only after you have placed the anchor at the other end or have aligned other connecting shelve pieces.
Once in Place, this first bracket and shelf becomes the guide from which vertical and horizontal alignment must be ascertained and controlled.
Pro-Tip: Ensure that the torque of the drill is turn down low when installing anchors in drywall to reduce the risk of unusable anchor locations. This can impact the relative location of all other brackets and the structural integrity of the anchor and by extension the finished shelf.
Click Images For Product Details
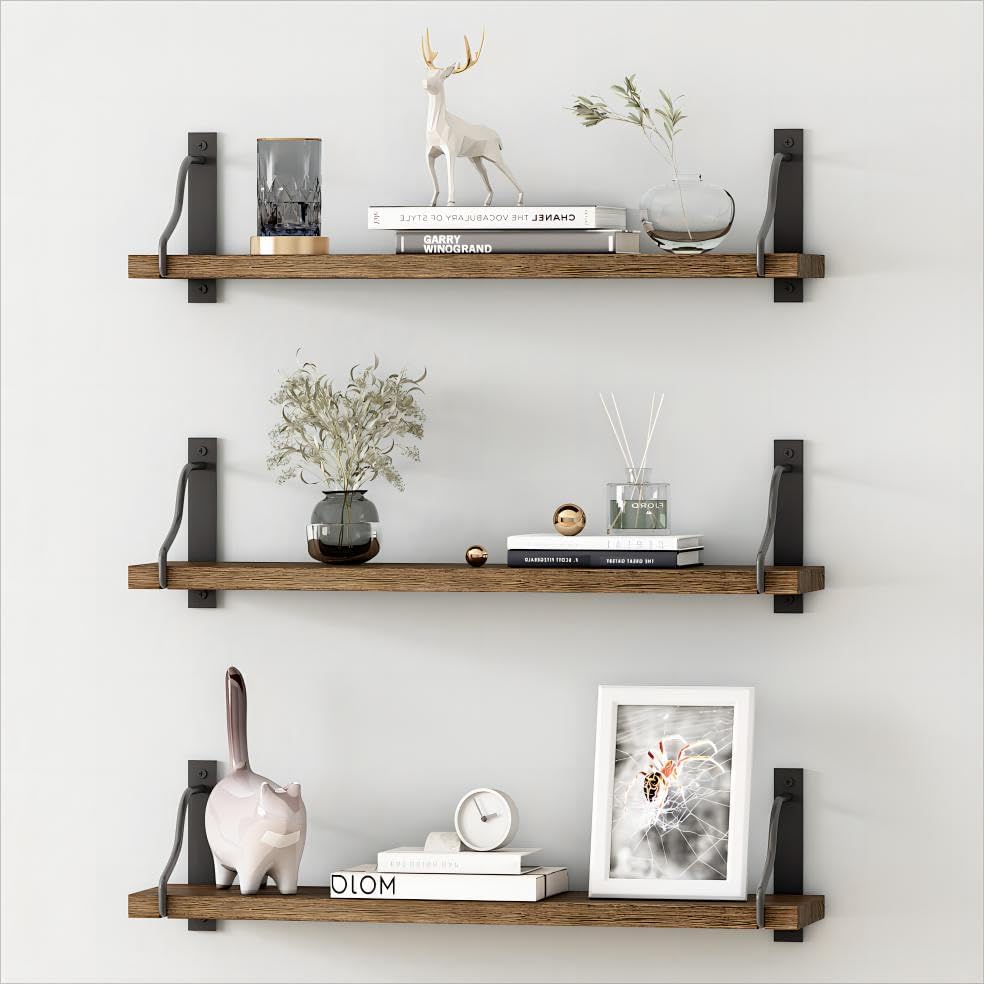
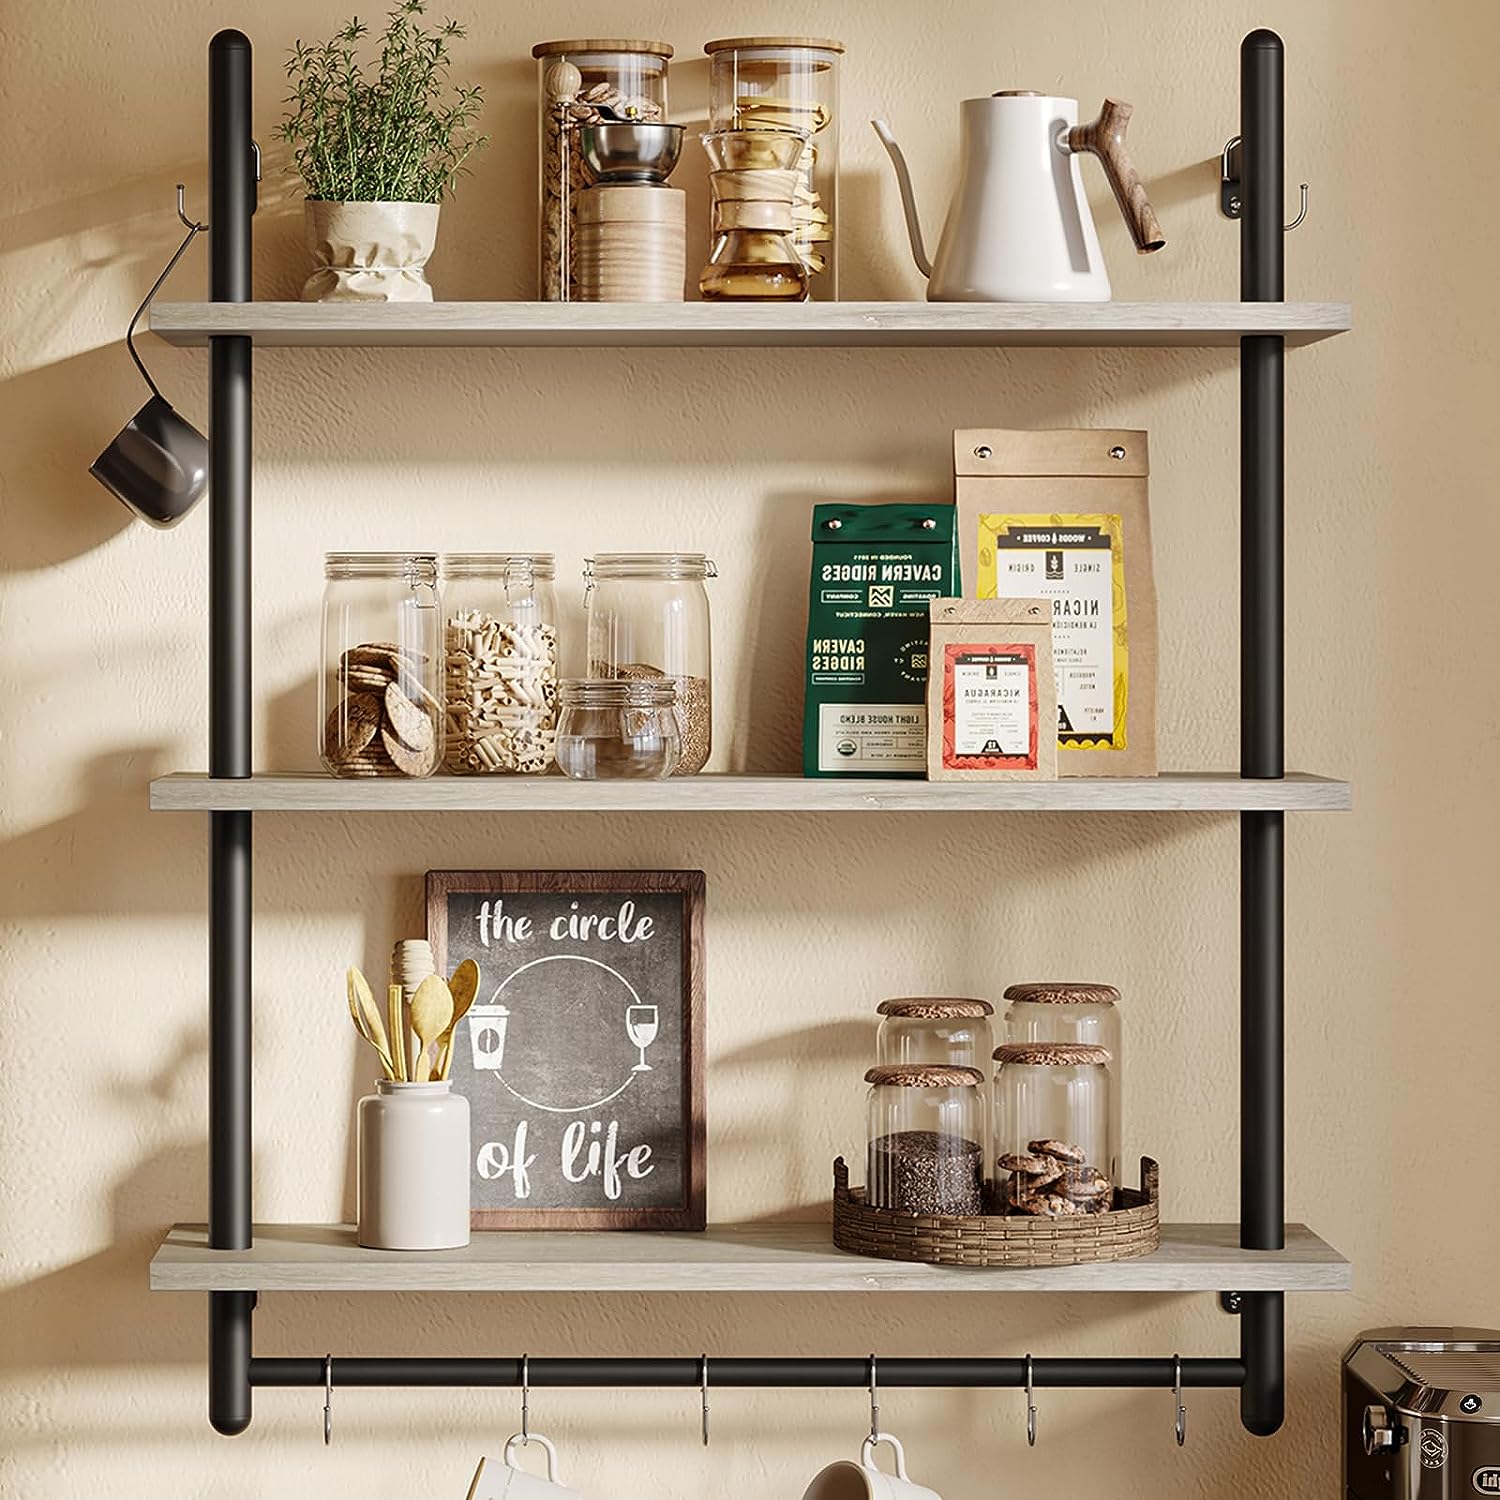
In summary, while open shelving or floating shelves are lauded for the aesthetic and pragmatic value they infuse, brackets (especially if heavy-duty shelf brackets are required) remain the backstage champions.
Shelf assembly might appear rudimentary, yet it demands an eagle eye for minutiae to achieve success.
Shelf Placement – Getting it Done!
Shelves transcend being just mundane wooden or glass ledges onced affixed to the wall. They are theatrical platforms – arenas where memories, pragmatics, and aesthetics amalgamate, forging a chronicle that resonates deeply with the dweller’s essence.
While the the anchoring of brackets hinge on technical exactitude, positioning the shelf evokes your sense of style, intended purpose and any predefine intent.
Equilibrium: Once bracket installation is completed then the shelves can now be nested onto them. This phase may seem outwardly straightforward however, it calls for an astute touch to ensure the shelf maintains aesthetical equilibrium across its span especially if it is nested with other shelf pieces within the space.
Securing Brackets to Shelves: Contemporary shelf designs are often pre-perforated tailored for securing onto the specific bracket. These perforations should coincide with the screw locations on the underside of the brackets.
Pro-Tip: Please ensure to verify that there perforations exist if you purchase your shelves and brackets or that you are able to drill them yourself.
Ensuring Alignment: Installation of Wall Shelves
Just as in any other home improvement project, alignment is central. The levelness of a shelf delineates both its operational integrity and its aesthetic allure.
In ensuring the geometric precision and elegance, the spirit level or laser are critical tools that must not be obviated. Before securing anchors to supports and shelve to brackets always verify that all pieces are level relative to each other.
Visual Imperative: Superficially, one might reckon the shelf’s primary function to be storage. Yet, design harmony holds equal gravitas. A shelf out of alignment evolves into an inadvertent centerpiece, overshadowing the allure of its contents.
A subtle skew, seemingly inconsequential, can disrupt an entire room’s visual coherence. So step back and give the visual node of approval! See image below!
Click Image For Product Details
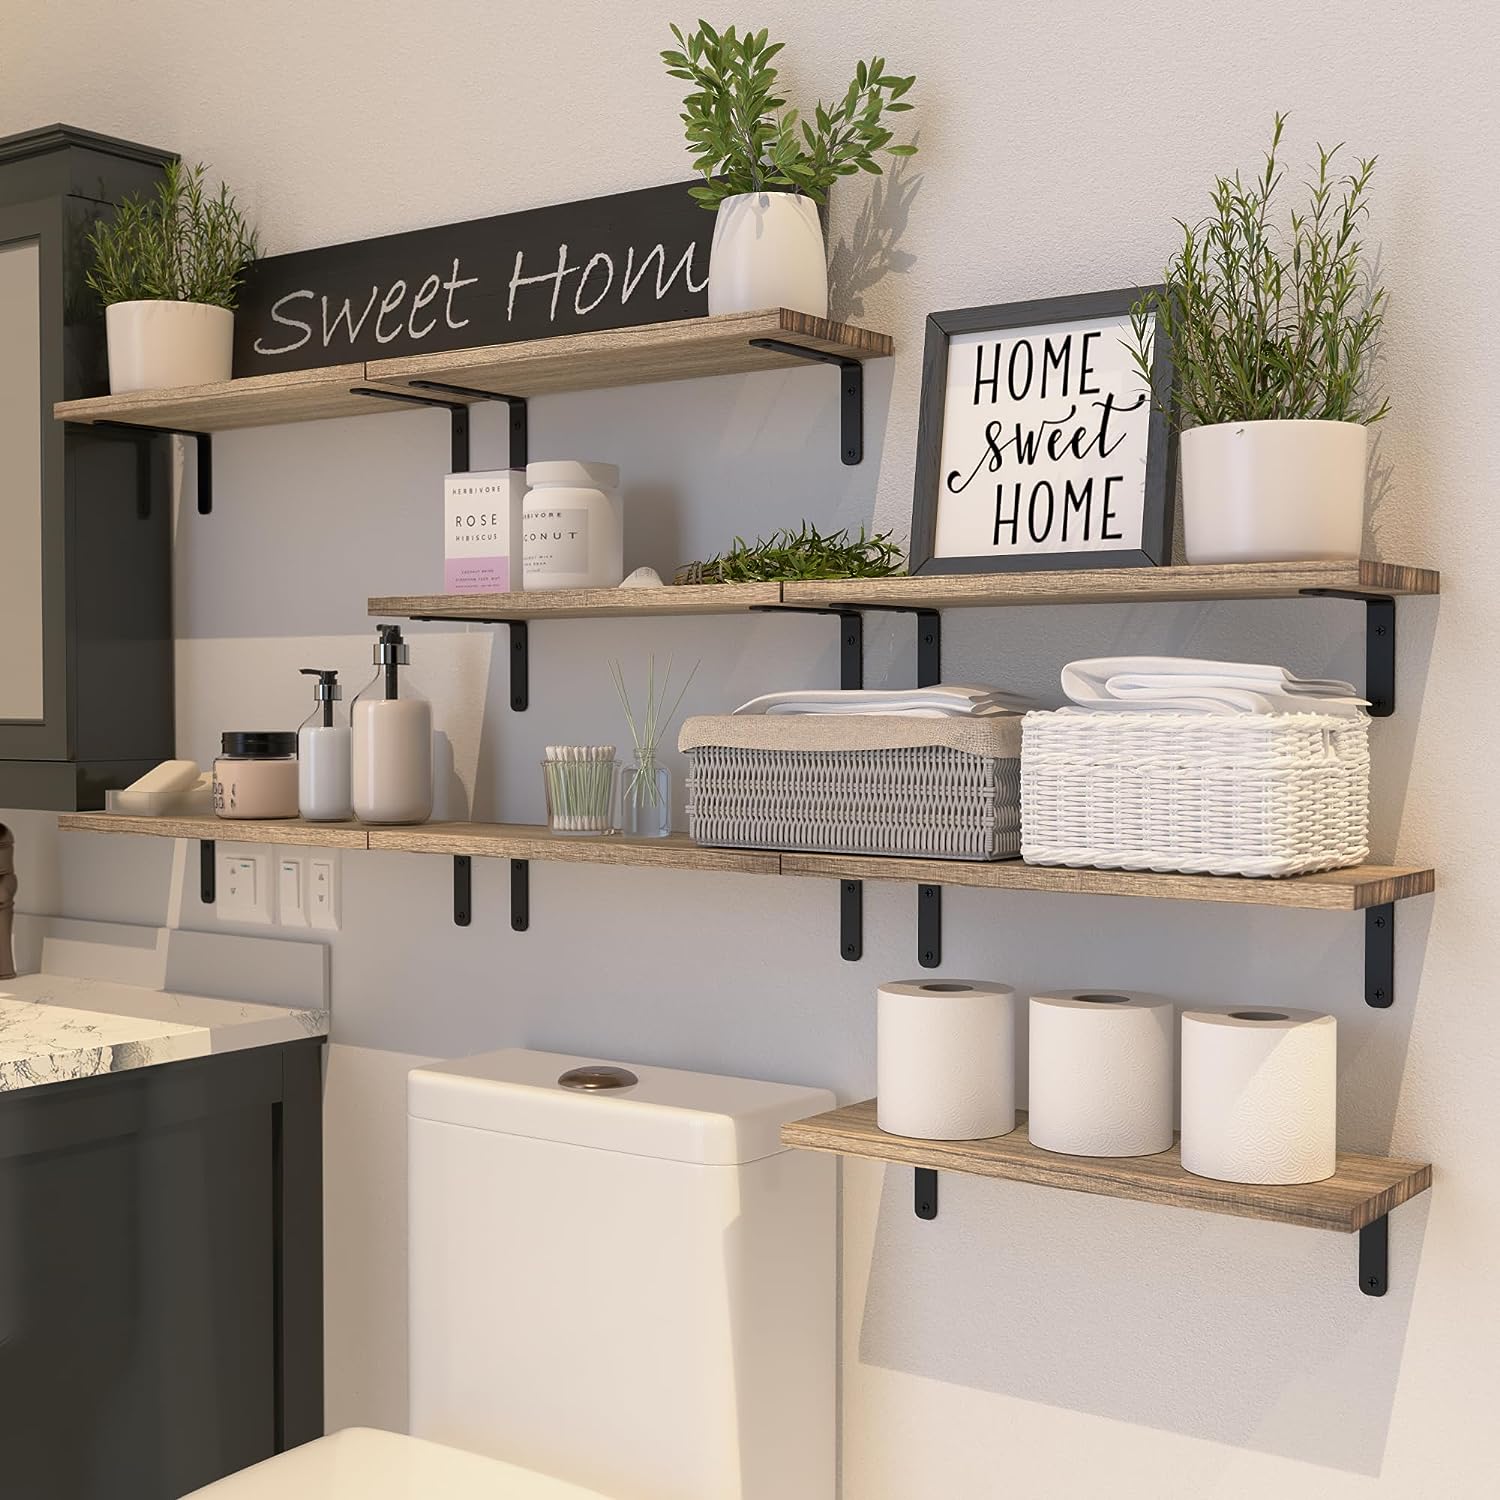
Upon situating the shelf on a bracket, (heavy duty or not) align the shelves perforations with that of the bracket’s arm. Utilizing screws which are usually inserted from below to join the bracket to the shelf material – forging a connection that’s both robust and unobtrusive.
Prioritizing Safety: Testing, Load Limit and Sagging
The triumph of erecting a new shelf, witnessing the tangible product of one’s craftsmanship, can sometimes overshadow a foundational tenet of the process: uncompromised safety.
While design and utility of a shelf take the spotlight, the bedrock of any installation must be its unwavering stability. The safety test is critical for high load capacity installations such as or fire places or in kitchens where pots and dishes are destined to be displayed.
Click Images For Details
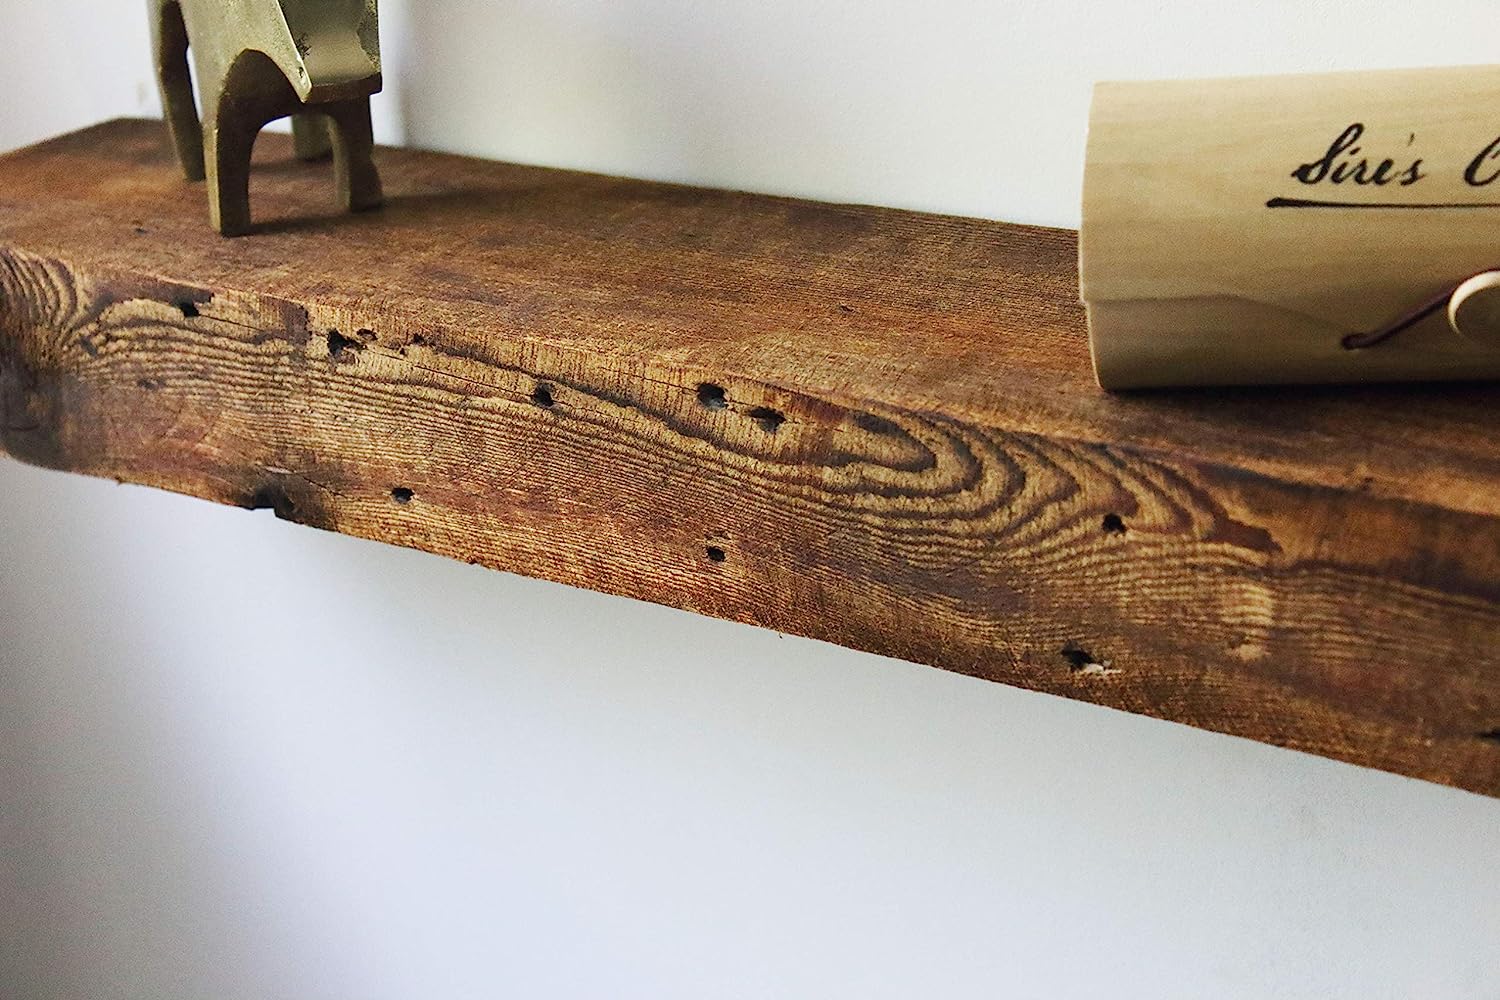
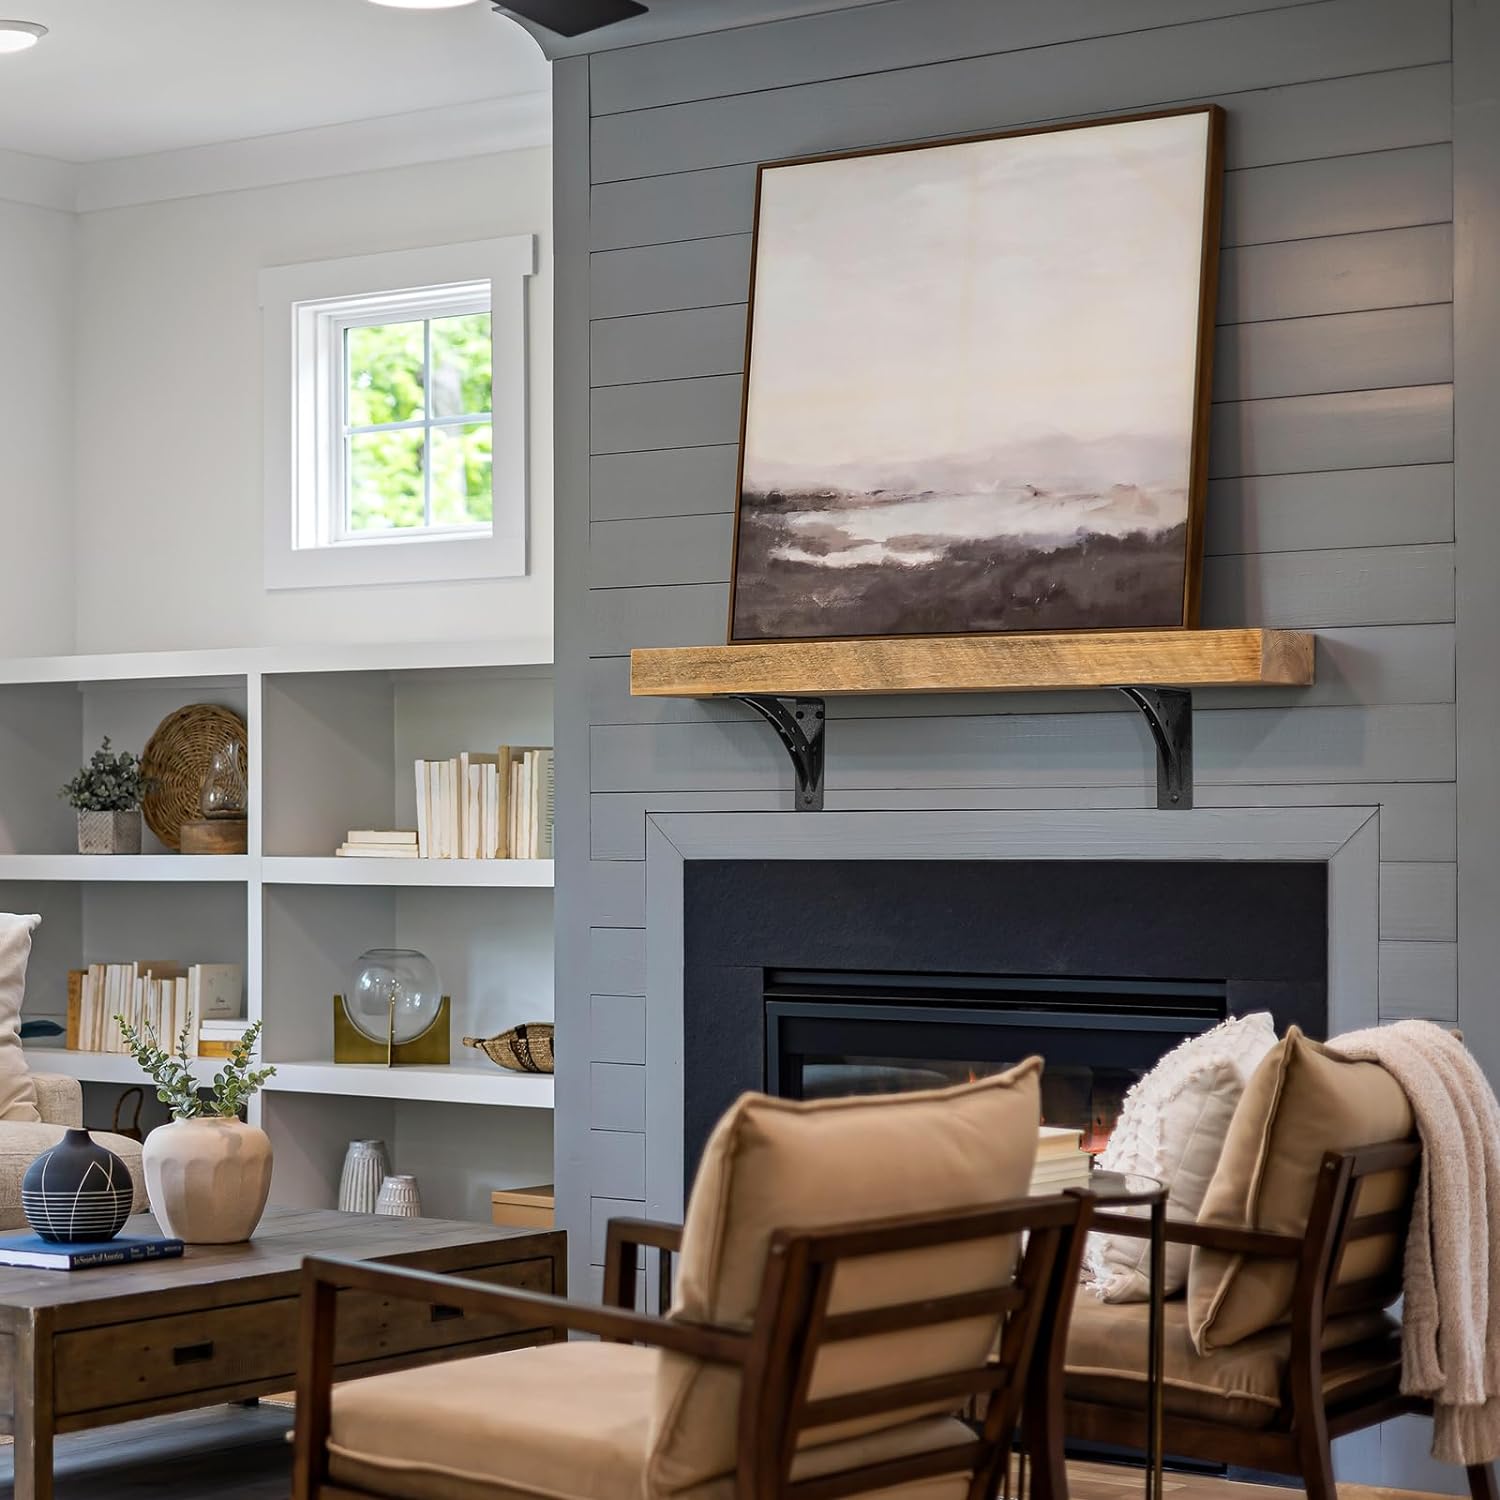
Stress Testing for Assurance: Once assembled, the initial stride towards vouching for safety is a rigorous stress test. Exerting a firm downward force simulates potential loads the shelf might encounter. The test must be proportional to the subject load capacity the shelves are expected to carry.
This tactile evaluation is vital to confirm the shelf’s steadfast attachment to brackets and the structural wall. Any hint of wobbling or movement warrants additional reinforcement.
Load Limit and Sagging: Every shelf, irrespective of its robust construction, harbors a maximum load limit. Surpassing this threshold spells potential mishaps.
The art of load management mandates centralizing weightier items, leveraging the inherent strength of the core. This approach forestalls edge overloading, curbing the propensity for sagging or structural deformation.
Décor Shelf Styling: Crafting Your Aesthetic Narratives
With the installation rigors behind you, you’re presented with an untouched tableau – your freshly affixed shelf. Analogous to an artwork, the concluding touches now awaits your aesthetic decisions.
Marrying Utility with Panache: Every utensil, literature, or memento is a chapter of a story. Even though the primordial role of shelves leans towards organization, they shouldn’t be devoid of panache. Melding utility-centric items with ornamental ones strikes a harmonious blend between pragmatism and charm.
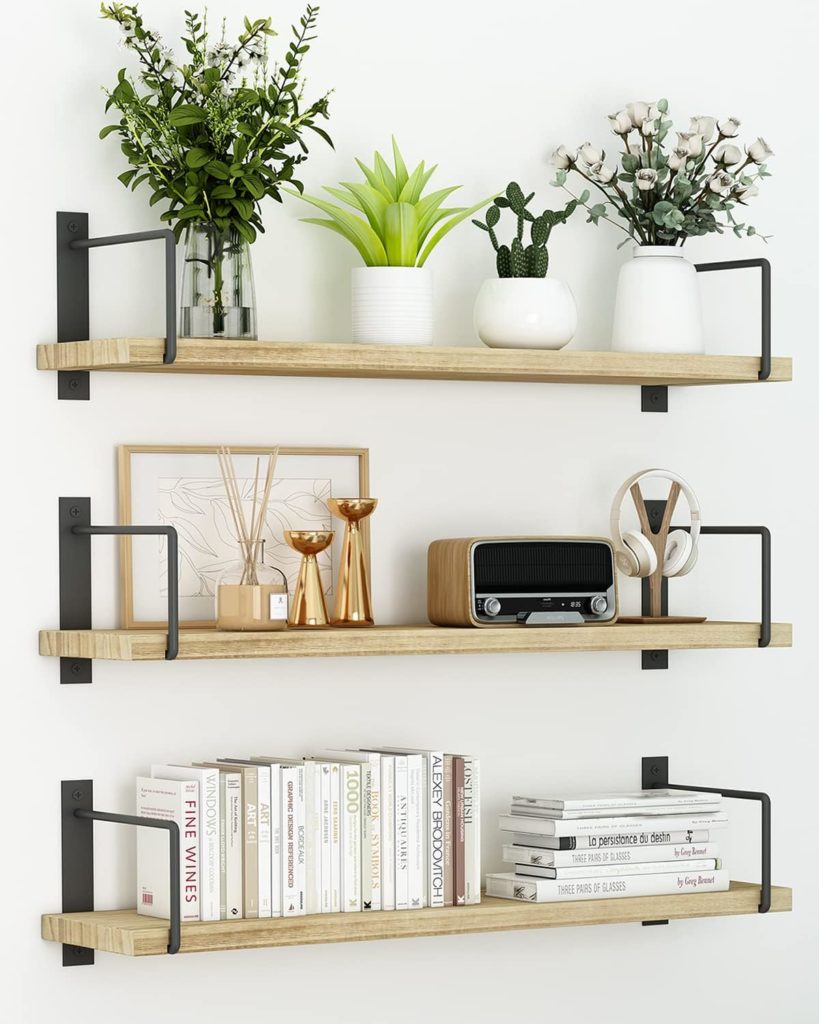
An ornate vase adjacent to daily journals, or a sequence of novels flanked by an indoor fern, crafts vignettes of daily existence interwoven with refined interludes.
Unified Aesthetics via Color and Motif: An efficacious strategy to bestow visual cohesion is thematically or chromatically clustering items. Ponder over a nuanced palette, allowing variations of a singular hue to create depth. Ponder the room decor below and be inspired!
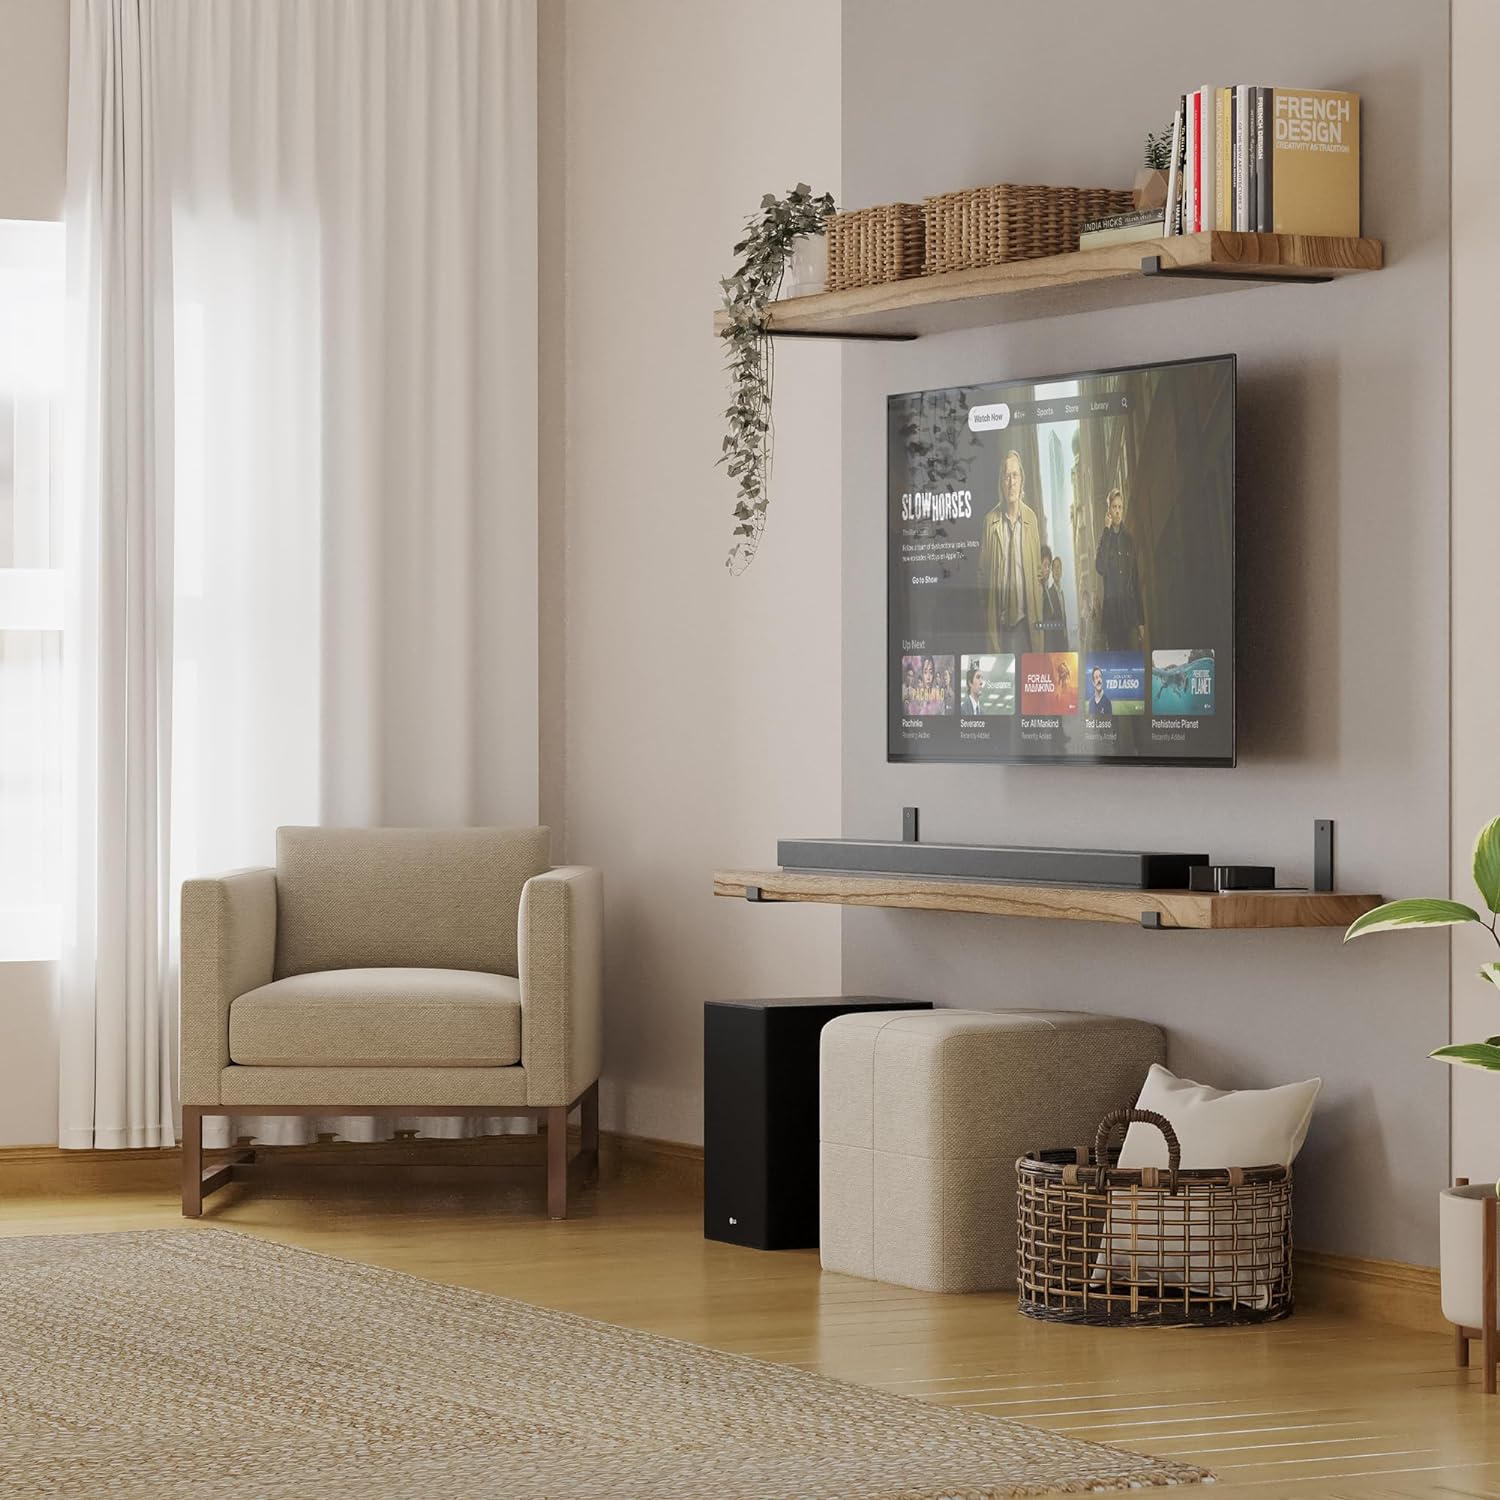
Alternatively, motifs – be it maritime, antiquarian, or botanic – can be your stylistic compass, rendering a seamless flow across the shelf. This methodical curation morphs your shelf from a functional unit to an orchestrated ensemble.
Accentuation Through Luminescence: Lighting is an unsung hero in interior design, with shelves being no exception. Deliberate under-shelf luminosity amplifies utility while instilling ambiance.
Whether it’s the diffused radiance from LED tape or the spotlight effect of puck luminaires, the interplay of light accentuates exhibits, transforming them from mere inanimate entities to illuminated spectacles.
Let personal instincts be your muse, crafting the mosaic of your existence, one shelf segment at a time.
Maintenance And Preservation: Sustaining Your Crafted Legacy
The soul of any domain isn’t confined to its initial blueprint; it emanates from its timeless allure. Much like the revered artifacts in a gallery, inaugurating kitchen shelves or shelves in other rooms represent only the onset. Their enduring elegance and utility hinge on an unwavering commitment to preservation.
This is about honoring the passion and meticulous care that birthed the space.
Proactive Surveillance: The relentless march of time unveils the true mettle of craftsmanship. As seasons ebb and flow, it becomes indispensable to periodically scrutinize your shelves for signs of attrition.
Be it the subtle tremor from a slackened fastener or an embryonic blemish in the timber, early interception forestalls these from metastasizing into substantive issues.
Click Images For Product Details
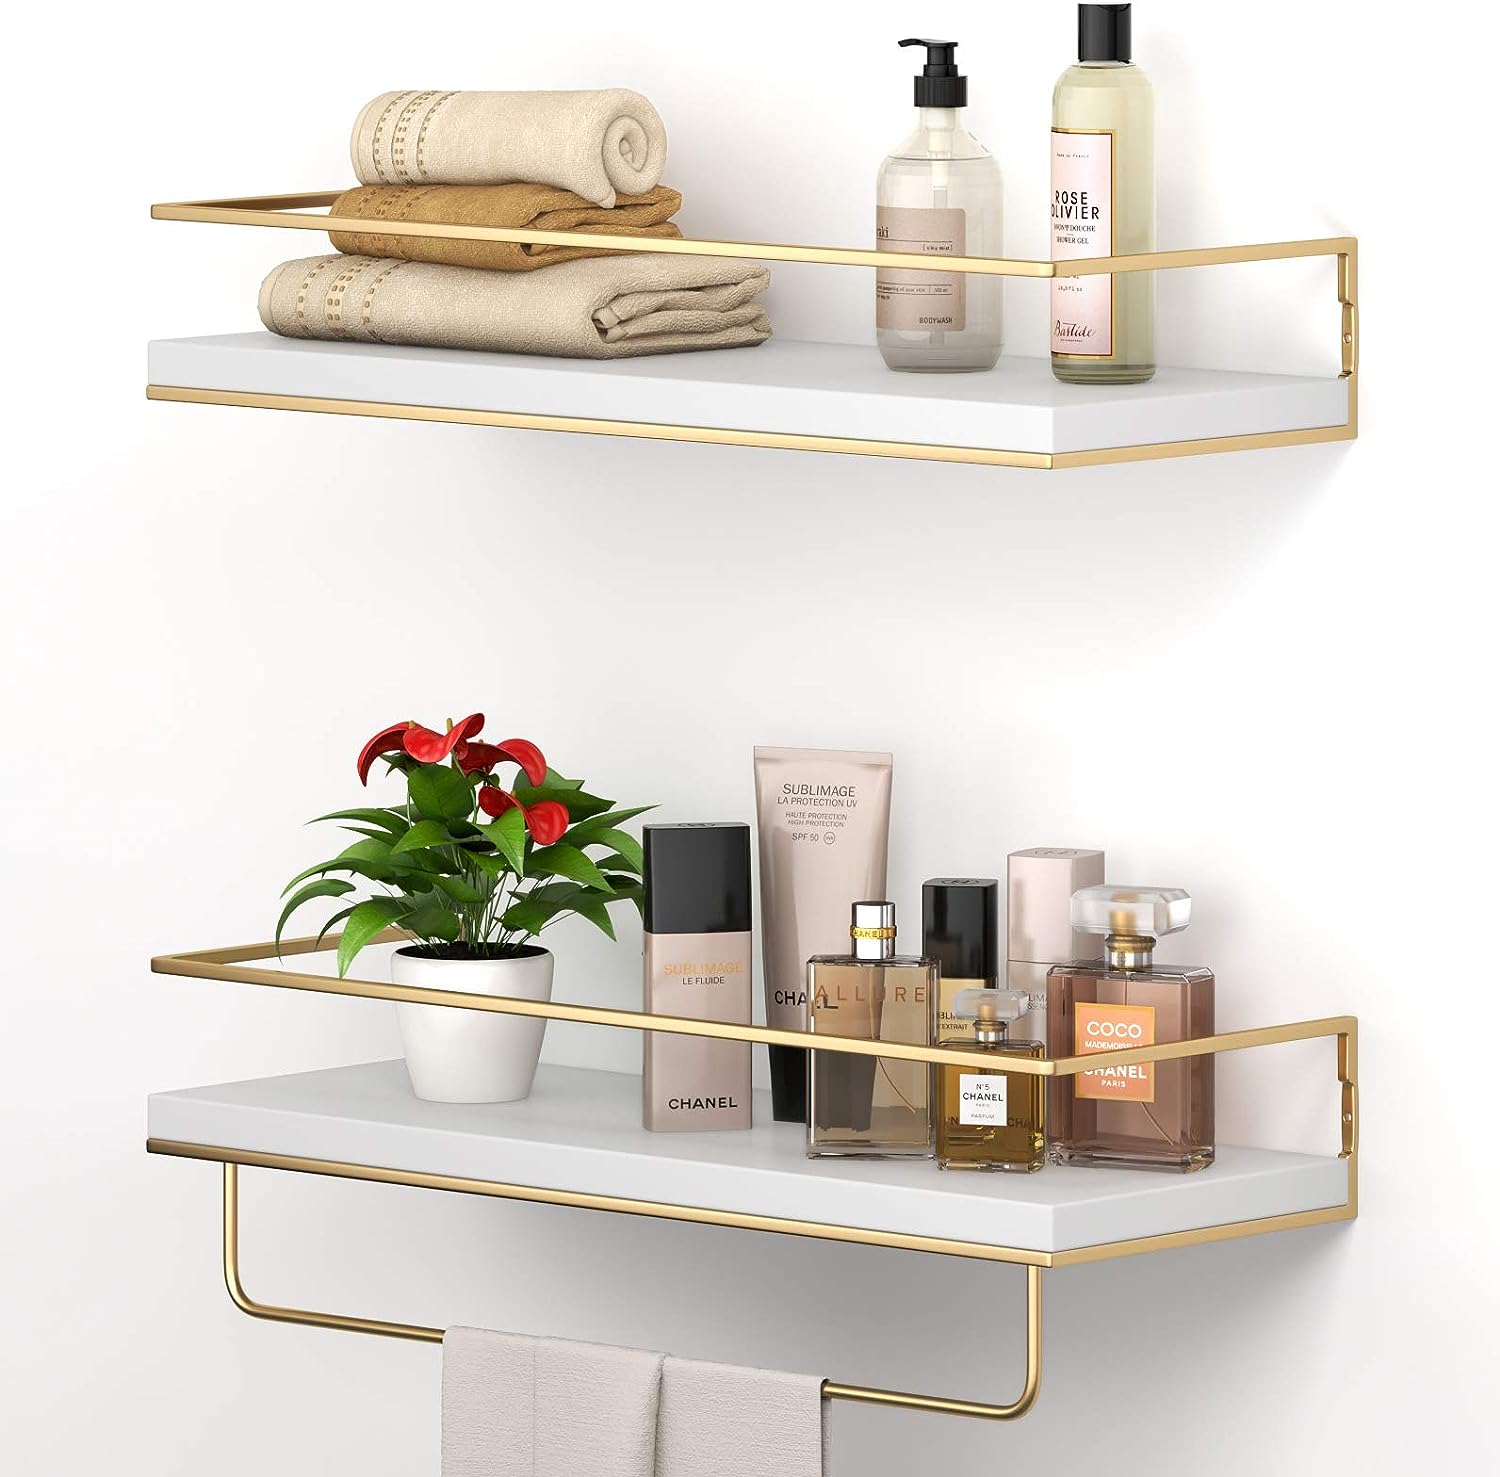
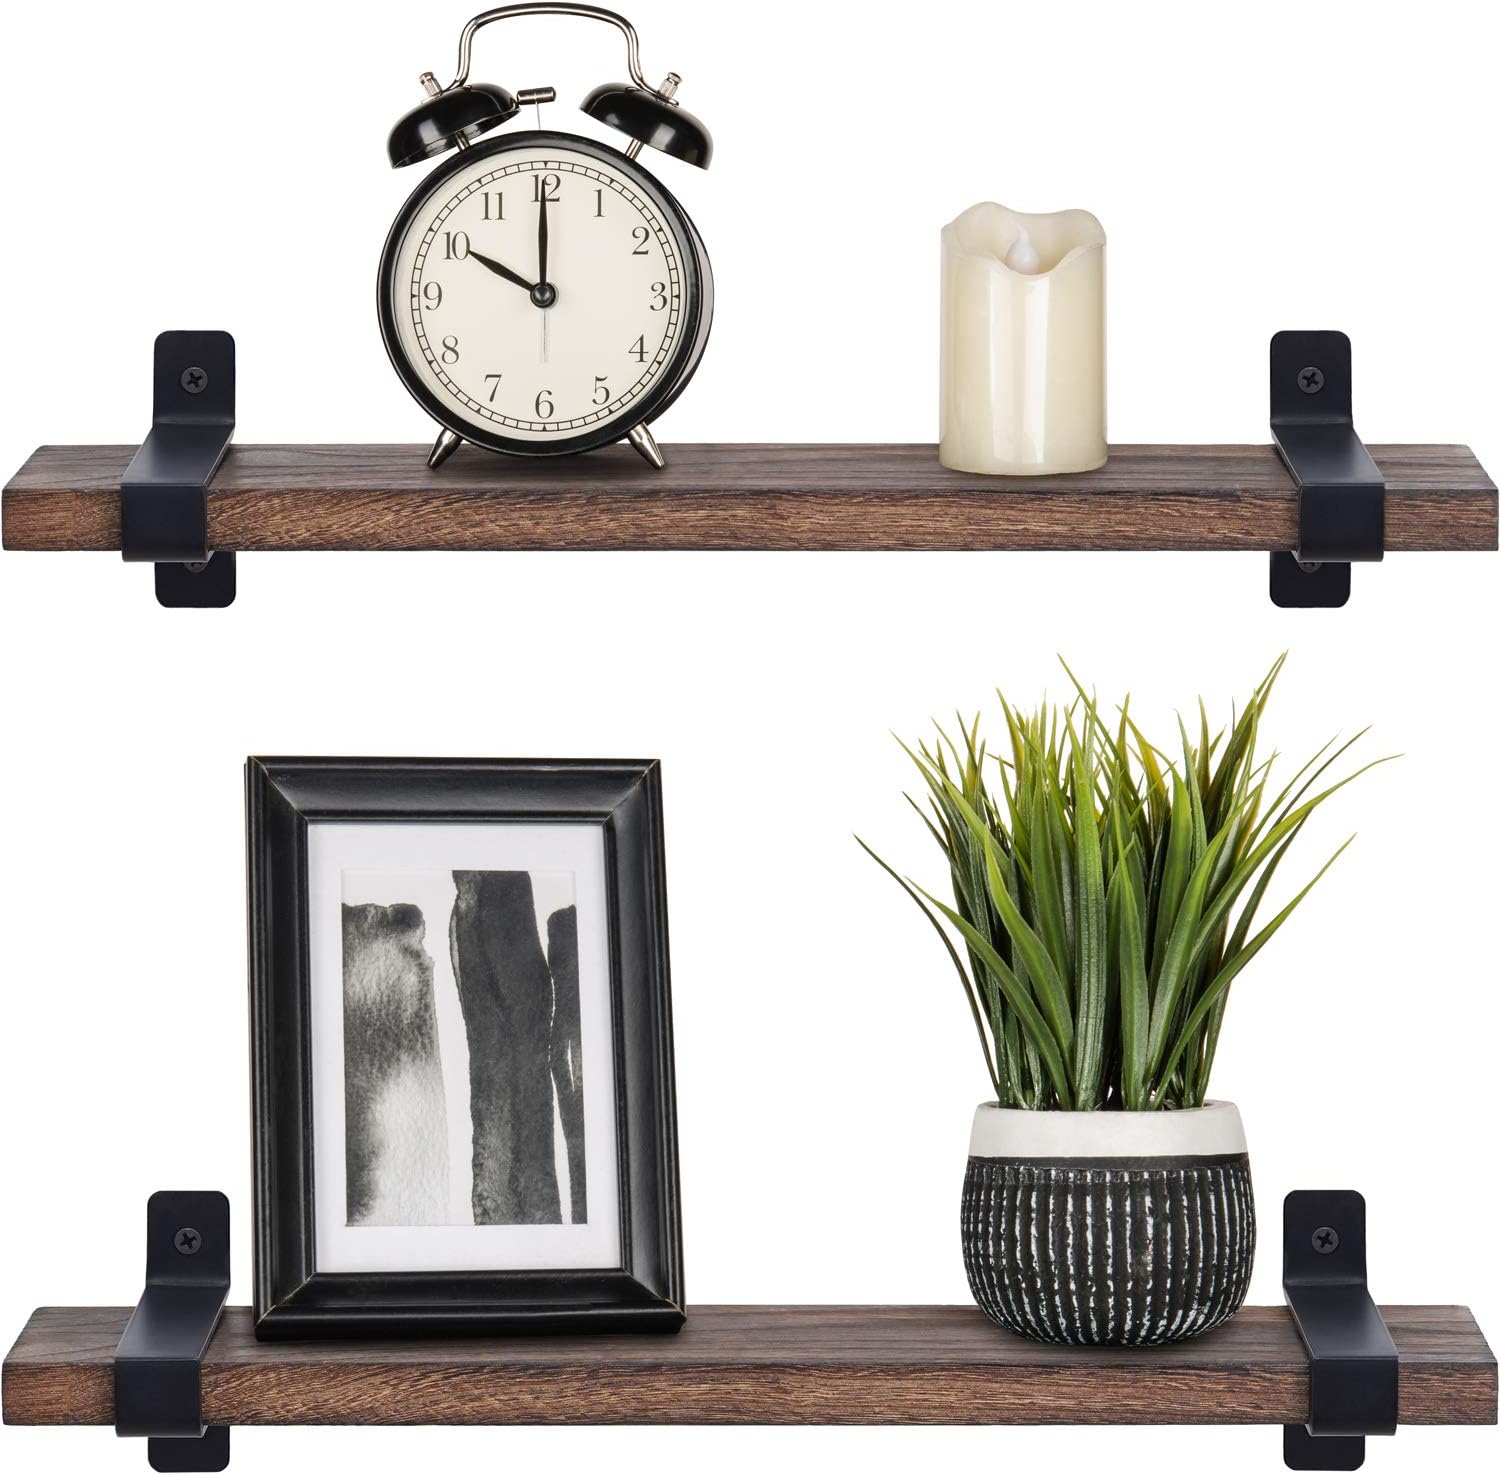
This vigilant regimen underpins not only the shelf’s lifespan but its unwavering reliability to cradle your prized possessions.
Periodic Assessment: With the passage of time, even the most fortified installations may exhibit subtle shifts. Intermittently deploying a level atop your shelves is an elementary yet potent measure to validate stability.
This transcends mere aesthetics; a misaligned shelf may portend impending malfunctions and jeopardizes its encumbered treasures.
Maintaining The Radiant Aura: Dust, ostensibly benign, can insidiously veil the vivacious charm of your shelves and their ensconced artifacts. Routine cleansing fortifies their immaculate demeanor. Tailor your cleaning regimen to the shelf’s material – be it timber, vitreous, or metallic.
The synergy of a plush cloth, apt cleaning agents, and a deft hand can be transformative.
Revel and Propagate: Relishing Your Skillset and Achievements
The journey from conceptualizing an idea to its tangible fruition is an elating experience. Project planning; material, tool and resource aggregation, diligent execution, followed by artistic expression is not unveiled.
Self-reflection: Before plunging into subsequent endeavors, pause – retreat a few steps, letting the magnificence of your handiwork saturate your senses. Absorb the minutiae, the symmetrical nuances, and the encompassing aesthetic.
This is not merely a functional addition; it’s a tangible testament to your tenacity, ingenuity, and artistry.
Chronicle Your Milestone: In our technologically intertwined lives, every triumph, monumental or nuanced, resonates in digital echoes. Chronicle your milestone and share!

Your shared wisdom might be the catalyst, spurring others onto their bespoke DIY journeys, bestowing pragmatic insights and bolstering their morale.
The Pinnacle of Dedication & Imagination
At its very heart, DIY transcends mere practicality. While on the surface, mounting shelves be it kitchen shelves or otherwise might echo utilitarian undertones, a deeper exploration reveals it as a rich tapestry of self-expression, harmonizing function and flair.
It becomes a mirror, reflecting not just utility, but a distinctive character. This evolution transcends the tangible; it stirs the soul, evoking a profound sense of gratification.
Each fleeting glance towards these shelves silently heralds the dedication and foresight embedded within. They emerge as more than mere materials anchored to a backdrop; they crystallize as embodiments of your inventive spirit, aspiration, and tenacity.
Every artifact they cradle, whether a heirloom vessel, a cherished tome, or a mundane culinary tool, is set against the narrative of your journey, a platform forged through diligence and embellished with affection.
Featured Blog Article


