This post may contain affiliate links which means I may receive a commission for purchases made through links. I only recommend products that I have personally used or curated specifically after reviewing and ensuring its quality! Learn more on my Private Policy page.
Installing Wallpaper
In the dynamic world of interior design, wallpaper stands as an enduring element of beauty, practicality, and style. As homeowners and design aficionados navigate the myriad of options and intricacies related to installing wallpaper, a plethora of questions often arise.
These queries range from the basic, such as how to choose a design or how much wallpaper is needed for a room, to the more nuanced, like addressing concerns over wallpaper longevity or the nuances of intricate pattern matching.
To assist with these concerns and interest we have curated 72 Frequently Asked Questions (FAQs) with the aim of providing clarity and insight into these common queries. We present FAQs 1 to 43 in this Post and the FAQs 44 to 72 are presented in a separate blog post.
These Q&As have been designed not only to address the most pressing questions but also to offer guidance to those who are new to the world of wallpapers and are considering them as an option for their spaces.
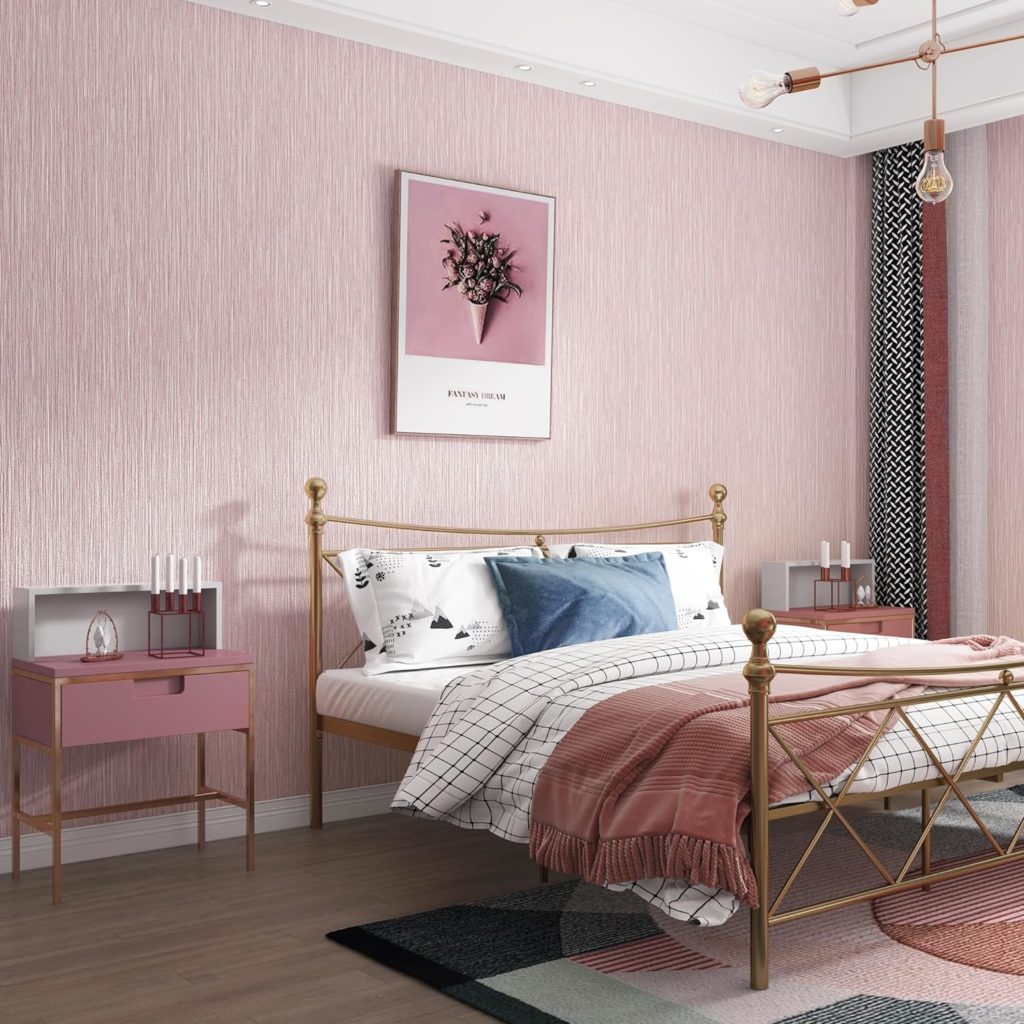
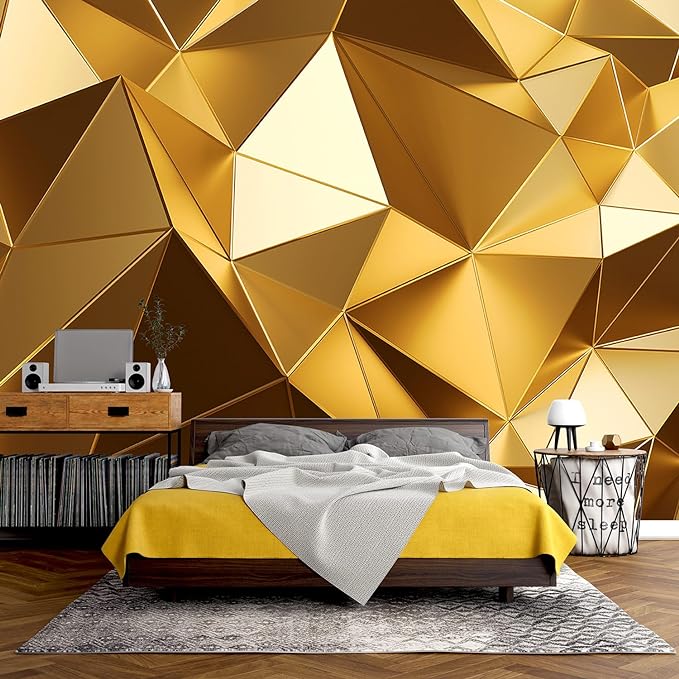
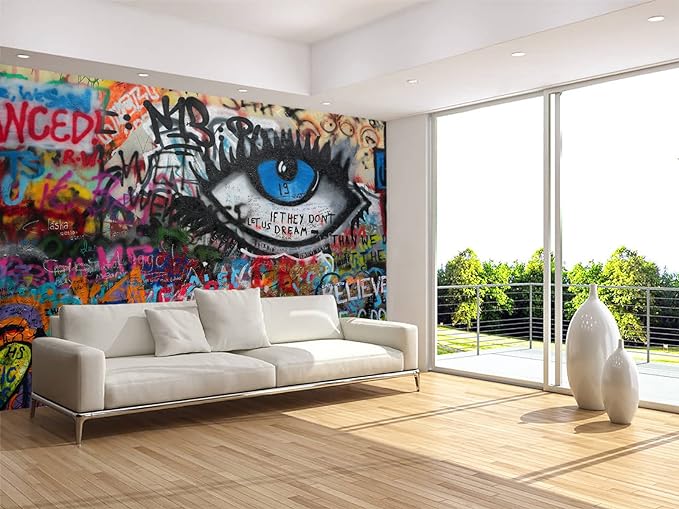
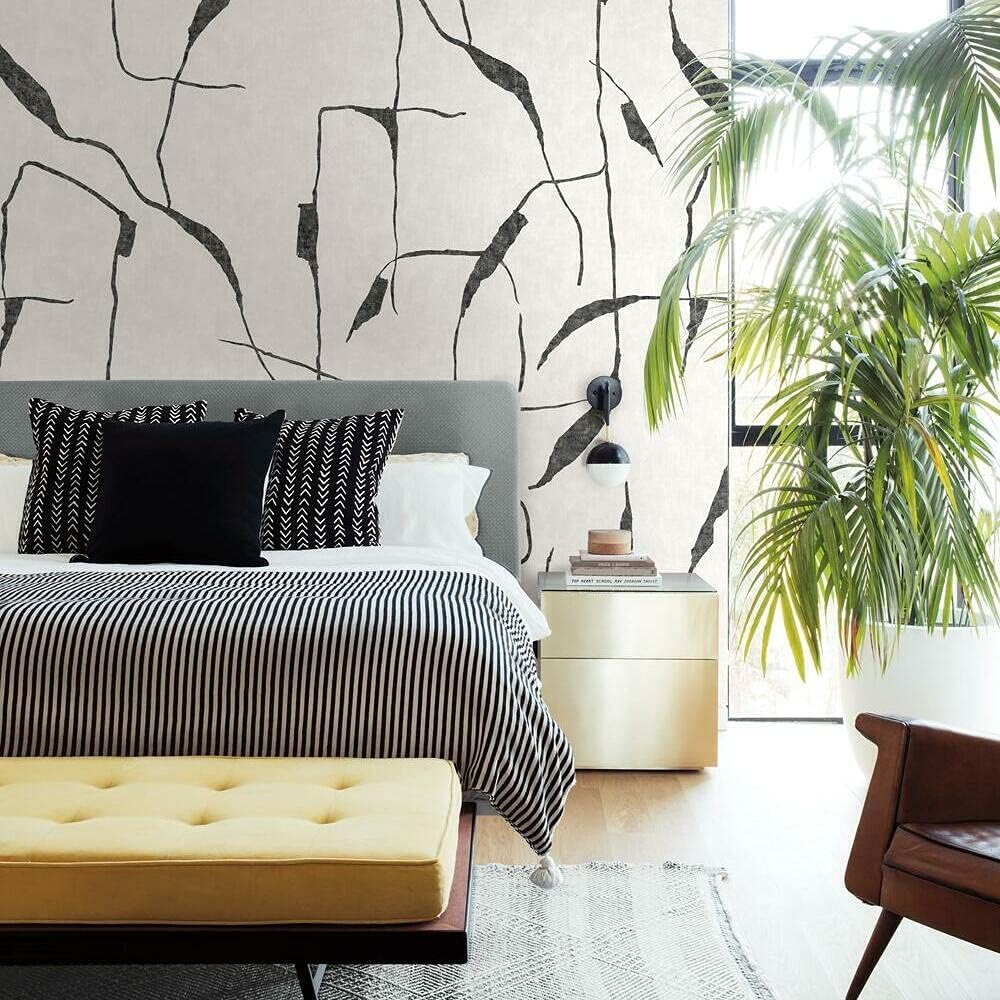
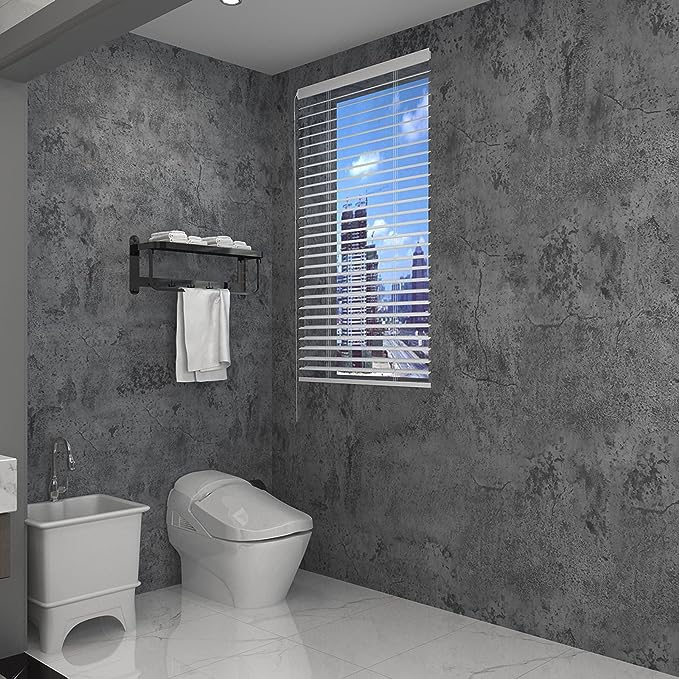
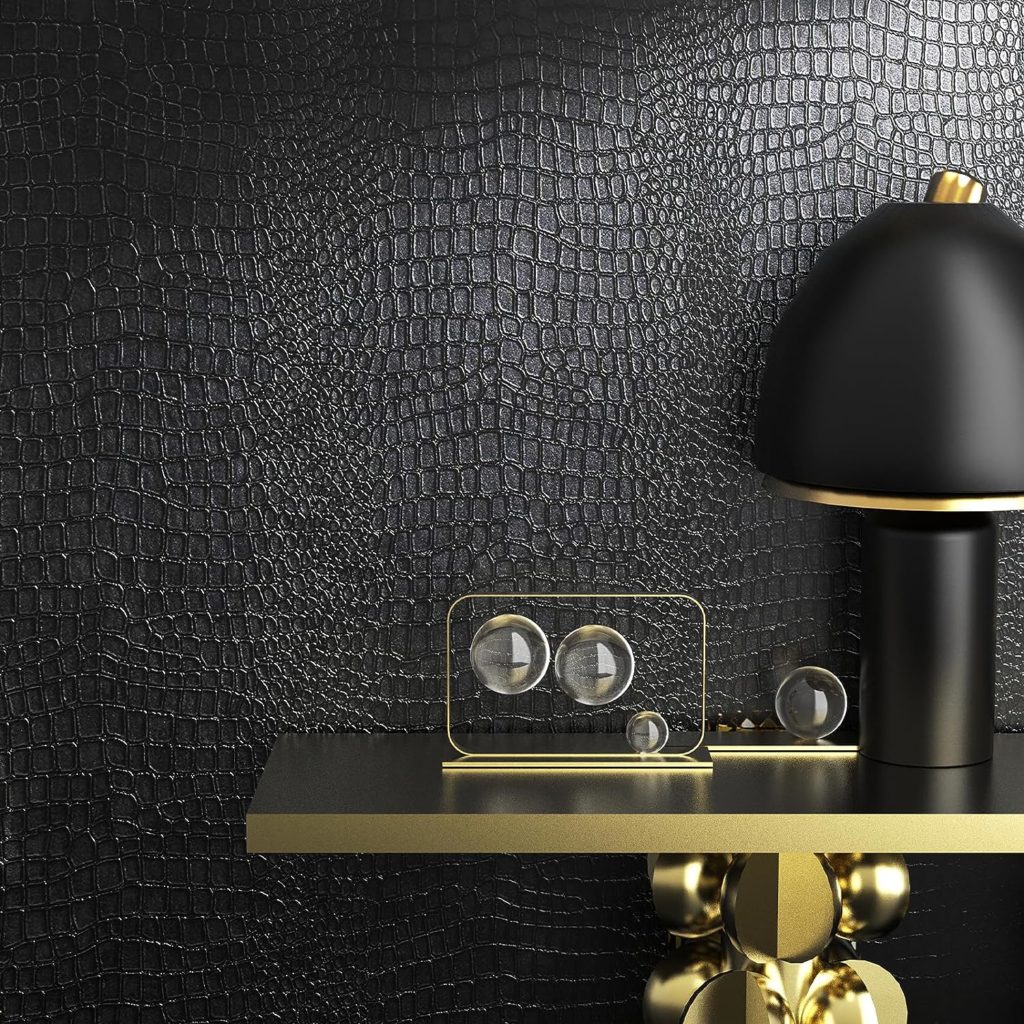
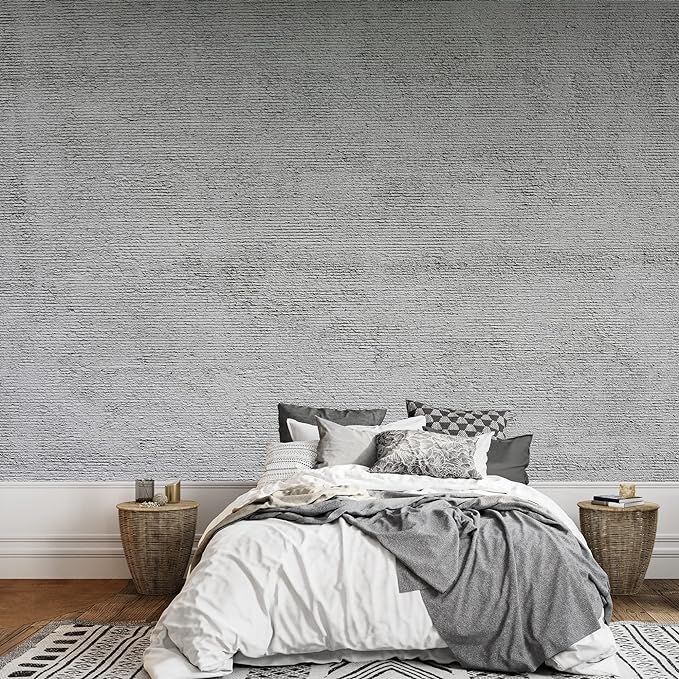
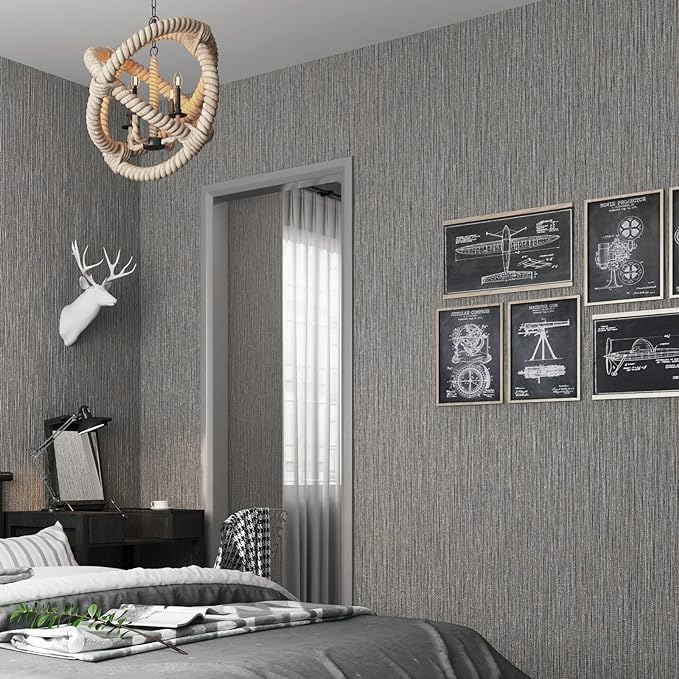
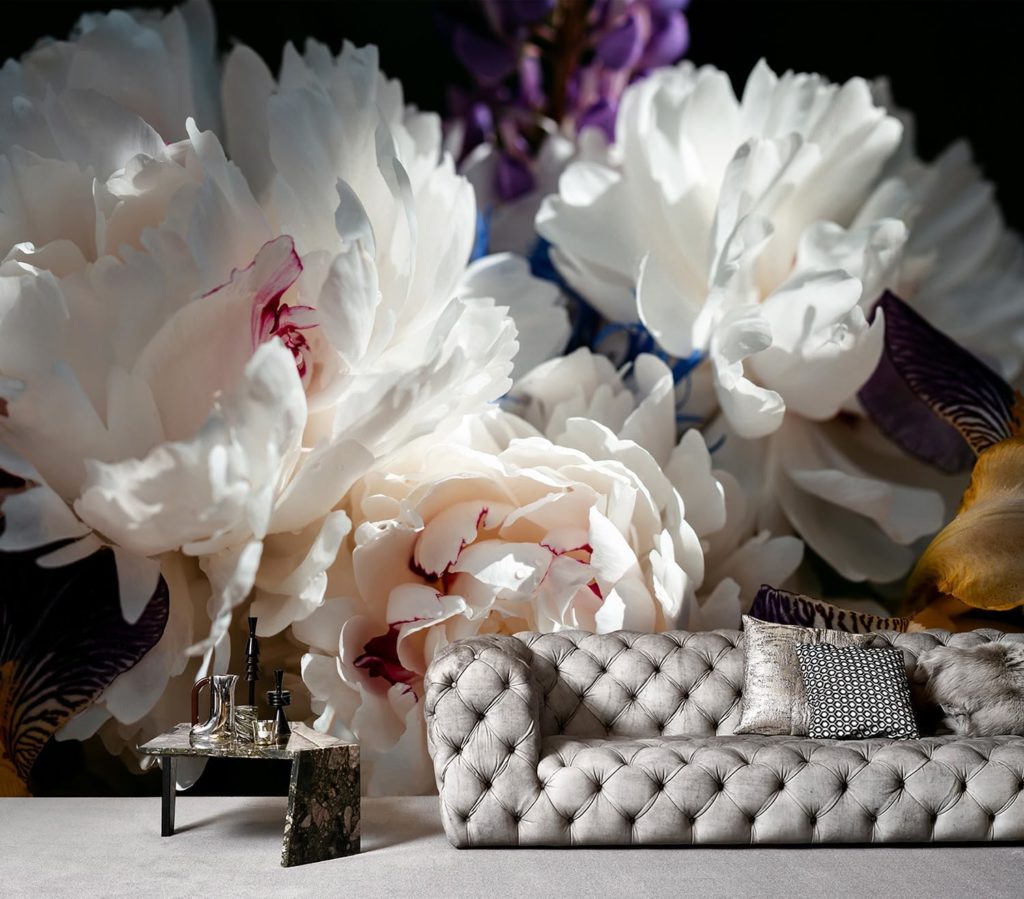
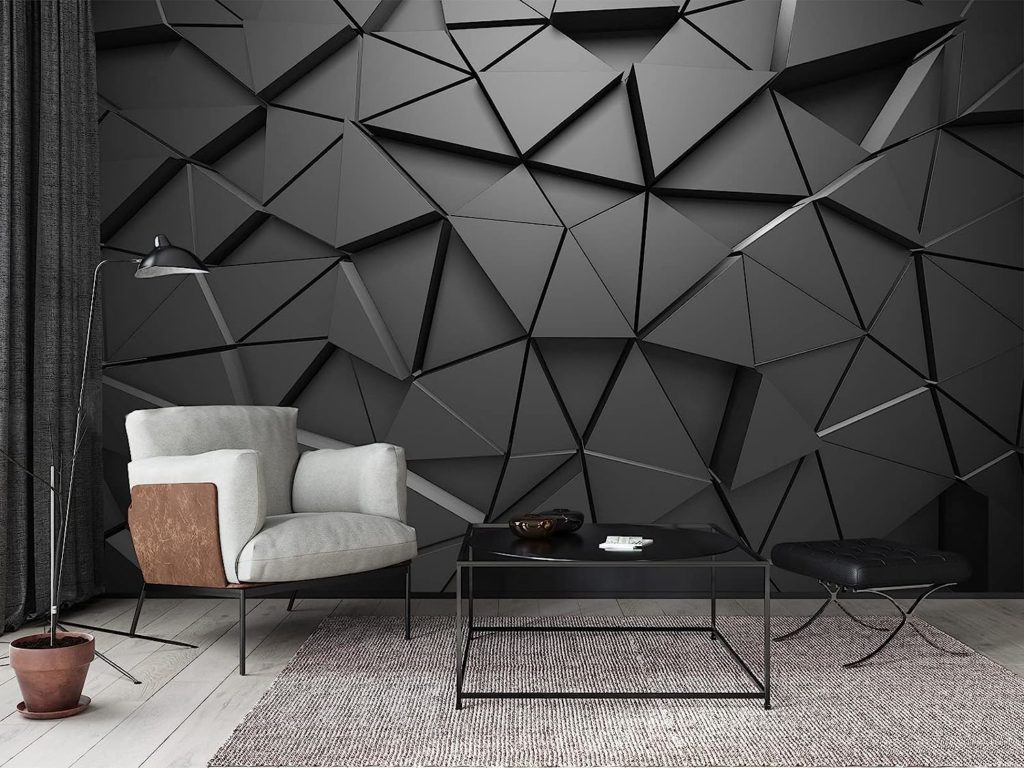
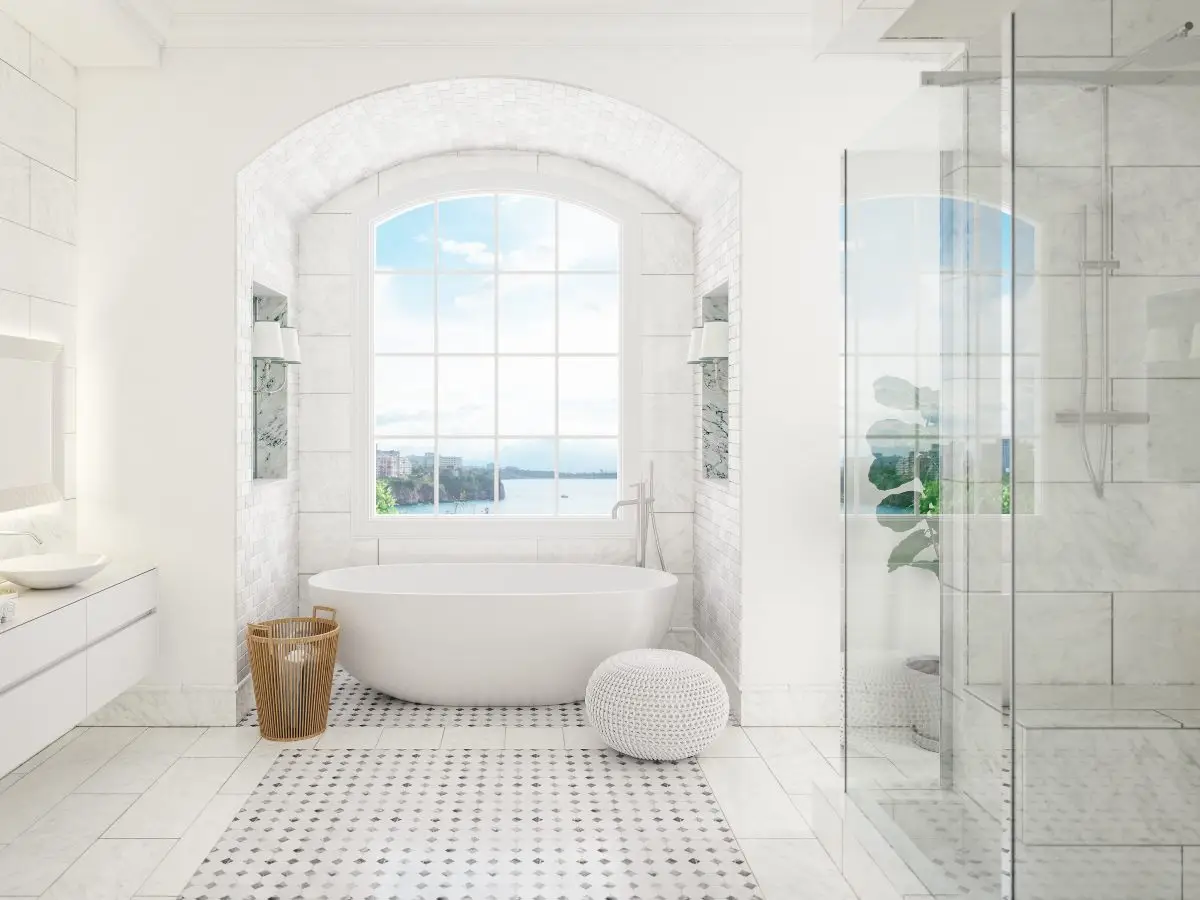
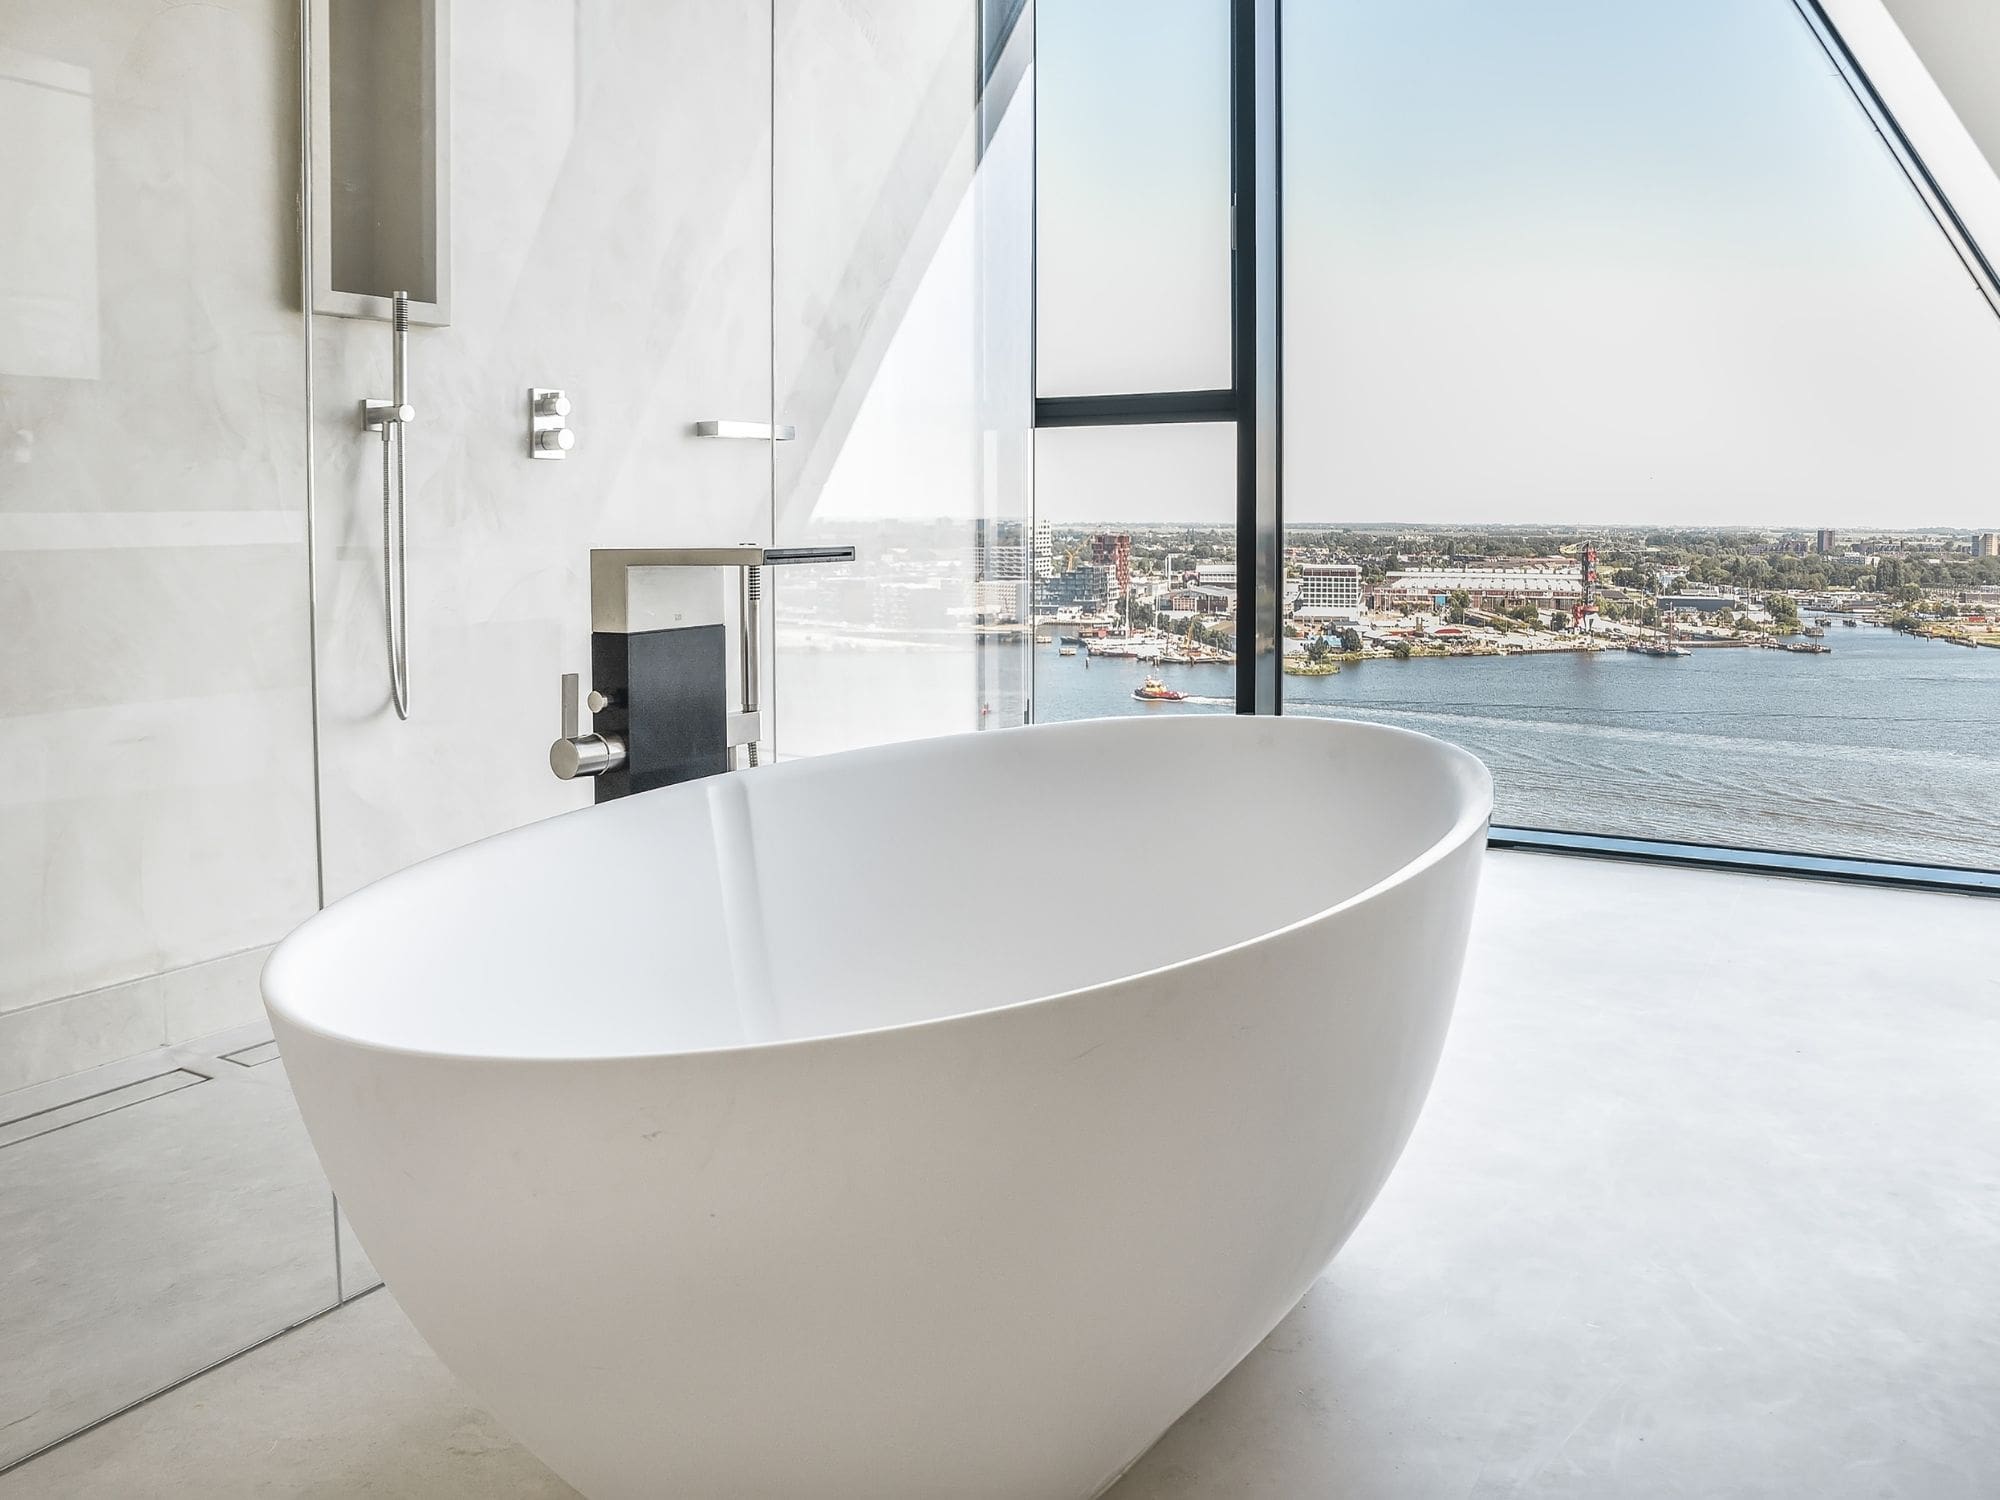
Throughout this article we present and suggest various wallpaper designs for your wallpaper project. As you would see they vary in style and theme. We assure you that each can be absolutely gorgeous if done right within the right scale and concept.
Basics and Terminology For Installing Wallpaper
1. What is wallpaper?
Wallpaper is a material used to cover and decorate the interior walls of homes, offices, and buildings. Wallpaper are available in various designs, colors, patterns, and textures, and made from a variety of materials including paper, vinyl, or fabric fibers, making it a versatile option for interior design.
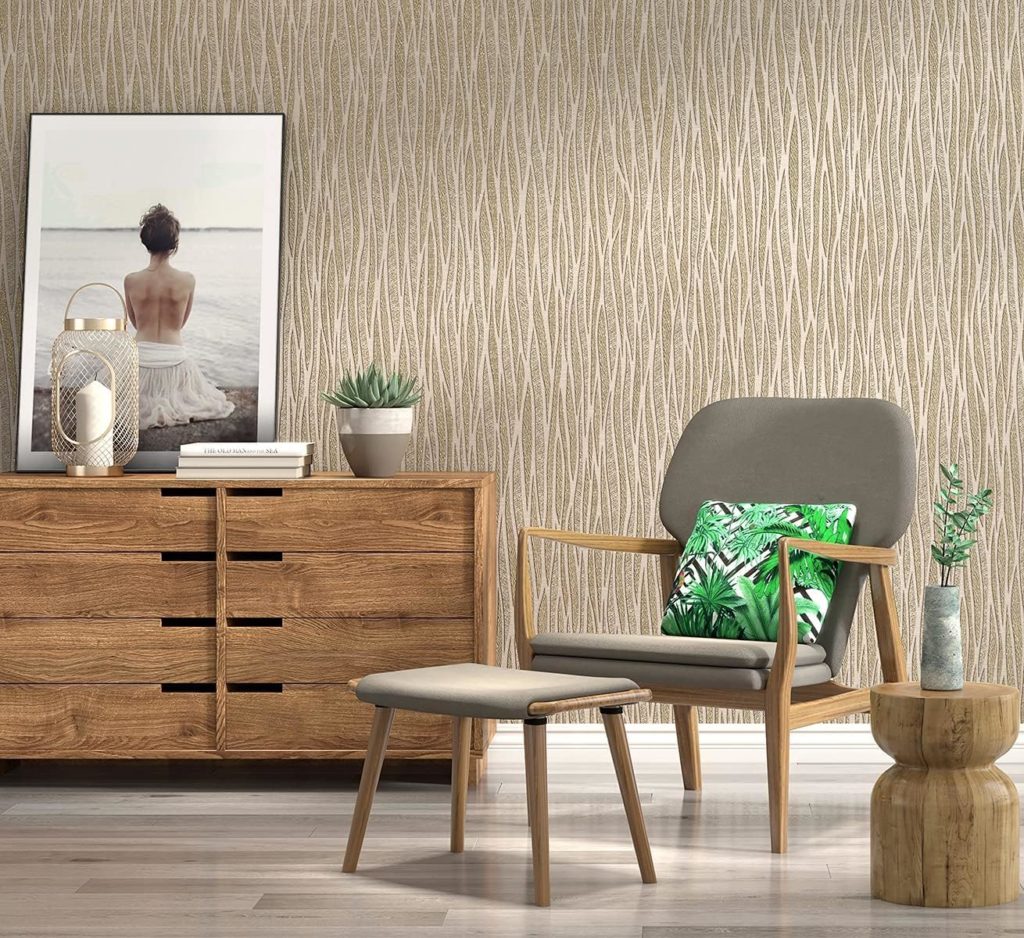
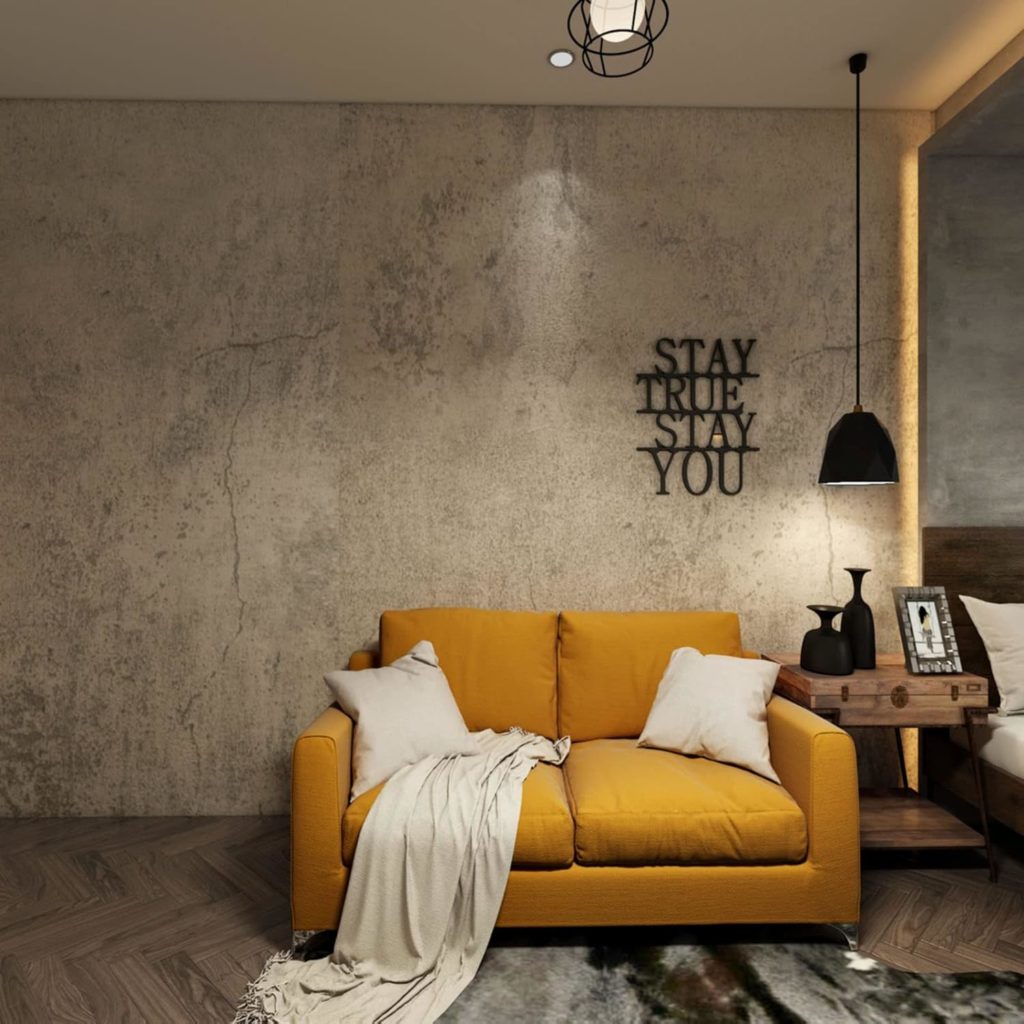
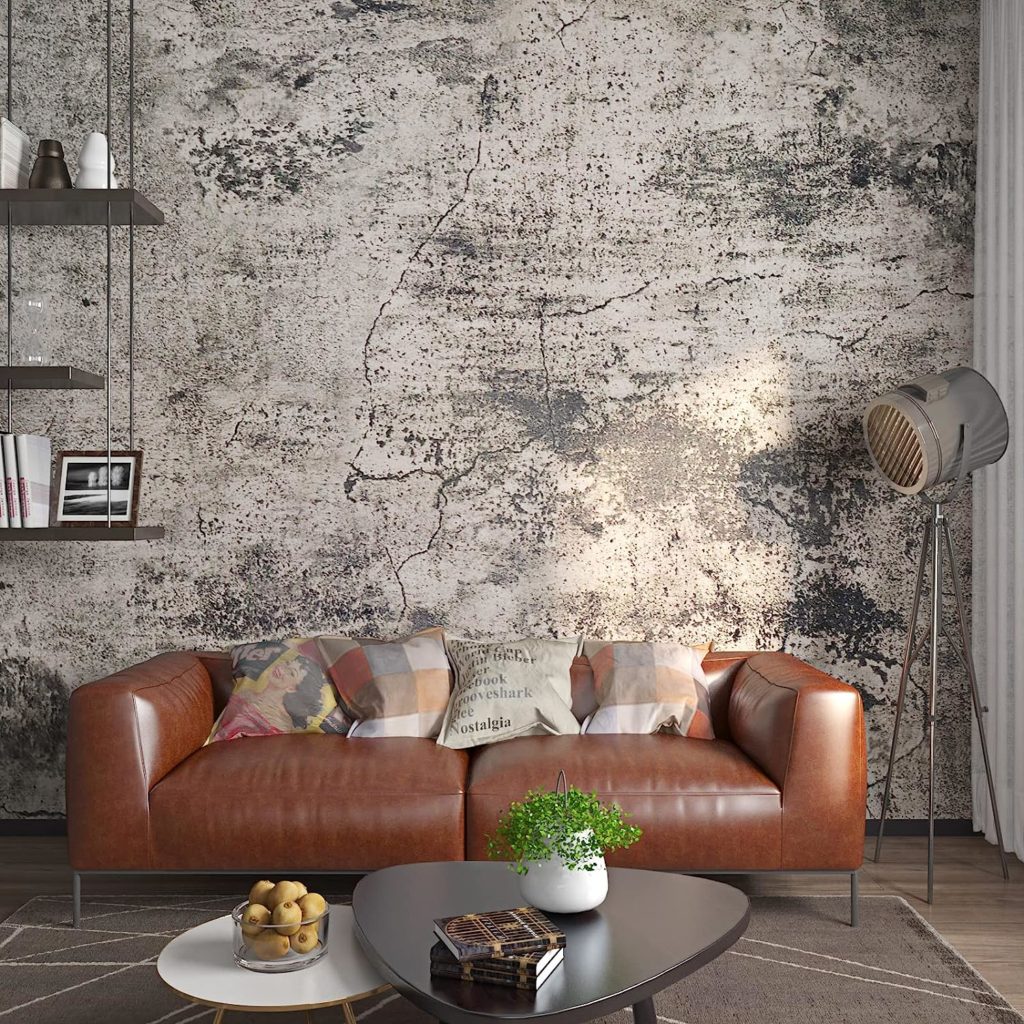
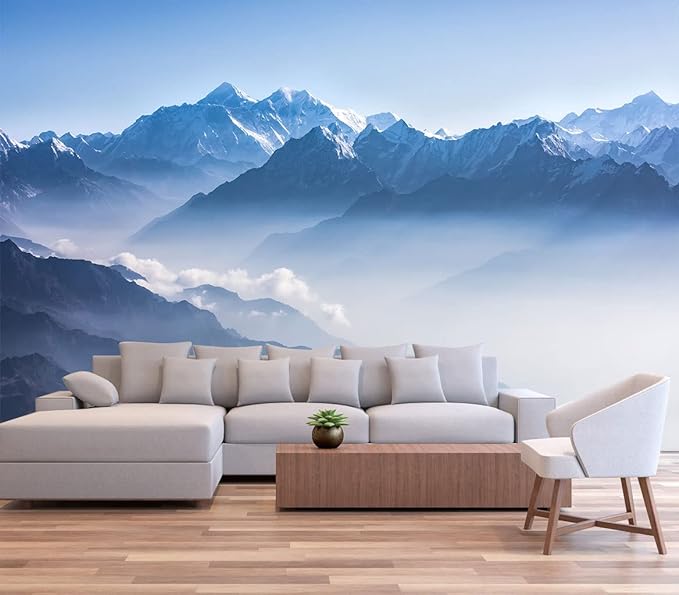
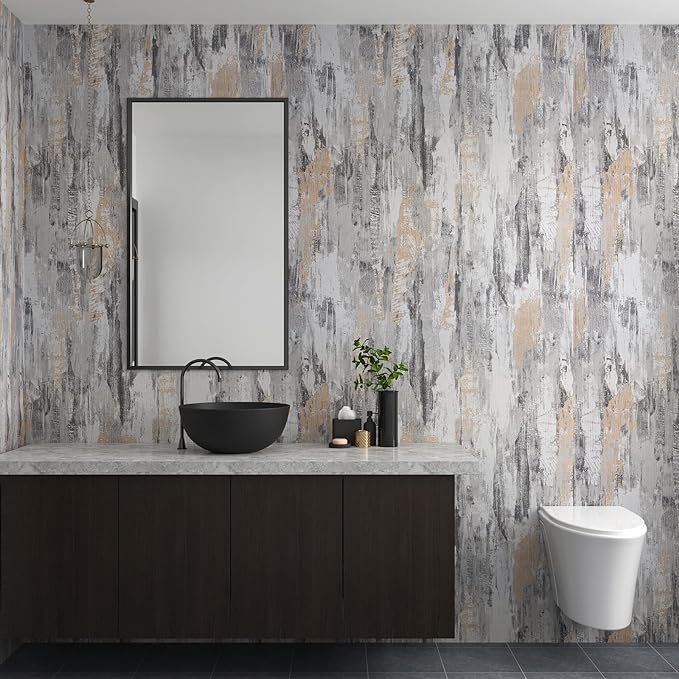
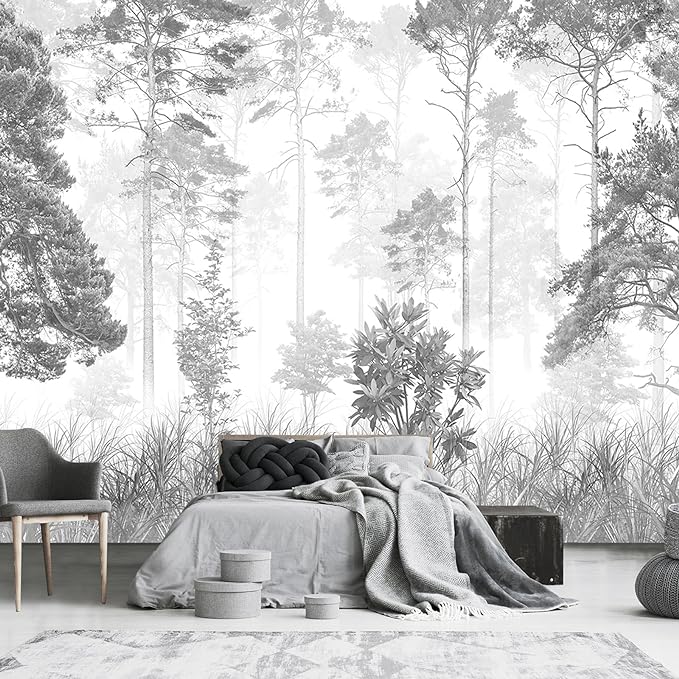
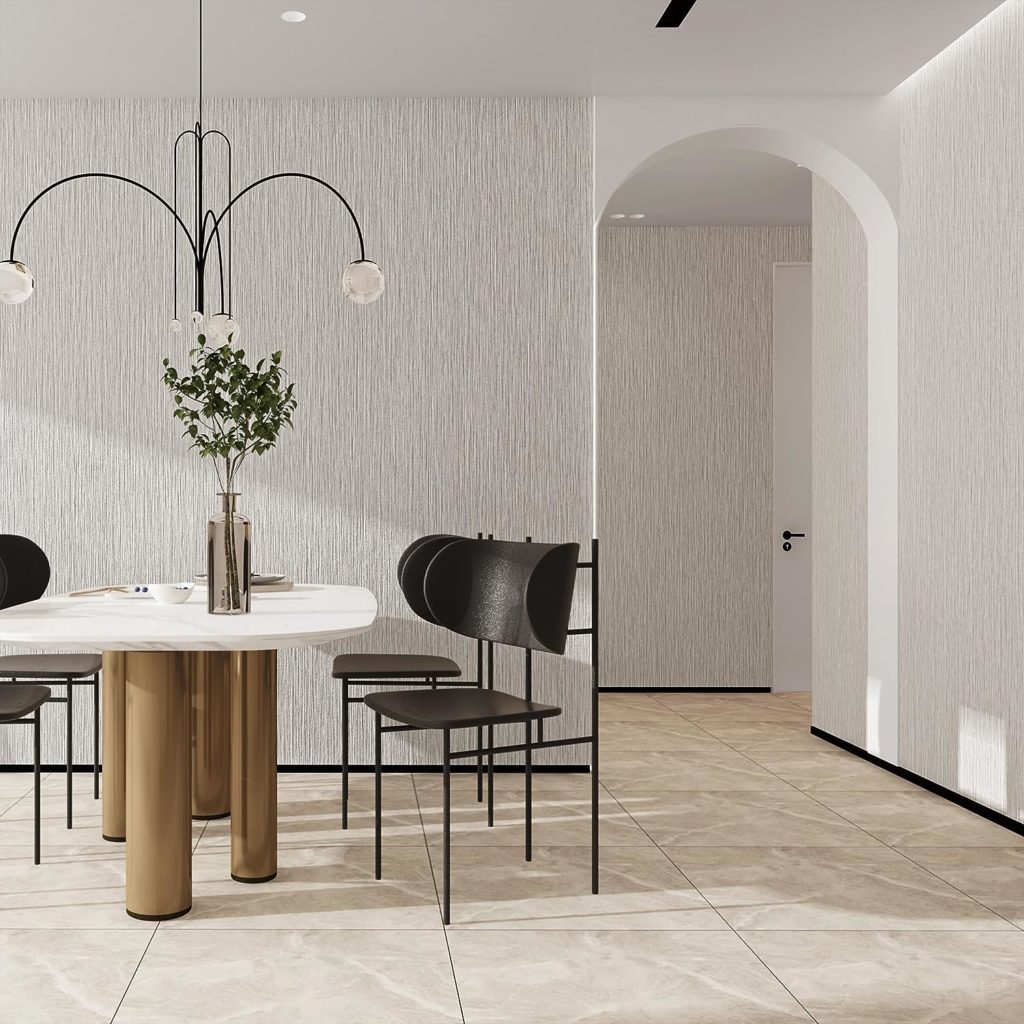
Please Click Images for more details of the wallpaper as you go through the material.
2. How is Wallpaper made?
Wallpaper is made by printing or embossing a design onto a paper or fabric backing. The backing is then coated with a layer of adhesive, which allows the wallpaper to stick to the wall. Generally, the process begins with the creation of a design, which can be hand-drawn, painted, or digitally produced.
The design is then transferred onto large rolls of paper or other materials using printing techniques like gravure or digital printing. After printing, some wallpapers receive a finish, such as embossing or a protective coating.
3. What are pattern matches and design repeats?
Pattern matches and design repeats refer to how a wallpaper pattern aligns from strip to strip once it’s applied to a wall. A “pattern match” means that the design from one strip of wallpaper aligns perfectly with the next strip form the same roll or a different roll.
“Design repeat” refers to the vertical distance between one point on a pattern to the same point again (e.g., the length between one flower to the next identical flower on a floral wallpaper).
4. What are the Common Wallpapering Terms to Know?
Drop Match: A pattern where every strip of wallpaper is the same, and the pattern falls across the match every other strip.
Straight Match: A pattern where the design matches across the width.
Random Match: Wallpapers that have no repeat and can be matched in any way.
Paste-the-Wall: A type of wallpaper where you apply adhesive to the wall rather than the paper.
Pre-pasted: Wallpapers that come with adhesive already applied.
Non-Woven: A type of wallpaper made from a blend of natural and synthetic fibers.
Single Roll vs. Double Roll: Terms to describe the amount of wallpaper on a roll.
5. What is the difference between Vinyl Wallpaper and Regular Wallpapers?
Vinyl wallpaper is a that is coated with vinyl making it durable and water-resistant and suitable for use in water and damp areas such as kitchens and bathrooms. In contrast regular wallpaper typically doesn’t have this protective coating and is made of varied materials.
6. What Color Wallpaper Makes a Room Look Bigger?
Light-colored wallpapers, especially in shades of white, cream, or pastel hues, tend to make a room appear larger. Vertical stripes or patterns can also elongate a room, making it seem taller. On the other hand, dark or very busy patterns tend to induce a more cozy enclosed room.
7. What Wallpaper is Trending?
It is difficult to predict exactly what wallpaper trends will maintain but some current trends include bold patterns, metallic accents, and textured wallpaper. Vintage and retro designs are also making a comeback. Trends can vary from year to year, and you might want to consult design magazines, websites, or professionals for the most up-to-date information.
8. What Type of Wallpaper is in Style?
Wallpaper styles constantly evolving, some popular trends include botanical prints, abstract patterns, mural-style wallpapers, textured wallpapers (like grass-cloth or beadboard), and metallic accents. Sustainability, paintable and eco-friendly wallpapers were also gaining significant traction.
Wall Paper Selection And Types
9. What Type of Wallpaper Should You Use?
The types of wallpaper you decide to use depends on your personal preference, the room function and the condition of the space.
As noted above, vinyl wallpaper is most suitable for damp and wet areas or where there is a high tendency to touch the walls – because it is humidity resistant, water resistance and comes in various amazing styles, colors and patterns.
For more detail on how to choosing wallpaper refer to our Blog Post – How to Choose Wallpaper For Each Room
On the other hand silk wallpaper can be more suitable for dining rooms, living rooms and bedrooms where Soft, calming patterns or textures are desired – non-woven or grass-cloth, would be ideal.
Grass-cloth wallpaper is a natural fit that can add texture and warmth to a room, but it is not recommended for high-traffic areas with high humidity.
10. How Do you Choose a Wallpaper Design?
When choosing a wallpaper design, consider the style of your home, the mood you want to create in the room, and the size of the space. Bold patterns can make a statement in a small room, while subtle patterns can create a calming effect in a larger space.
Choosing a wallpaper design involves considering the room’s size, the furniture style, the room’s purpose, and your personal taste. Always get samples first to test how they look in the room’s natural light and lighting.
11. Which type of Wallpaper is Best for Your Home?
Non-woven wallpapers are an excellent choice for most homes because they’re breathable, which prevents mold growth, and they’re easy to hang and remove.
Vinyl wallpaper is the most durable option and can withstand damage, making it a great choice for high-traffic areas. Non-woven wallpaper is a good option for those who want a wallpaper that is easy to install and remove.
12. What are the differences between Vinyl, Non-Woven, and Grass-cloth wallpapers?
Vinyl wallpaper is the most durable and can withstand damage, while non-woven wallpaper is easy to install and remove.
Grass-cloth wallpaper is a natural option that adds texture and warmth to a room, but it is not recommended for high-traffic areas or rooms with high humidity. Vinyl Wallpapers are durable, water-resistant, and easy to clean.
Non-Woven Wallpaper is a blend of natural and synthetic fibers, it’s breathable and easy to install or remove. Grass-cloth wallpaper is made from natural grasses and woven together giving a room a tactile, organic feel but yet delicate.
13. What are the disadvantages of Vinyl Wallpaper?
Vinyl wallpaper, while durable and easy to clean, isn’t breathable. This means that in humid conditions, it might promote mold growth behind the paper.
Vinyl wallpaper may require special care during installation and can be more difficult to remove than other wallpaper types.
14. What Type of Wallpaper is Best for Walls?
Non-woven wallpapers are often recommended for walls in general living spaces due to their breathability and ease of installation. Vinyl wallpaper is the most resilient and can withstand damage, making it a great choice for walls but as noted previously it can susceptible to mold.
A high quality peel and stick wallpaper can be a quality option but adherence to the wall is critical so as not peel off or bubble over time. Peel and stick wallpapers are good for short term use or temporary use ( for example for rental spaces) being easily changeable.
15. Is Peel and Stick Wallpaper Good?
Peel and stick wallpaper is beneficial to those who either rent their living spaces or those who enjoy frequently updating their décor. Its application is straightforward, and removal leaves no residue or damage.
Peel and stick wallpaper can be a good option for those who want a temporary wallpaper solution or who are renting and cannot make permanent changes to the walls.
It is important to properly prepare the wall before applying peel and stick wallpaper to ensure it adheres properly.
16. What is the most Durable Wallpaper?
Vinyl wallpapers are among the most durable, especially for high-traffic or humid areas. Vinyl wallpaper is the most durable option and can withstand damage, making it a great choice for high-traffic areas like bathrooms.
However, measures must be taken to offset mold forming conditions such as high humidity.
17. Does Vinyl Wallpaper Look Cheap?
Not necessarily. While there are cheaper vinyl options, many high-quality vinyl wallpapers have a sophisticated finish and can mimic more expensive materials. Vinyl wallpaper can look cheap if not chosen carefully and also depends on the room in which it is applied.
The perception of vinyl wallpaper has evolved. While budget-friendly options are available, many high-end vinyl wallpapers mimic luxurious materials, exuding sophistication.
Vinyl wallpaper can look cheap if not chosen carefully, but there are many high-quality vinyl wallpaper options available that can look stylish and sophisticated.
18. What Color Wallpaper is Best?
The “best” color is subjective and depends on aesthetic preference, desired mood, the spatial layout, the way light enters the room and he room’s intended purpose. Light colors can make a room feel larger, while while dark, rich colors can add coziness and depth.
The incidence of natural light or bright light on the wallpaper is very important as this would usually be when most people would experience the room and discern whether the wallpaper is a “hit” or not.
For a calming space, choose soft neutrals or pastels. For drama, go with deeper hues or bold patterns.
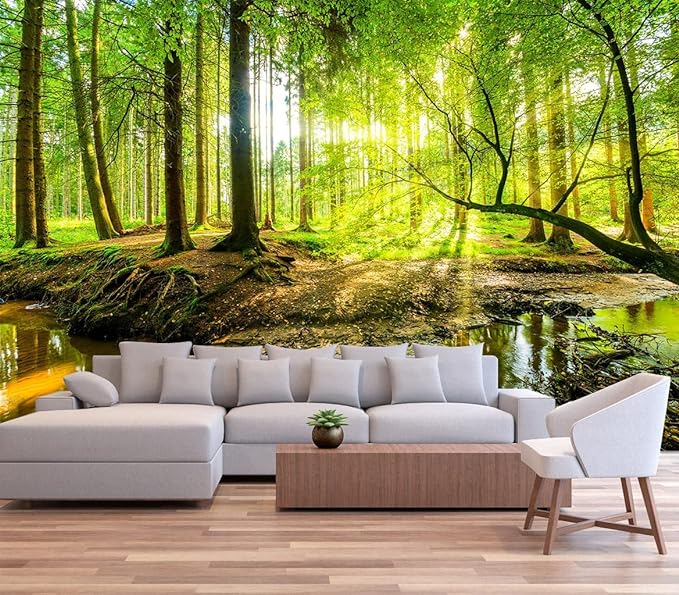
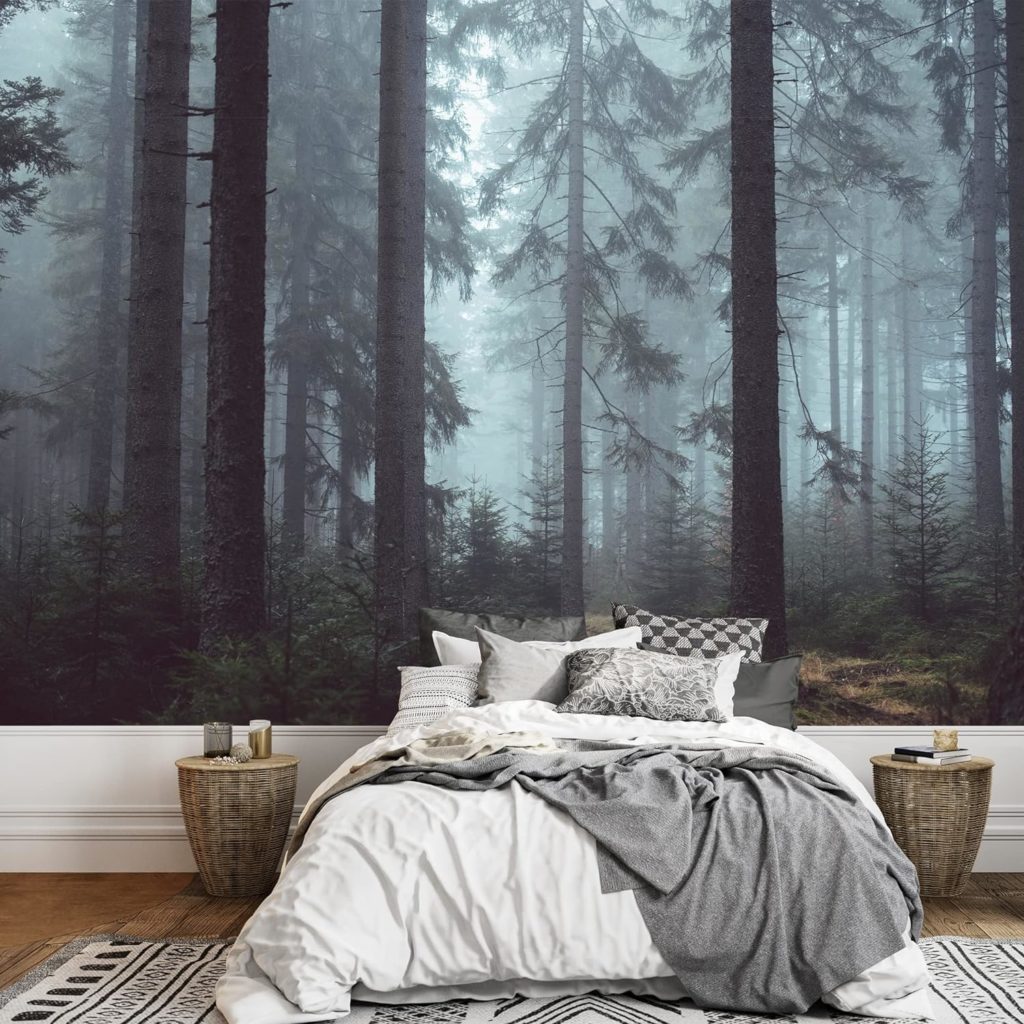
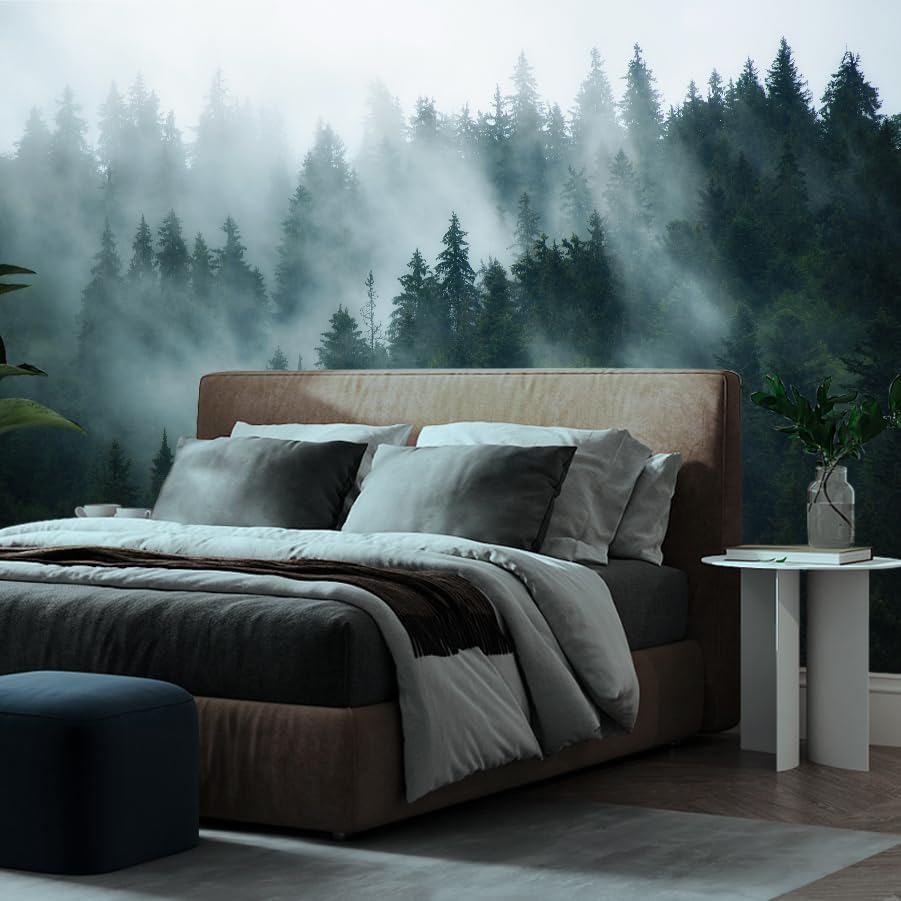
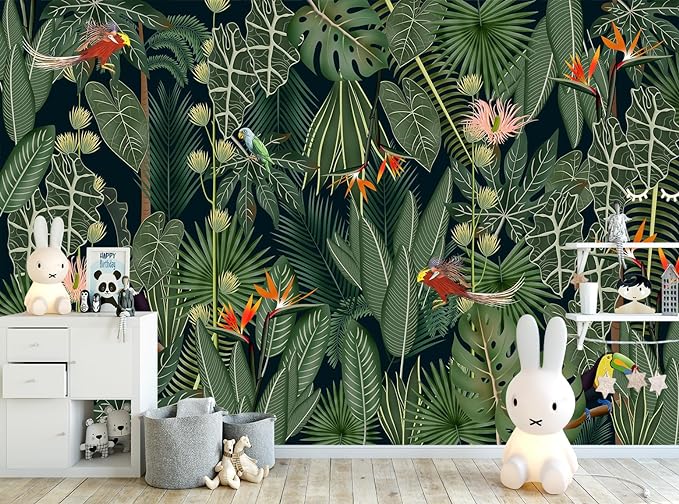
Green Sunshine Forest Wallpaper
YQWDMX – Green Sunshine Forest Wallpaper Nature Mural for Bedroom (Not Peel and Stick)
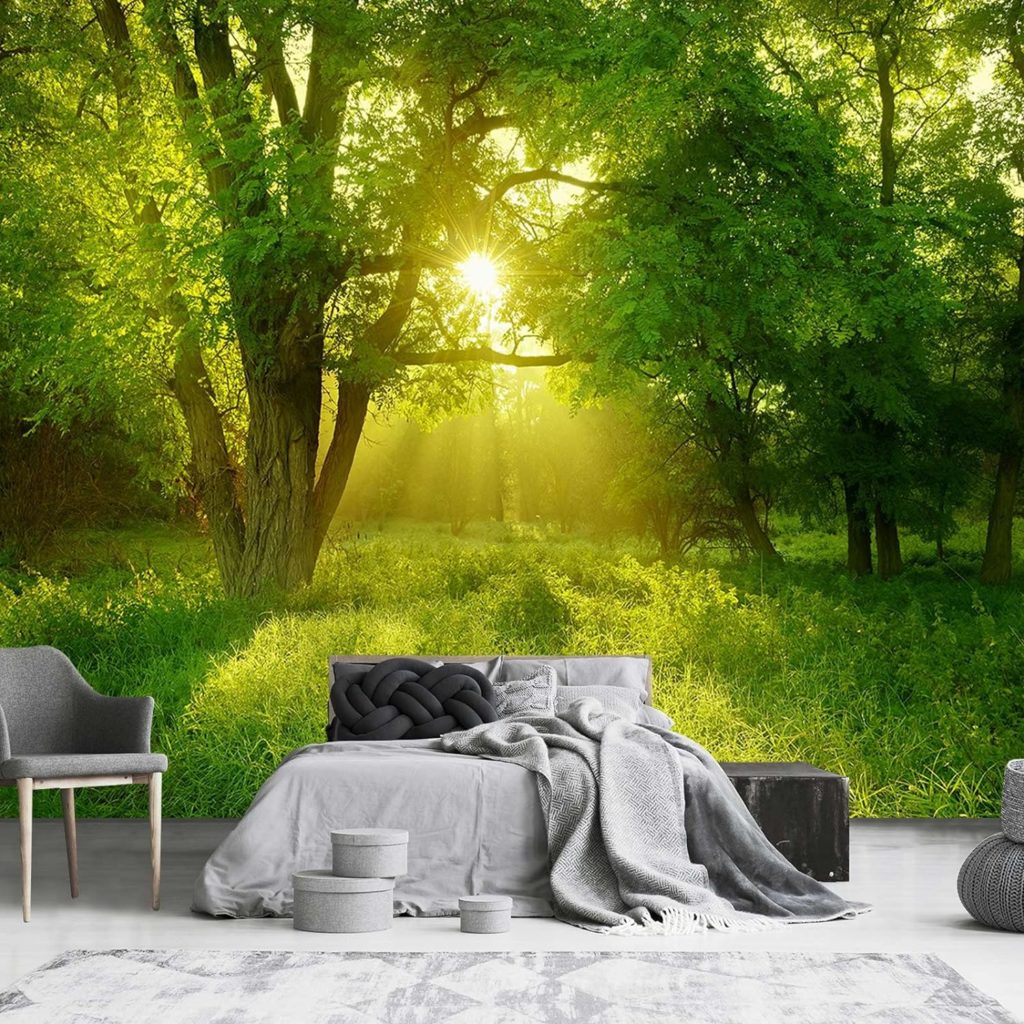
19. What Color Wallpaper to Choose?
Your choice should harmonize with the room’s existing elements. For spaces intended for relaxation, like living rooms, playrooms and bedrooms, pastels or neutrals are ideal. For more dramatic effects, richer hues or pronounced patterns can be considered.
When choosing a wallpaper color, consider the mood you want to create in the room. Light colors can make a room feel energized, larger and brighter, while darker colors can create a cozy, calming intimate atmosphere.
Preparation
20. How to Prepare Your Walls for Wallpapering?
Preparing the surface of the walls is paramount for a seamless wallpapering experience. Start by removing any existing wallpaper, nails, and wall fixtures.
Visit our Blog Post for a step by step guide to learn more about Wallpaper Removal.
Patch up any holes or cracks with a filler and let it dry thoroughly. After which, sand the wall to achieve a smooth surface.
For rooms with high humidity, like bathrooms, consider applying a mildew-resistant primer.
21. Where on the Wall Do You Start Wallpapering?
Initiating the wallpapering process usually begins near a corner of the room and work your way out – typically adjacent to a window. This will ensure that the wallpaper pattern lines up correctly and that any excess wallpaper can be trimmed off at the end of the installation.
Always factor in pattern matches and design repeats when deciding on a starting point. It is also critical to measure the height of the wall and trim the wallpaper accordingly, leaving at least 2 inches at the top and at the bottom to allow for adjustments for pattern matching and best fit. The excess can then be trimmed off.
22. How do you ensure Walls are Clean and Smooth?
Any existing coverings on the wall must be removed. Old wallpapers should be removed as explained here. If none exist then walls should be washed with a mild multi-surface soap detergent solution to remove grease, dirt or residue from the old wall paper removal. Rinse with clean water and let dry.
If paint flakes are evident remove with a scraper prior to sanding. Filling and or smooth out any davits, cracks, bumps, or dents, with vinyl spackle and smoothing it with wet sandpaper.
Sandpapering (wet sandpapering where possible) is a vital step as it ensures that the wall surface is smoothed out for better adhesion. Before installing the wallpaper, a final wipe-down with a damp sponge or cloth should be performed to eliminate dust.
Finally apply an acrylic primer to the wall to help the wallpaper adhere better and prevent any moisture from seeping through. Allow the primer to dry completely before hanging the wallpaper.
23. Where To Start In The Room?
Typically, beginning near the room’s main source of natural light, such as adjacent to a window, is recommended. This method helps in hiding the seams as the light doesn’t cast shadows on them. Also, choosing a less noticeable corner or behind a large piece of furniture can be strategic, especially if you’re a beginner.
When wallpapering a room, it is best to start in a corner and work your way out. This will ensure that the wallpaper pattern lines up correctly and that any excess wallpaper can be trimmed off at the end of the installation.
It is also important to measure the height of the wall and cut the wallpaper accordingly, leaving a few extra inches at the top and bottom to allow for trimming.
24. How do you Prepare a Wall for Wallpaper?
25. Should I Paint Drywall before Wallpaper?
There are benefits to painting drywall prior to wallpapering however, painting the drywall is not necessary as much as ensuring the surface is consistent and free of davits and cracks.
Applying primer or non glossy paint creates a uniform surface which can ensure the wallpaper paste adheres properly to the wall once it is applied. In addition, if you, at some future time decide to remove the wallpaper the painted surface will prevent damage to the drywall during wallpaper stripping.
If the existing drywall is already painted and in good condition, repainting is not required prior to wallpapering. However, all dents, cracks, or bumps should be smoothed out and a vinyl spackle applied as needed.
After the spackle has dried completely, smooth it with wet sandpaper before applying an acrylic primer.
26. Can you Wallpaper over bad drywall?
Refer to FAQs 24 and 25
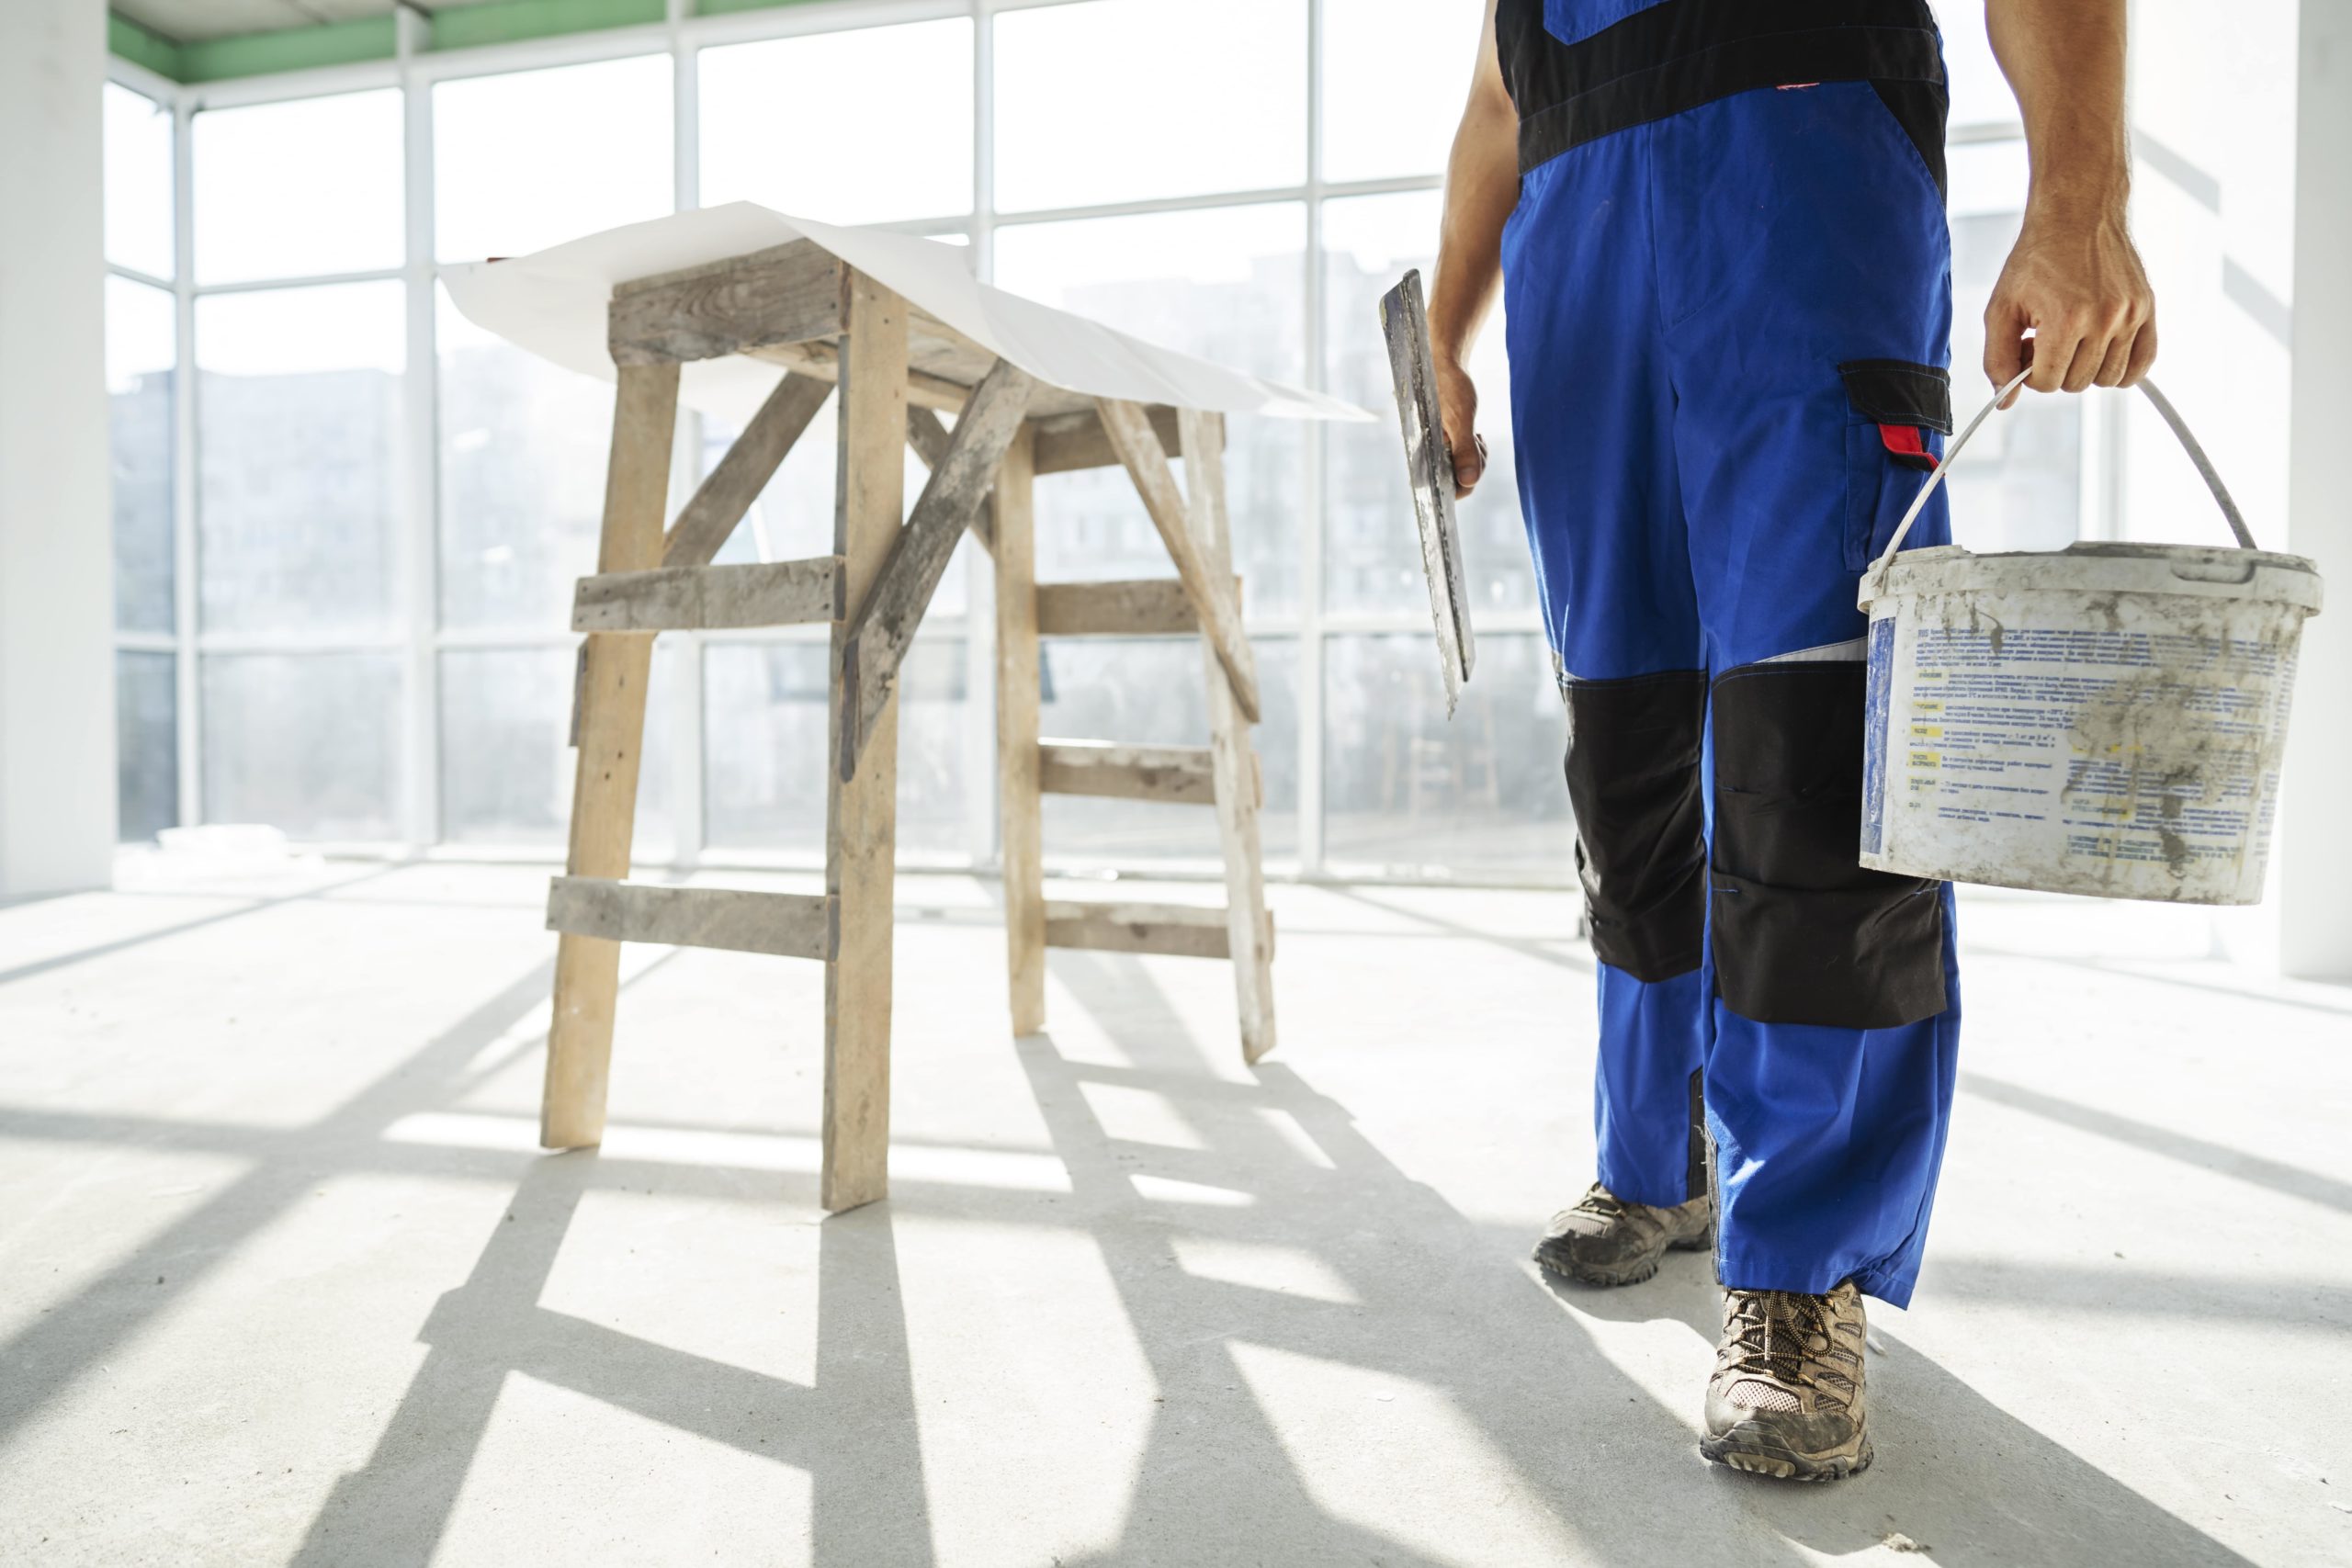
27. How Much Wallpaper Do I need to Buy?
To determine the number of rolls to purchase use the wallpaper calculator below: calculation:

Determine Total Wall Area - e.g.
Height x Width e.g. 6m x 6m = 36 sq.m

Deductions for Windows and Doors
Area of a standard Door = e.g. 2m x 0.8m = 1.6 sq.m
rea of a standard window = e.g. 1.5m x 1.2m = 1.8 sq.m
Subtract the Total Area of Doors and Windows from the Total Wall Area e.g. 36sq.m - 1.8sq.m - 1.6sq.m = 36sq.m -3.4 sq.m = 32.6 sq.m

Determine Wallpaper Coverage:
Each roll of wallpaper typically covers about 5.3 square meters (57 square feet), but please check the specific one you want to purchase.
Divide the Total Net Wall Area (after subtracting windows and doors) by the coverage area of a single wallpaper roll. In this example  -  32.6sq.m / 5.3 sq.m = 6.7 Rolls ( 7 Rolls)

Consider Pattern Repeat:
If the wallpaper has a design that needs matching, you might need more wallpaper to ensure the design aligns. The number of additional rolls required for pattern matching depends on the size of the repeat in the pattern and the dimensions of the wallpaper roll itself.

On average, a complex or large-repeat pattern can lead to more waste as you'll need to align the pattern correctly between each strip, which sometimes means cutting away and discarding portions of a roll of paper to get the patterns to line up.

Pattern Repeat General Guideline:
For Small or No Repeat (up to 6 inches): One extra Roll for every 10 rolls.
Based on the above example you would need 0 additional Roll
For Medium Repeat (6 to 12 inches): You might need One additional roll for every 5 or 6 rolls.

Based on the above example you would need 1 additional Roll
For Large Repeat (12 inches and above): Depending on the size of the repeat and the height of your walls, you might need to buy an additional roll for every 4 rolls.

Based on the above example you would need 2 additional Roll

Excess for Trimming and Errors:
Buy One or Two extra rolls for errors, miscalculations, future repairs, or trimming.

In Summary The "Total # of Rolls Required" Calculation:
Total Number of Rolls based on Wallpapered Area = (Total Wall Area - Windows and Doors Area Coverage) / Coverage Per Roll

Then Add # of Rolls for Pattern Repeat which can be Small, Medium or Large

Add number of Extra Rolls for Trimming & Errors Rolls
Round up when determining the number of rolls.

Summary Calculations For The above Example:

Small Repeat = 7 Rolls + 0 + 1 = 8 Rolls Total
Medium Repeat = 7 Rolls + 1 + 1 = 9 Rolls Total
Large Repeat = 7 Rolls + 2 + 1 = 10 Rolls Total

You may wish to buy two Rolls for errors.
Application Process
28. Installing Wallpaper – How long do you leave paste on Wallpaper before hanging?
“Booking” is referred to the time allowed so that the paste can sit prior to wallpaper hanging. this period is usually between 5 and 15 minutes. Please read the manufacturer’s instructions. The length of time required for “booking” prior to hanging the wallpaper depends on the type of wallpaper and paste.
This process lets the adhesive activate and the paper to become pliable, ensuring a better fit on the walls.
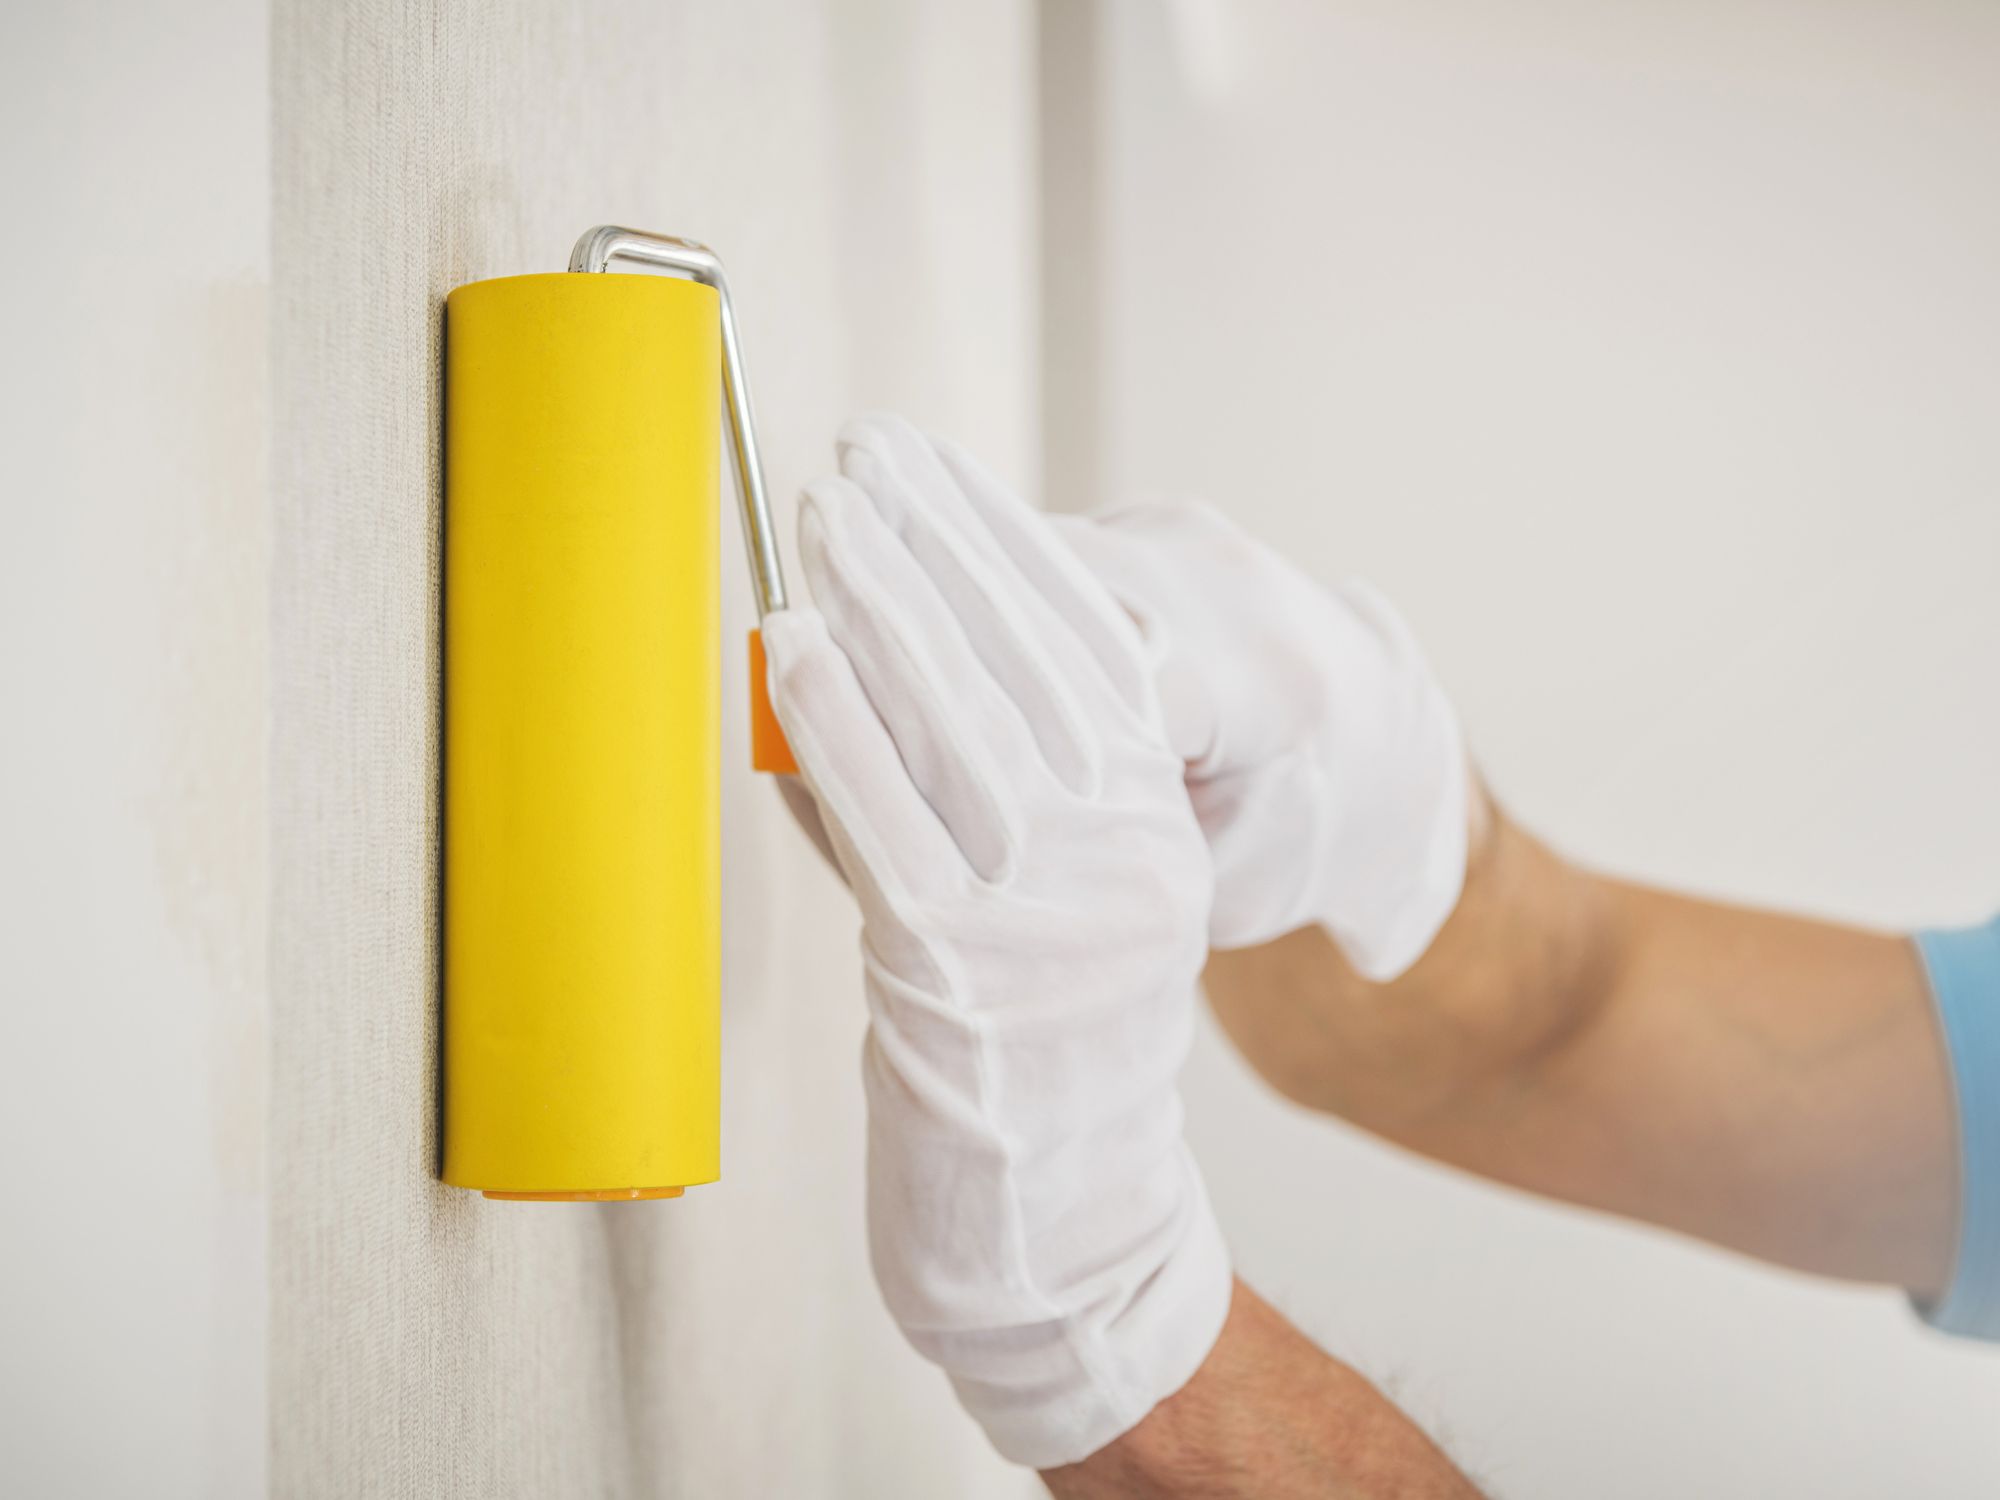
29. Installing Wallpaper – Is It Hard to Hang Wallpaper?
Wallpaper hanging can seem to be challenging the first time you endeavor a DIY wallpaper project. However, knowing the right methodology, choosing the right wallpaper for the space, having the right tools, and having a bit of patience are key to a successful outcome.
The critical steps are meticulous planning of the desired result anticipated, preparation and securing all materials and tools needed, understanding how to prepare and hang wallpaper, adhering to pattern matching, and working systematic manner consistently.
While there’s a learning curve involved, the satisfaction of transforming a space makes the effort worthwhile.
Visit our post – Wallpaper Install: A DIY Guide For Easy Wallpapering for a step by step guide for hanging wallpaper.
30. Installing Wallpaper – How to Apply Wallpaper at or Around Corners?
Measure the distance from the last wallpaper strip hung to the corner, add an inch to allow for seamless overlap, then cut accordingly. Smooth it out ensuring no wrinkles or bubbles are caught underneath and going through to the corner.
Use a sharp utility knife to cut the excess wallpaper at the corner, leaving a small overlap. Fold the overlap around the corner and smooth it down with a seam roller. The subsequent strip should overlap slightly onto the adjacent wall to ensure a seamless fit.
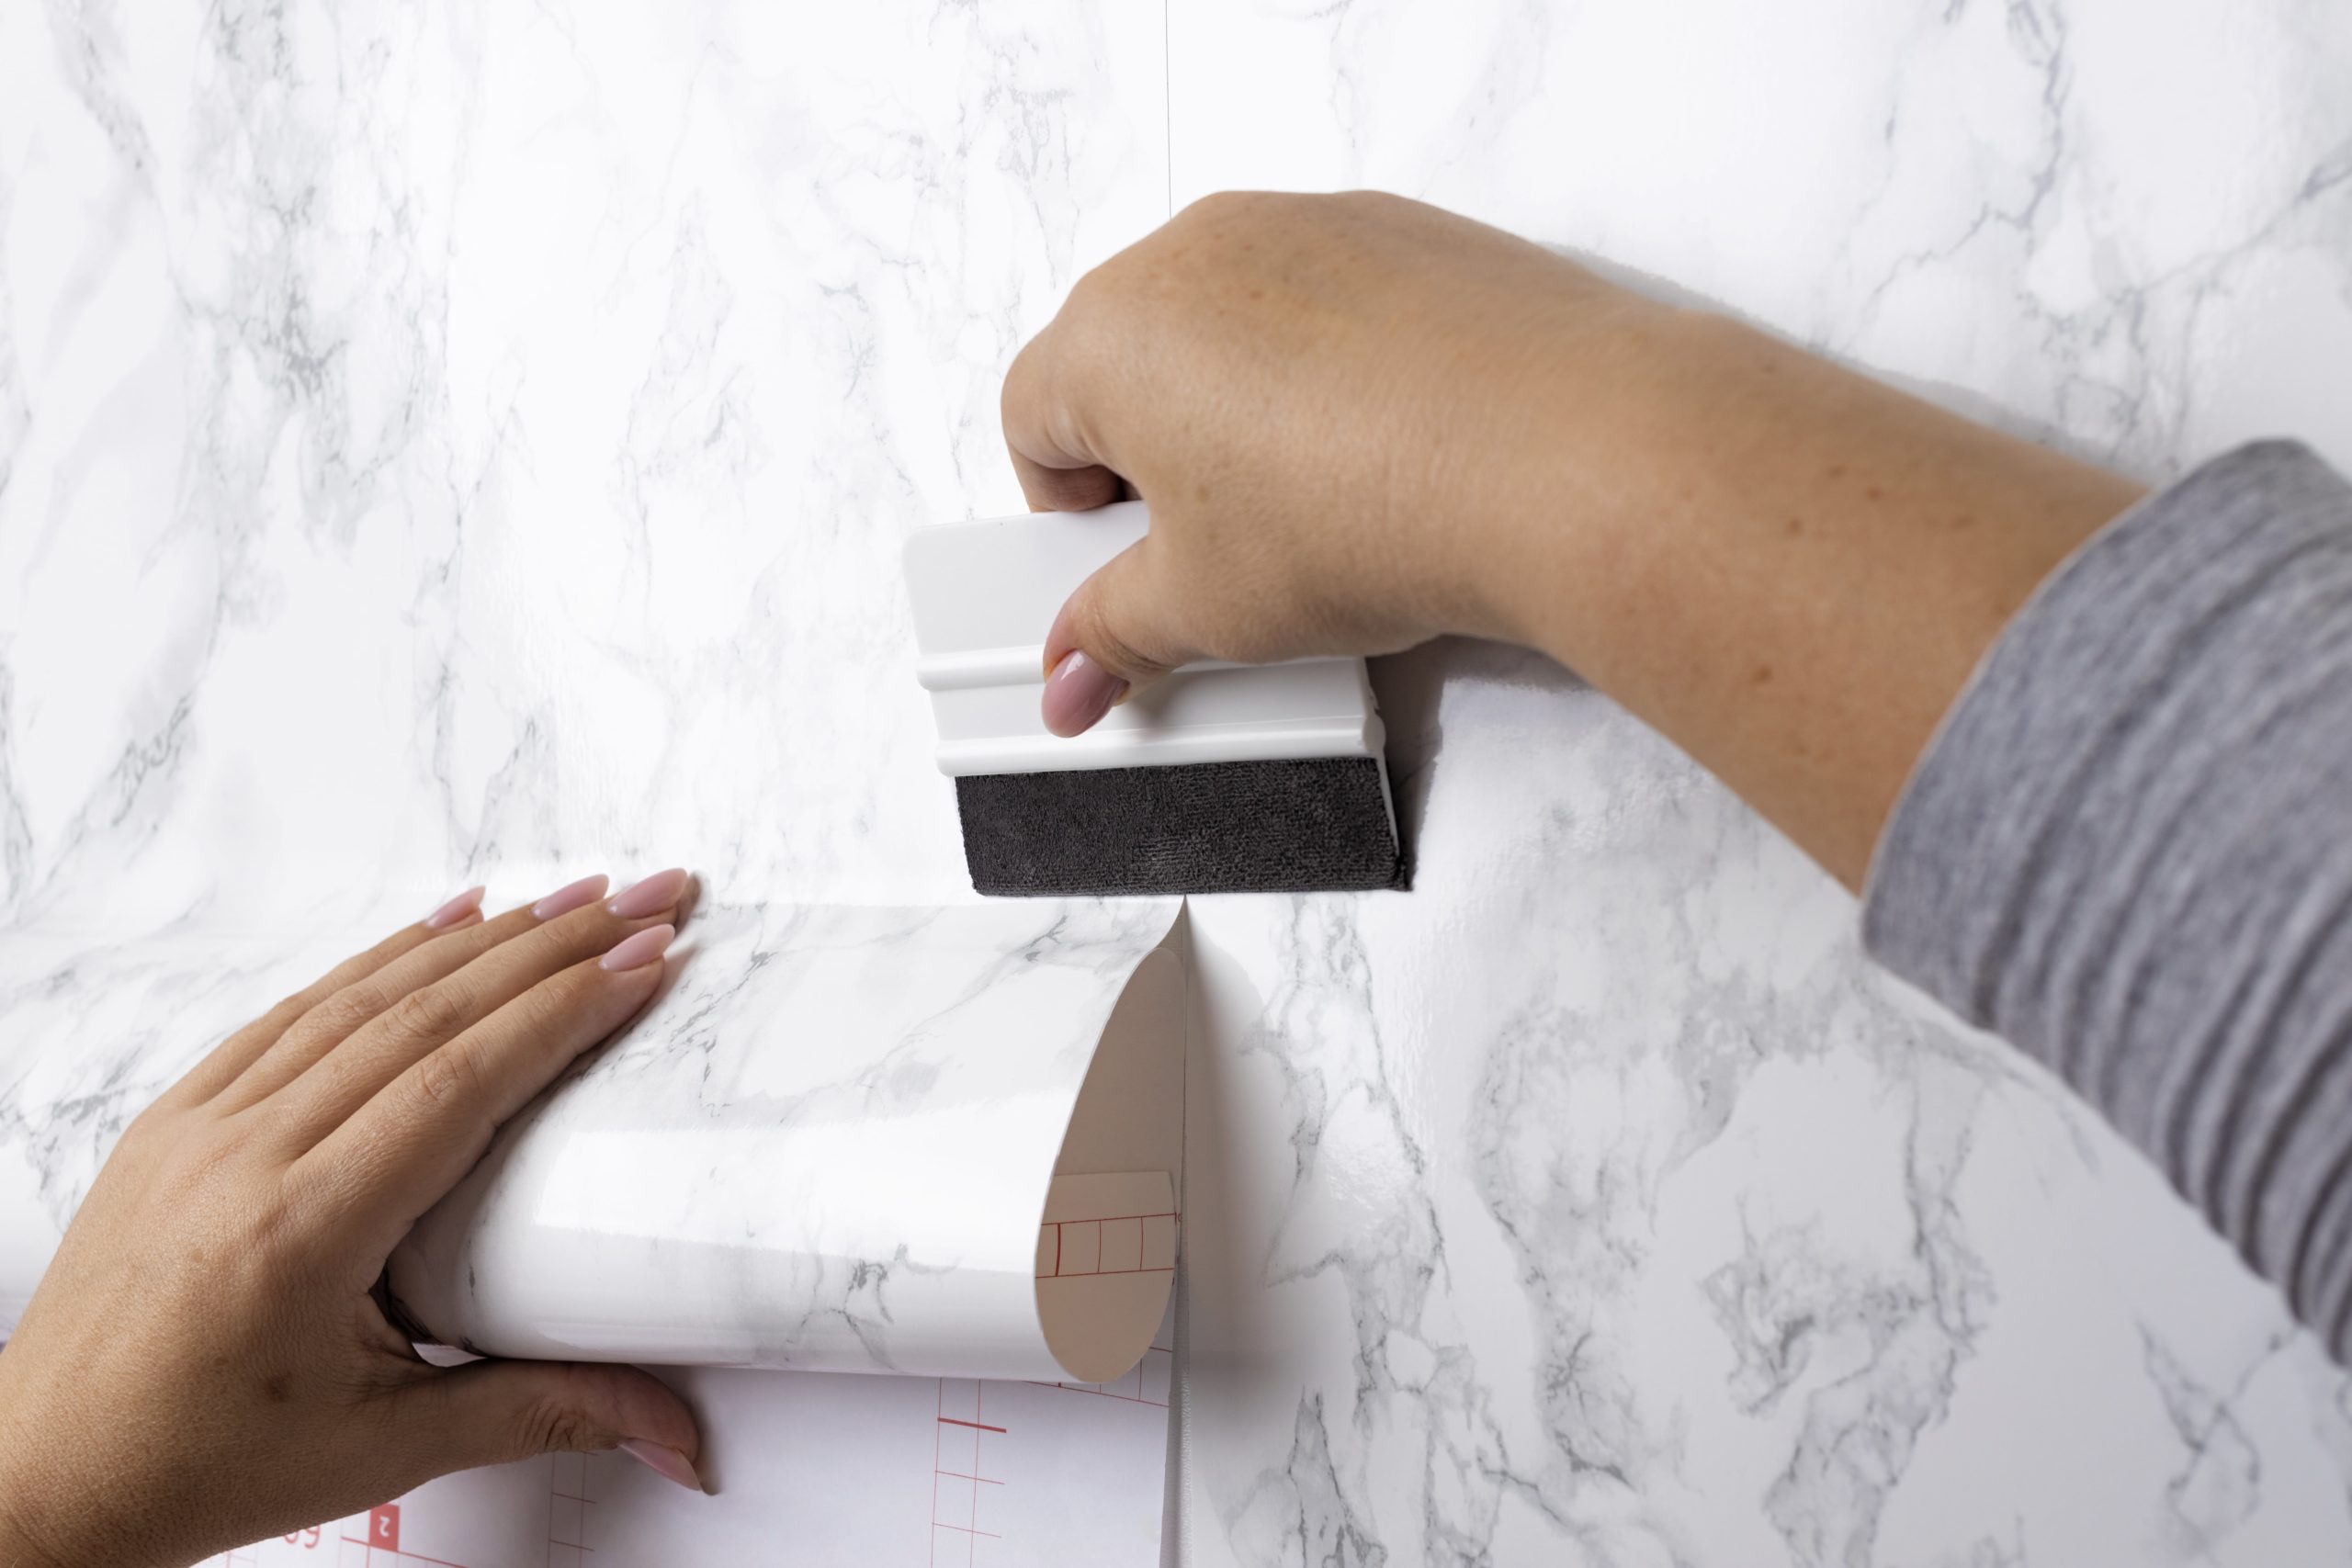
31. Installing Wallpaper – How to Apply Wallpaper Around Obstacles?
When applying wallpaper around obstacles such as electrical outlets or light switches, it is important to measure and cut the wallpaper carefully to ensure a proper fit. Always ensure power is off when working around electrical fixtures.
Start by measuring the distance from the edge of the obstacle to the edge of the wallpaper, and then add an extra inch to allow for trimming. Apply the wallpaper to the wall, making sure to smooth out any air bubbles or wrinkles. Use a sharp knife to cut a hole in the wallpaper where the obstacle is located, and then trim the excess wallpaper around the hole. Smooth the wallpaper down around the obstacle with a seam roller.
32. Installing Wallpaper – What You’ll Need For DIY Wallpapering.
For a successful wallpapering project, gather the following: wallpaper rolls, adhesive (unless using pre-pasted paper), a pasting table, a plumb line or spirit level, a wallpaper brush or smoother, a seam roller, a trimming knife or scissors, a sponge, a bucket, and a measuring tape.
When hanging wallpaper, you will need the following tools and materials:
- Wallpaper
- Wallpaper paste
- Measuring tape
- Level and plumb
- Wallpaper brush or roller
- Seam roller
- Steamer and/or warm soapy solution if removing old wallpaper
- Sharp knife or scissors
- Smoother to remove air bubbles
- Straight metal edge for trimming wallpaper
- A paint roller for applying wallpaper paste
- Sander and filler
- Sealer
- A ladder or step stool
Visit our Blog Post for a step by step guide to learn more about wallpaper installation.
Click Image below.
33. Installing Wallpaper – How to use a plumb line in Wallpapering?
A plumb line is a tool used to ensure that wallpaper is hung straight. A plumb line ensures the wallpaper hangs straight.
After determining your starting point for wallpapering hold the plumb bob at the top of the wall, from a high point on the wall, or from the ceiling but close to the wall. It is best if the plumb does not touch the floor as this will offset the vertical alignment of the line.
Mark the wall along this line. This straight vertical line will serve as your guide for the first strip of wallpaper, ensuring that subsequent strips are aligned perfectly.
34. Installing Wallpaper – What time of year is Best to Wallpaper?
The best time to wallpaper is during more temperate months, avoiding extreme cold or humidity. Consistent, moderate indoor temperatures and humidity levels help the adhesive dry evenly and prevent the wallpaper from expanding, contracting, or bubbling.
The best time of year to wallpaper is during moderate temperatures and low humidity. This is because high humidity can cause the wallpaper paste to take longer to dry, which can lead to bubbling or peeling.
It is also important to avoid wallpapering during extreme temperatures, as this can cause the wallpaper to expand or contract, leading to gaps or wrinkles.
35. Installing Wallpaper – Should you Wallpaper every Wall in a Room?
The decision to wallpaper every wall in a room is really is based on your design preferences and intent for the room. Today’s trend is to apply wallpapering more as a accent rather than an alternative to painting the room.
Your choice should reflect the room’s size, purpose, and desired aesthetic.
While wallpapering every room can create a bold statement and add texture and depth to a room, in smaller rooms it can make the space feel cramped.
Before deciding on whether or not you should wallpaper the entire room it is important to consider the purpose, shape, and size of the room and your overall aesthetic and decor objective for the space.
Visit our Blog Post – Home Decorations – Selecting Room Decorations to review the various wall treatments, accents, accessories and decor options of each wall. Click Image below.

36. Is Peel and stick bad for walls?
Techniques and Tips
37. Installing Wallpaper – Be Generous with The Paste: Why and How?
To ensure a quality wallpaper outcome be generous with the paste as this ensures better adhesion to the wall, reducing the persistent bubbles and peeling off of the wallpaper. Spread a generous amount of paste across the back of the wallpaper using a brush or roller, making sure to cover every inch. Pay particular attention to edges and corners, as these areas are more prone to lifting.
38. Installing Wallpaper – How do you ensure the Paste is Applied Evenly?
Starting from the center of the wallpaper and work your way out to the edges and using a broad paintbrush or roller to ensure even paste application. Apply consistent pressure to avoid wetting the wallpaper as this makes it difficult to handle and produce uneven thickness.
For large walls or projects a pasting machine can be used. Allow the paste to soak into the wallpaper according to the manufacturer’s “booking” instructions. This will allow the wallpaper to relax and become more pliable for easier installation.
39. Installing Wallpaper – Lay Out the Room: What does this entail?
Laying out the room before wallpapering involves planning and measuring to ensure that the wallpaper is applied correctly. This step ensures a more professional and cohesive look. Here’s what it entails:
Measure The Walls: Measure the height and width of each wall to determine the amount of wallpaper needed considering the wallpaper patterns. Add a few extra inches to each measurement to allow for trimming.
Consider The Pattern: If your wallpaper has a pattern, you’ll need to plan how the pattern will align and match at the seams ensuring that patterns align and you avoid small slivers of wallpaper at corners or around doors and windows. Lay out the wallpaper rolls and visually check how the pattern will look on the wall.
Start From A Corner: Involves planning where each strip of wallpaper will go before you start. It is recommended to start wallpapering from a corner of the room. This will ensure that the wallpaper pattern lines up correctly and any excess wallpaper can be trimmed off at the end.
Mark Guidelines: Use a plumb and/or level and a pencil to mark vertical guidelines on the wall to ensure that the wallpaper is hung straight. This will help you align the first strip of wallpaper accurately.
40. Installing Wallpaper – Prep The Paper: Best Practices?
Follow these best practices to prep the wallpaper prior to hanging:
Unroll The Wallpaper: Lay the wallpaper flat on a clean surface and unroll it carefully. Check for any defects or damage and make sure the pattern is aligned correctly.
Cut The Wallpaper: Measure and cut the wallpaper into strips according to the height of the wall, leaving a few extra inches at the top and bottom for trimming.
Book The Wallpaper: If your wallpaper isn’t pre-pasted, apply paste generously. Fold the wallpaper in on itself, with the pasted sides together, aligning the edges. This process is called “booking” and allows the paste to activate and the wallpaper to relax before hanging.
Let It Rest: After booking the wallpaper, let it rest for the recommended time specified by the manufacturer. This allows the paste to fully activate and the wallpaper to relax, making it easier to handle during installation.
41. Installing Wallpaper– Hang the First Strip: Step-by-Step?
To hang the first strip of wallpaper, follow these best practice steps:
Start by marking a vertical line using a plumb bob or level where your first strip will go, preferably at a corner of the room. This will ensure that the wallpaper is hung straight.
Apply The Wallpaper: Unfold the top of your booked wallpaper, and align it with the ceiling and your vertical line, ensuring the pattern is right side up. Smooth it out with a wallpaper brush or roller, starting from the center and working your way out towards the edges. Use a seam roller to ensure edges are firmly adhered.
Trim The Excess: Use a sharp knife or scissors to trim the excess wallpaper at the top and bottom. Be careful not to cut too close to the wall to avoid damaging the surface.
Match The Pattern: If your wallpaper has a pattern, make sure to match the pattern at the seams as you hang subsequent strips. This will create a seamless and cohesive look.
Repeat The process: Continue hanging the remaining strips of wallpaper, aligning them with the previous strip and matching the pattern as needed. Smooth out any air bubbles or wrinkles as you go.
42. Installing Wallpaper – Use a wet sponge for Excess Paste: Why and How?
Use a sponge damped in warm water and gently remove any excess paste that oozes out from the installation without damaging the wallpaper. Change the water in the sponge as needed to keep it clean.
Pay close attention to edges and seams. This ensures a clean finish and prevents paste residue and dust from drying onto the surface of the wallpaper becoming discolored or develop stains and unsightly over time.
43. Installing Wallpaper – What should you not do when choosing Wallpaper?
When choosing wallpaper, there are a few things to avoid:
Don’t choose a wallpaper solely based on current trends: Trends come and go, so it’s important to choose a wallpaper that reflects your personal style and complements the overall aesthetic of your space.
Don’t overlook the scale of the pattern: Consider the size of the room and the scale of the pattern. Large patterns may overwhelm a small space, while small patterns may get lost in a larger room.
Don’t forget to order enough wallpaper: Make sure to measure the walls accurately and calculate the amount of wallpaper needed. It’s better to have a little extra than to run out in the middle of the installation.
Don’t ignore the room’s lighting: Consider how the lighting in the room will affect the appearance of the wallpaper. Natural light and artificial lighting can significantly impact the colors and patterns.
Don’t neglect to test samples: Before committing to a full roll of wallpaper, order samples and test them in the room. This will allow you to see how the pattern and colors look in different lighting conditions.
Don’t rush the decision: Take your time when choosing wallpaper. It’s an investment in your space, so make sure you’re happy with your choice before proceeding with the installation.
Avoid impulsive choices based solely on trends; consider longevity and your personal style.
Don’t neglect to account for the room’s purpose and lighting conditions. Always request a sample before making a final decision, as colors, lighting impact and textures may differ from on-screen depictions.
Summary
Remember, as with any DIY project, not rushing the process is important. The guide provided above offers a general overview. However, depending on the type of wallpaper, the specific instructions might vary slightly. Always follow the manufacturer’s instructions when available
Featured Related Blog Article
To read FAQs 44 to 72 please click Here – Wallpaper Installation: 72 FAQs – 44 to 72. Click Image below.
