This post may contain affiliate links which means I may receive a commission for purchases made through links. I only recommend products that I have personally used or curated specifically after reviewing and ensuring its quality! Learn more on my Private Policy page.
1. Unfolding The Mystery of Floating Shelves
Floating shelves are a remarkable testament to the blend of design and functionality in modern interiors. Not only do they provide a sleek, space-saving storage solution, but their ‘floating’ appearance also adds a touch of minimalist elegance to any room.
Whether you’re considering wooden floating shelves for a rustic touch or sleek metal ones for a contemporary vibe, the importance of proper installation cannot be overstated. However, with numerous floating shelving options available, choosing and installing the right one might seem a tad overwhelming, involved and complicated.
The obvious question is about how to install or hang floating shelves securely. For a detail How To Guide for Installing Traditional Shelves please refer to our recent Blog Article.
Additionally, considerations about the weight capacity of floating wall shelves or how to ensure stability while undertaking a DIY floating shelf project. These are crucial for ensuring longevity and safety. After all, while aesthetics is paramount, a shelf is only as good as its load capacity and the secureness of its anchors.
But fret not! Our aim is to address all these concerns. Whether you’re diving into a DIY floating shelf project for the first time or simply looking to understand the dynamics of floating shelf hardware, we’ve got you covered.
Floating shelves, a contemporary touch to homes, are fast becoming integral pieces in modern design. Not only do they save space, but they also bring in an aesthetic appeal that is unparalleled.
2. The Kitchen Appeal
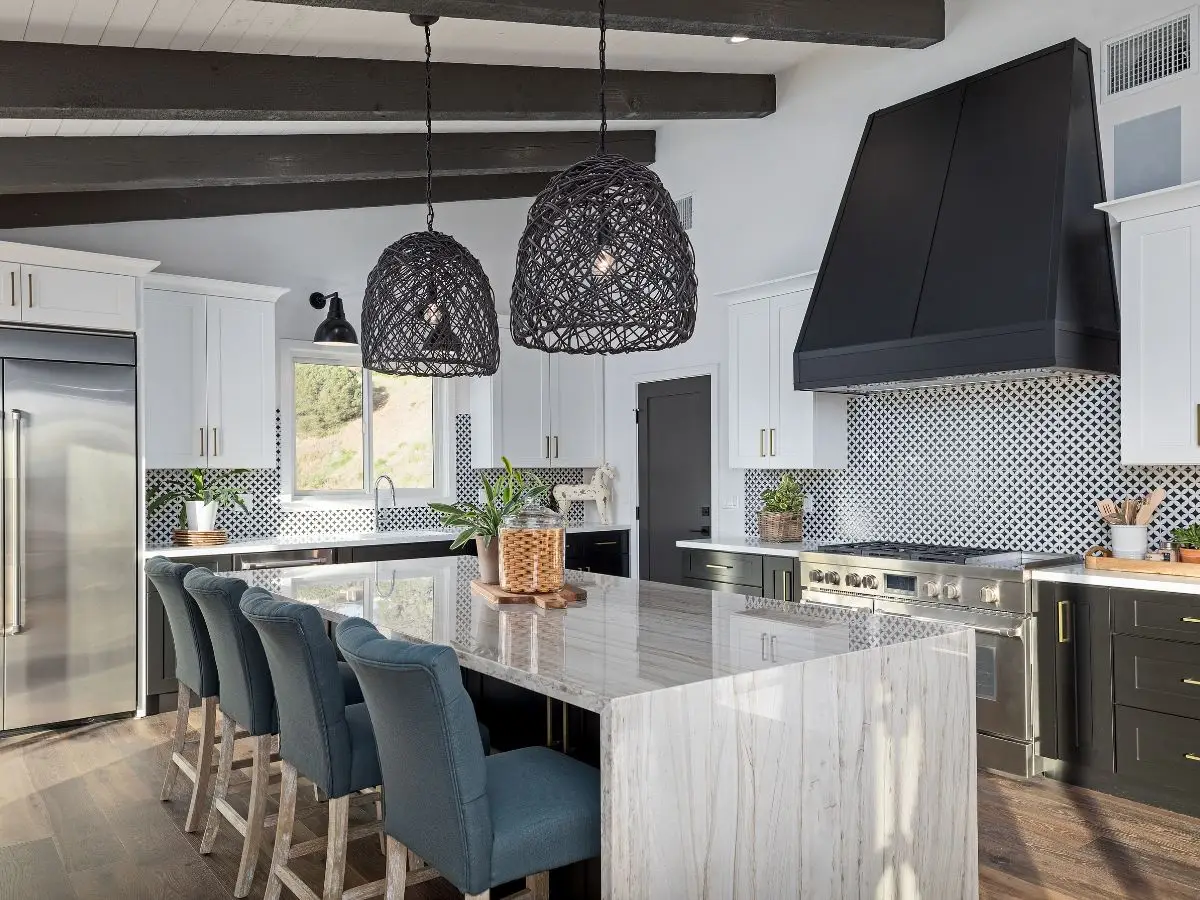
In many modern kitchens, open shelves or kitchen floating shelves have replaced the traditional upper cabinets. The beauty of these shelves is that they allow easy access to dishes, spices, and other essentials, making kitchen tasks streamlined.
Furthermore, kitchen floating shelves, especially long floating shelves, offer a seamless display area for elegant dishes or decorative items. It’s a kitchen renovation idea that’s both practical and chic.

Given that some kitchens require longer runs of shelving it is important that the installation is precise especially near appliances like the range hood, to ensure a very tight fit clean fit creating an tasteful esthetic appeal.
This means opting for wood shelves of the perfect length and width, often requiring appropriate tools like saws, drills, and others for exactness.
Kitchen floating shelves, particularly those meant to bear significant weight, require placement with heavy-duty anchors. Where shelves need to be connected to each other using wood glue can enhance the finish refined look and also provide an added layer of security.
Click Image For Product Details


3. Bathrooms and Other Living Spaces
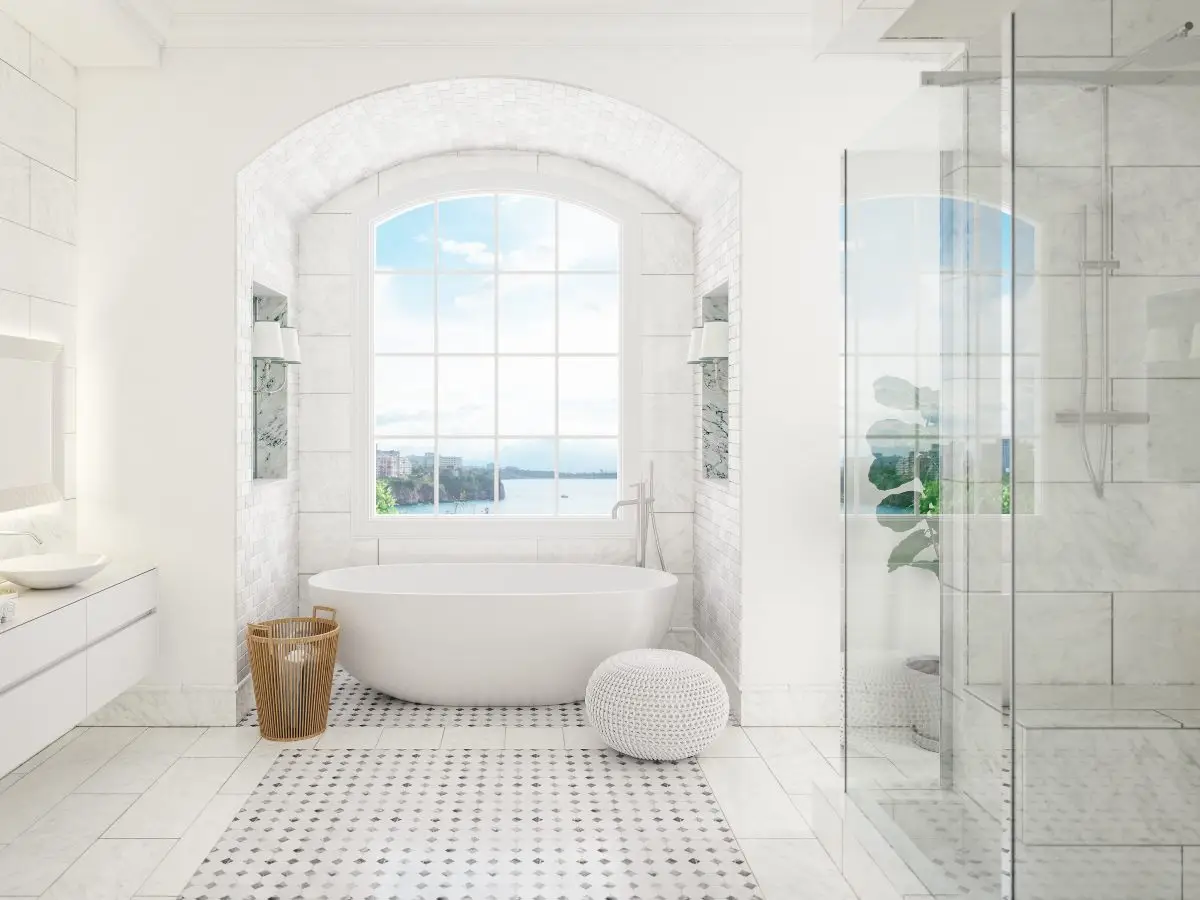
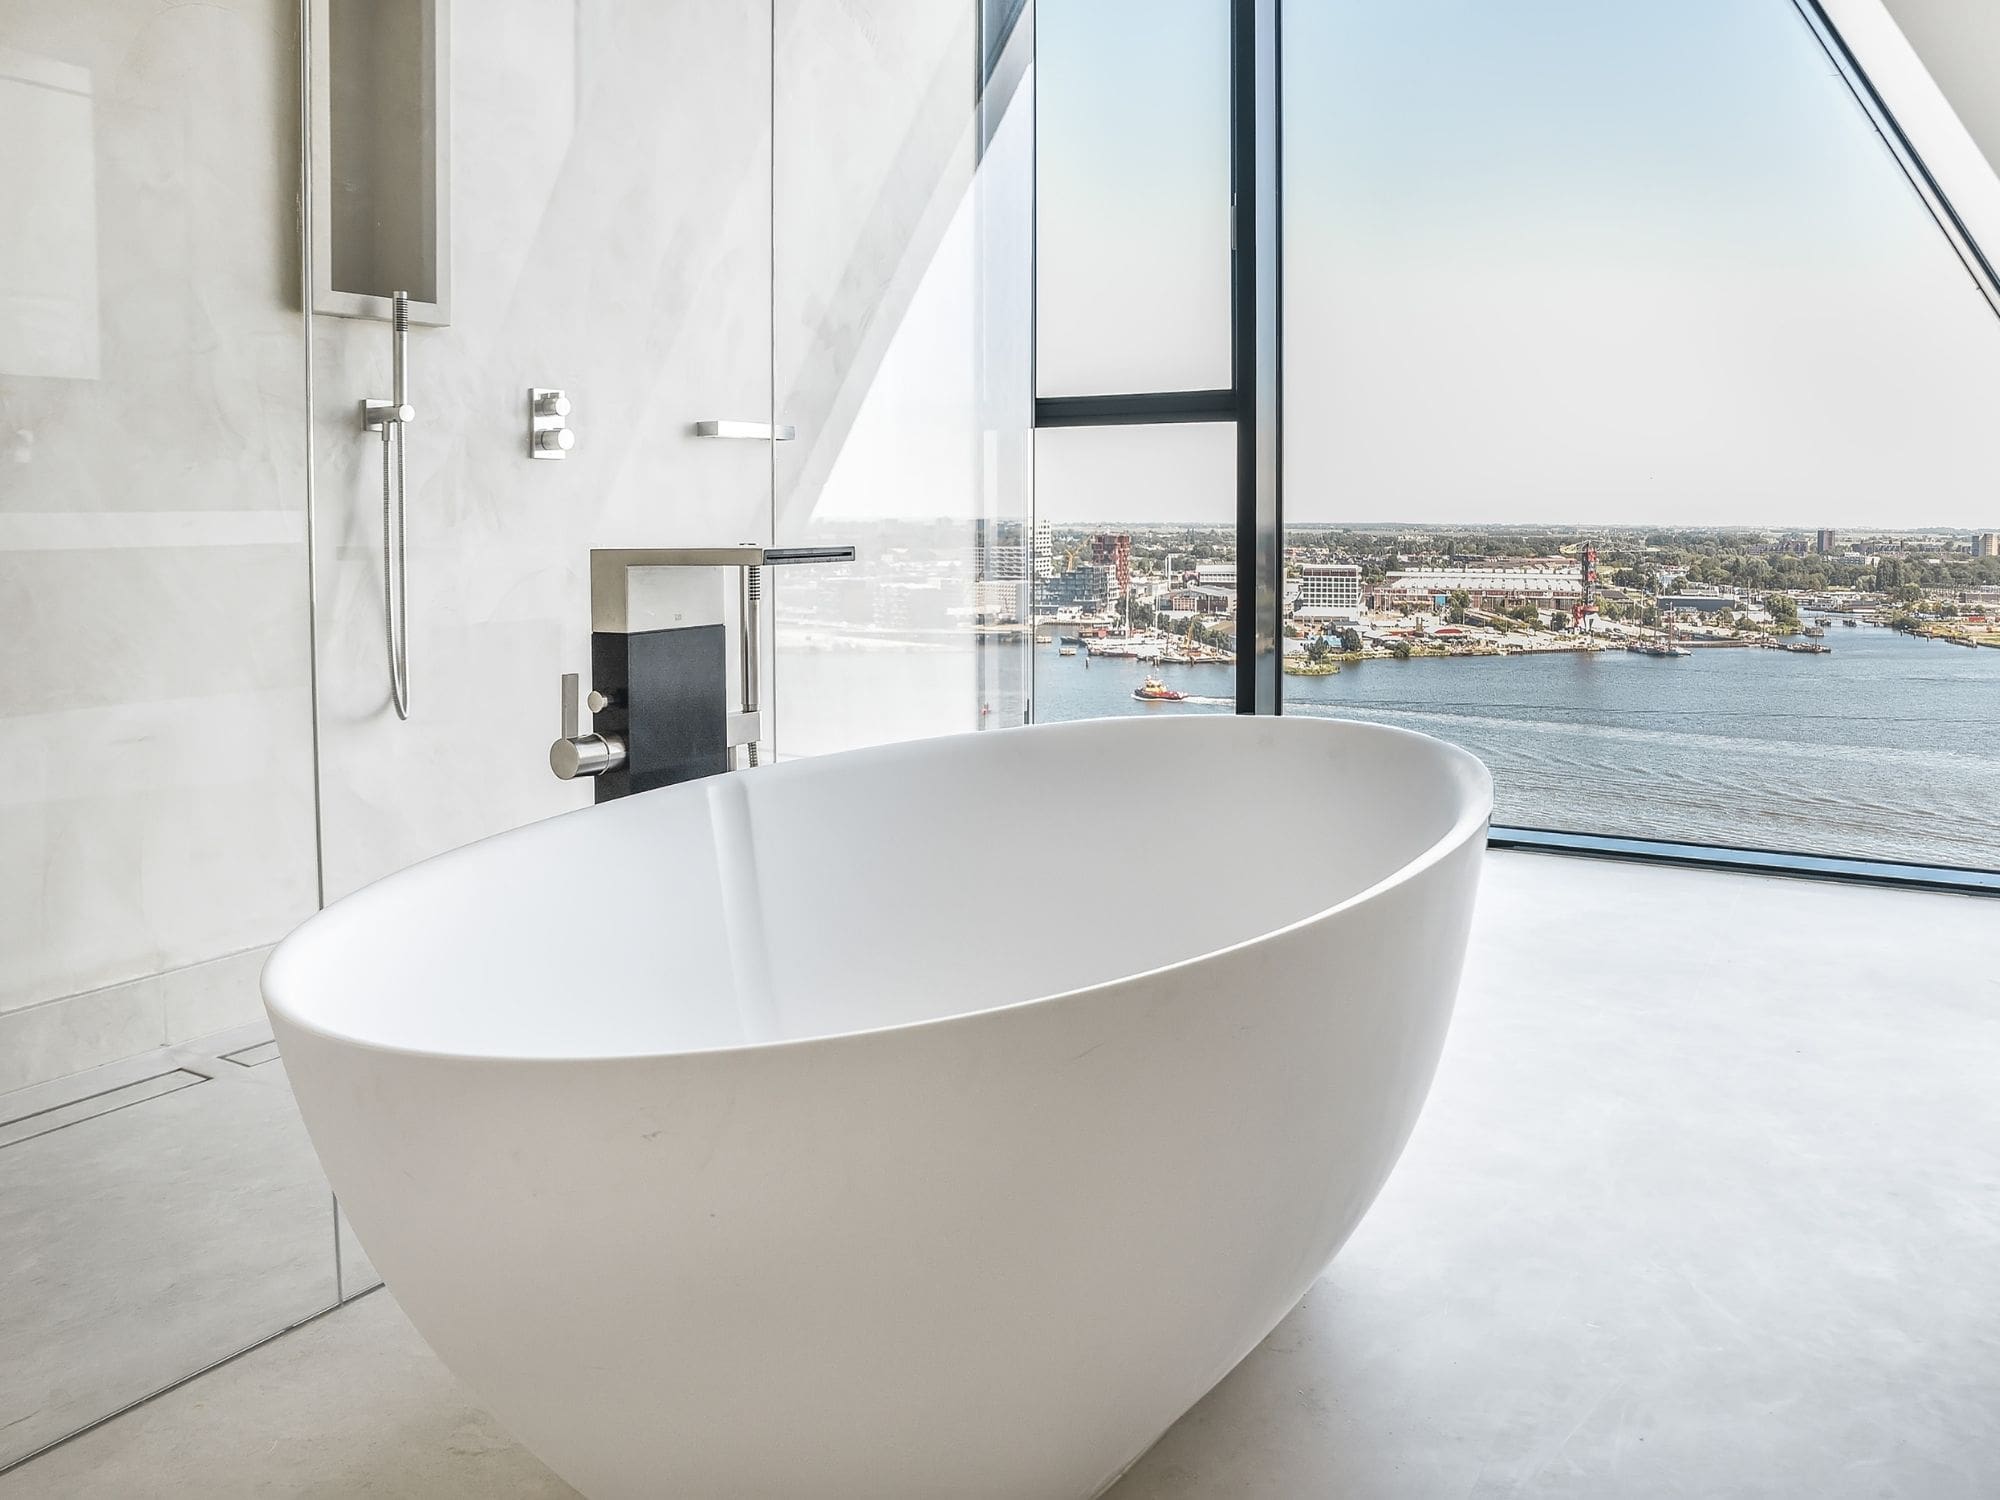
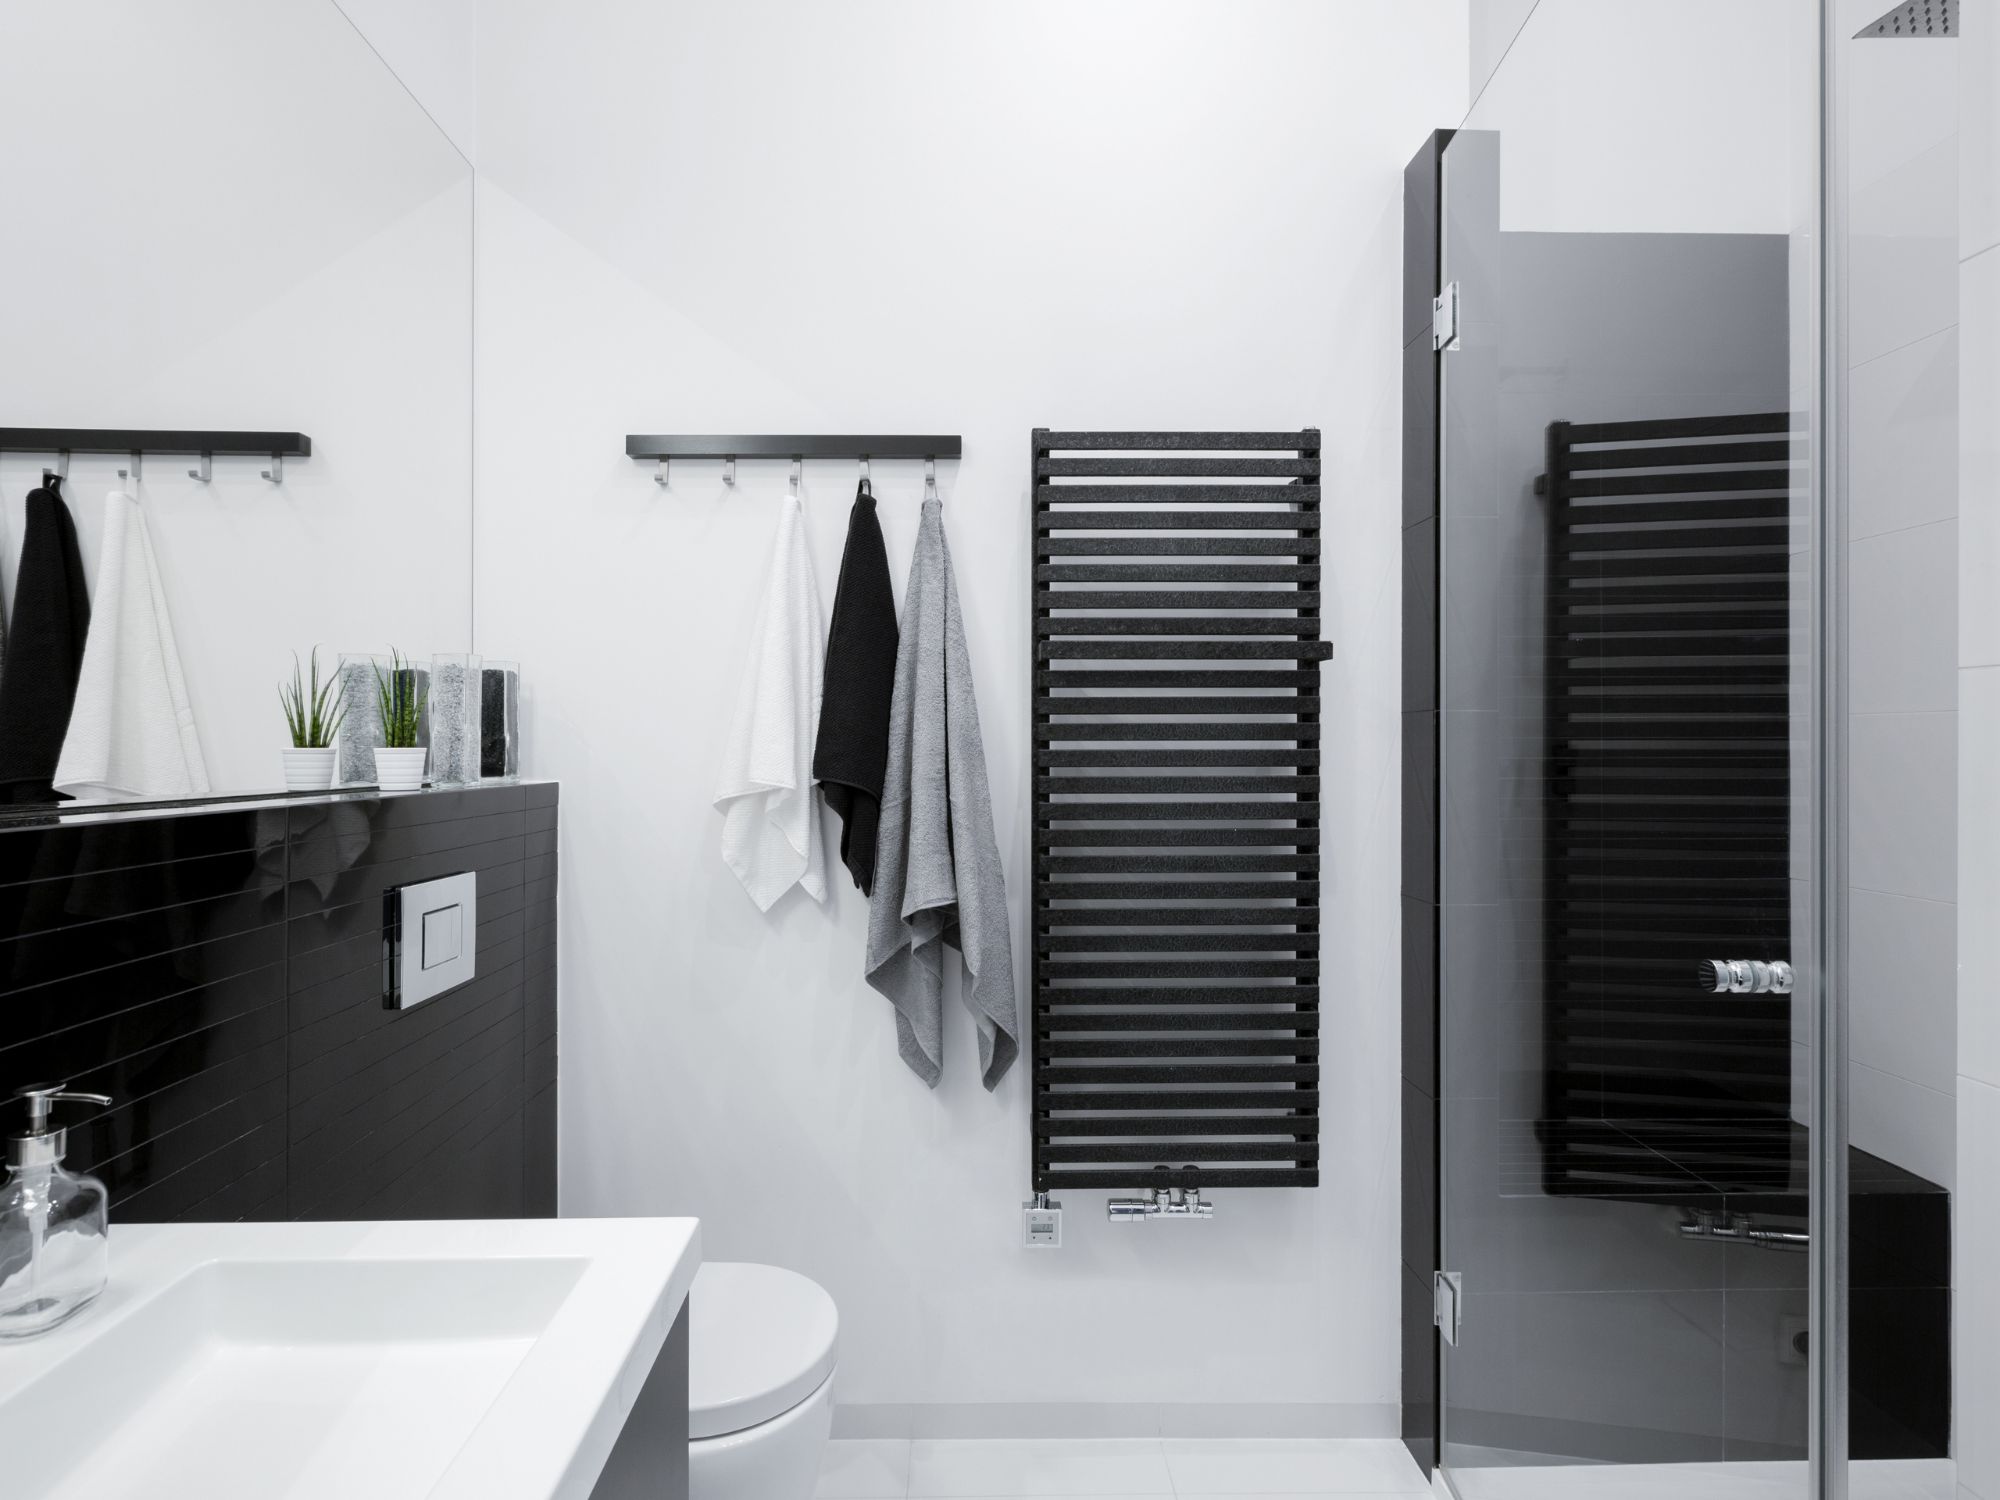
Similar to kitchen shelves, shelf installations in bathrooms follow similar guidelines. One key consideration is to remember as with any DIY project in the bathroom – wooden floating shelves in damp places require that the wood be treated or coated to withstand humidity and increase it’s longevity.
Click Image For Product Details

Living rooms, on the other hand, welcome open shelving as it provides ample space to showcase one’s personality. Whether it’s books, plants, or collectibles, everything finds its place.
One unique approach that homeowners can undertake is combining different material or wood types, creating a contrast that is both refreshing and modern.
Wooden shelves are a really good choice for bathrooms and have been used widely.
Click Images For Product Details


4. Installation And Pro-Tips
Before you begin installation there are two key questions that you should have determined ahead of time.
First, it is essential to determine how much weight each shelf will have to carry as brackets play a vital role in determining the load capacity of the shelf.
Second, the wall framing or wall type dictates what installation process is required. This also dictates the carrying load of the future installed shelf. Installing a shelf directly onto drywall, would require anchors to ensure the right support capacity.
However, if there is wood framing behind the drywall the shelf installation can be done by screwing directly to the studs.
The various and myriad designs, colors, sizes, and types of shelves are testament to modern interior design’s versatility. And as such the installation might require a bit of effort, but the result is a product of wonderous art and functionality and is well worth it!
Click Images For Product Details


Whether you’re considering a full kitchen renovation or just adding an aesthetic touch to your living room, floating shelves, with the right brackets and hardware, can make it a project worth undertaking.
For DIY shelves installation avoid the use of nails, except headless nails. Screws are preferred but only when and where needed. Glue or custom hardware are the standard in most cases where joining is needed.
Drill pilot holes smaller than the intended screws or anchor – this ensure a secure snug fit.
Click Images For Product Details

5. Approach To This Article
In this blog post our approach is to provide answers to frequently asked questions regarding floating shelves installation. The questions presented below were not altered and were posted as received – and as you will see there is some overlap in many areas.
However, we have provided answers in a progressive manner such that each answer to each successive question provides more details and in so doing is not a repeat of the previous.
As you will note almost every question is centered on the two key issues noted above.
6. What is The Best Way To Attach Floating Shelves?
Floating shelves epitomize elegance and the epitome of modern storage design. A primary appeal is their invisible support system, which gives them the ‘floating’ title.
The most effective way to attach these shelves hinges on factors such as wall type, expected weight load, and available tools as noted before.
One conventional method uses a torsion box principle. Essentially, the core of the shelf is hollow, with the front acting like a beam to resist sagging. Inside this hollow space, specialized shelf brackets are mounted.
Upon deciding where the shelf should go, drill holes corresponding to the center location of the wall studs. The precision is paramount here. If your holes align perfectly with the studs and your brackets, you’ll ensure the most robust support system possible.
Pro - Tip 1: Use a laser level. It allows for accurate and straight lines with less hassle.
Once brackets are securely fastened, the shelf can slide onto them. The shelf, once mounted, covers these brackets entirely, leading to the ‘floating’ illusion.
7. Do Floating Shelves Need to be Drilled Into Studs?
Floating shelves are an aesthetic charm, but without the right support, they’re accidents waiting to happen. Studs which are the vertical wooden beams behind the wall provide the support your walls need.
Drilling your shelf brackets into these studs is the gold standard for shelf installation. The wood of the stud offers a solid grip for the screws, holding the shelf firm. Using a stud finder can help locate these points on your wall, ensuring you drill precisely where you need to.
However, situations arise where aligning with studs isn’t possible due to spacing or the desired shelf location. Here, wall anchors come into play.
Anchors spread out behind the drywall, providing a broader base and thus, a sturdier grip. But even with the best wall anchors, the support they offer pales in comparison to direct stud anchoring.
Pro Tip 2: Unless the anchor type (some do) requires it do not predrill the hole, especially in drywall.
If there is a need to predrill use a smaller drill bit than the size of the anchor. The anchor works by being snugged and fit behind the wall – if the hole is too big that snugness and fit will be lost.
While installing, it’s crucial to be armed with the right tools. Apart from the drill press and drill bit, a rubber mallet can be handy to ensure brackets fit with no wiggle room.
8. Are Floating Shelves Hard to Install?
The thought of installing these shelves can be daunting. But, with the right tools and a systematic approach, it’s a task even novices can achieve.
First, gather your tools. Typical installations require a drill, level, stud finder, pencil, tape measure, and screws. Your shelf kit might provide specialized tools, so always check first.
Begin by determining shelf placement. Using the stud finder, mark where your studs are. Draw a level line where you’d like the shelf. These markings guide your drilling. Using a stud finder is easy, do a quick internet search!.
Drill pilot holes into the studs, ensuring they align with the holes in your floating shelf brackets. This is important check a few times to ensure alignment before drilling. Once the holes are predrilled install the brackets securely using screws of the right caliber then slide the shelf onto the brackets, and there you have it!
Lastly, screw the shelve onto the brackets. Small holes are usually predrilled on the underside of the shelve and is used to secure the shelve onto the installed brackets.
Remember to follow the manufacturer’s instructions closely. They’ll offer nuances specific to your shelf type.
Click Images For Product Details


9. Can You Mount Floating Shelves Into Drywall?
Drywall, while a standard drywall finish, isn’t as sturdy as wooden studs. However, it’s often the only option for mounting due to wall stud placement.
When mounting on drywall, wall anchors become your best friend. These are special fixtures designed to provide a grip in weaker wall areas. When a screw is driven into them, they expand, offering resistance and preventing the screw and mounted item from falling out.
For shelves expected to bear weight, it’s crucial to use heavy-duty anchors. Toggle bolts are popular options, offering robust support. The wings of toggle bolts (see under Pro-Tip 2 above) open up behind the drywall, distributing weight over a larger area, ensuring your shelf remains stable.
Ensure you follow weight guidelines. Overloading shelves mounted solely on drywall, even with the best anchors, risks damage.
10. What Holds Floating Shelves in Place?
Floating shelves offer a magic trick of sorts – they appear suspended in mid-air, with barely visible means of support. This feat of illusion is achieved through the ingenious use of hidden brackets and careful design.
These floating shelf brackets are often made of sturdy metal and are securely anchored into the wall studs or using heavy-duty wall anchors in the absence of studs. These brackets typically have arms or rods protruding outward.
Once the bracket is securely attached, the floating shelf, which has pre-drilled holes at the back, slides onto these arms. The snug fit ensures stability, and the design of the shelf hides these brackets, completing the ‘floating’ illusion.
Pro-Tip 3: The quality of materials and precision in installation are key so choose your shelve material wisely. Solid wood is usually the best. However, other aesthetic materials abound.
It’s also worth noting that the depth and thickness of the shelf also play a role. Deeper shelves distribute weight more effectively, reducing the risk of sagging.
11. Aesthetic Appeal and Structural Stability – Securing Floating Shelves to The Wall?
Installing a floating shelf requires a balance between aesthetic appeal and structural stability.
Follow this methodical approach to ensure both are met during installation:
Shopping: Before you buy shelving or start drilling make sure you understand the installation requirements of the shelving you are planning to buy/install and decide if it will meet your needs or whether you can modify the installation to your wall requirements.
Planning & Measurement: Begin by choosing the ideal spot for your shelf. Consider its purpose. Is it for displaying lightweight memorabilia or holding a collection of books, dishes, pots, etc.?
Pro - Tip 4: Mark the preferred height above the floor or counter on the wall where you want the top of the shelve to be. Mark a series of points along the horizontal layout where the shelve will be.
Locate The Studs: Using a stud finder locate studs if your wall is drywall. Mark these points on the wall and determine if the studs coincide with the manufacturers bracket predrilled holes.
For other wall types or where the bracket predrilled hole do not coincide with the studs you will have to use anchors as noted previously.
Bracket Placement: Hold up the floating shelf bracket to the wall, aligning its holes with the marked points. if only one end coincide with a stud then use that end as your starting point as it provides the best opportunity to ensure structural stability.
Pro-Tip 5: Anchor this end first but loosely (placing just one screw) and then use a level or laser to ensure it is level and then place a mark at the other end where the other bracket will be placed. You can then use these marks to predrill these holes in the wall.
Drilling: Drill pilot holes, which are smaller than the bracket’s screws or the anchors, ensuring smooth and accurate screwing later.
Bracket Installation: Align the bracket with the pilot holes and screw it securely into place as noted above. This is crucial – a poorly anchored bracket can lead to a sagging shelf or worse.
Attaching the Shelf: Most floating shelves have pre-drilled holes or slots designed to fit the bracket’s arms. Slide the shelf onto the bracket, ensuring a snug fit.
Pro-Tip 6: Final Check and Recheck: Once one side of the shelf is installed use a level or laser to help ensure a perfect horizontal fit. You can fasten both sides securely.
12. Can Floating Shelves Hold a Lot of Weight?
The weight-bearing capacity of floating shelves often becomes a topic of concern, especially when intending to place heavy items on them. Here’s a closer breakdown:
Materials Matter: Hardwoods like oak or maple tend to bear more weight than softer woods like pine. Likewise, metal shelves are sturdier than wooden ones.
Bracket Quality: High-quality brackets, especially those made of robust metals, provide better support.
Wall Anchoring: Everything else being equal anchoring is the determining factor in shelf load capacity. hence the ability to achieve structural stability is very dependent on the nature of the wall or wall framing.
Shelf Design: Thicker and deeper shelves distribute weight better, reducing stress points. So whenever possible keep this point in mind. However, this point is applicable more for when significant loading is anticipated like e.g. in kitchens for dish storage.
Manufacturer’s Guidelines: Always read the manufacturers instructions. If a shelf is rated for 20 pounds, respect that limit and the limit would very much depend on the wall type, bracket sturdiness, anchor type, and shelve material.
13. Do I Need Wall Anchors for Floating Shelves?
Wall anchors play a crucial role, especially when wall studs aren’t available for mounting. Here’s a deeper look:
The Role of Anchors: Wall anchors are designed to provide a grip in walls that otherwise wouldn’t offer enough support. They expand behind the wall, distributing the weight of the mounted item across a larger area.
Types of Anchors: Various anchors are available, each designed for specific weights and wall materials. There are plastic expansion anchors for light loads, while toggle bolts or molly bolts are for heavier shelves. Please consult at your local hardware store for guidance based on your wall type and shelving function.
When to Use Anchors: If your desired shelf placement doesn’t align with wall studs, anchors become necessary. They’re also crucial for walls made of materials where studs aren’t present, like certain types of plaster, masonry wall or dense metal material.
The role of the anchors are to attach brackets to the wall such that the shelves can be screwed n place.
14. Do you Have to Screw in Floating Shelves?
Screws play a pivotal role in securing the unit
Securing Brackets: The floating shelf illusion is achieved using hidden brackets. Screws anchor these brackets firmly into wall studs or anchors, providing the primary support.
Shelf Stability: Some shelves come with pre-drilled holes that align with the bracket arms. Screws ensure the shelf doesn’t shift or slide off these arms.
Type of Screws: It’s essential to use the appropriate screws, however the right screw type and size must be used. The right size screws will depend on the pre drilled bracket holes, so please consult with your local hardware store personnel.
Wood screws are ideal for studs, while wall anchors usually come with specially designed screws.
Pro-Tip 7: Using the right screws and ensuring they're tightly anchored is key to achieving both the floating look and the stability.
Click Images For Product Details


15. How are Floating Shelves Anchored to the Wall?
Anchoring is the bedrock of floating shelves. Here’s the anchoring anatomy:
Floating Shelf Brackets: These are specially designed metal fixtures. Once fixed to the wall, their arms protrude outward, acting as the primary support point for the shelf.
Wall Studs Vs. Anchors: The best anchoring point is directly into wall studs using wood screws. In the absence of studs, wall anchors provide the next best option.
Shelf Placement: Once brackets are anchored, the shelf slides onto the protruding arms. The weight of the shelf and its contents pushes down on these arms, ensuring stability.
Shelf Security: Some shelves might have screw holes to further secure them to the bracket arms, ensuring they don’t shift or get easily knocked off.
16. How Do you Stabilize Floating Shelves?
A wobbly floating shelf isn’t just an eyesore; it can be a hazard. Stability is crucial. Here’s how to ensure it:
Quality Shelf Brackets: Invest in robust floating shelf brackets. Their design and quality directly influence the stability of the shelf.
Ensure Correct Bracket Installation: When attaching the bracket to the wall, use a level to make sure it’s perfectly horizontal. Any tilt can make the shelf unstable.
Wall Anchoring: If you can’t attach the shelf bracket to a wall stud, use high-quality wall anchors designed for heavier loads.
Shelf Depth: A deeper shelf can distribute weight better, offering more stability. However, ensure the bracket is designed to support the depth.
Weight Distribution: When placing items on your shelf, distribute the weight evenly. Avoid placing all heavy items on one side.
Additional Supports: If your shelf is long, consider using additional brackets or L-brackets underneath for added stability.
17. How Are Floating Shelves Secured?
Securing these shelves is a blend of art and science. The ‘floating’ effect is achieved by hiding the anchoring system:
Hidden Brackets: The key component of the anchoring system is the hidden bracket. Made of metal, they’re secured to the wall and serve as the primary support.
Brackets into Studs: Ideally, these brackets should be anchored into wall studs using wood screws, offering maximum stability.
Using Wall Anchors: In situations where wall studs aren’t accessible, wall anchors, especially heavy-duty variants like toggle bolts, are employed.
Securing Shelves: The shelves have pre-made recesses or holes that fit over the bracket arms, hiding the anchoring system and achieving the floating look.
18. Do All Floating Shelves Sag?
While sagging is a concern with floating shelves, it’s not an inevitable fate. Factors that contribute to sagging include:
Weight Overload: Overburdening the shelf beyond its recommended weight limit is a primary culprit.
Poor Quality Materials: Shelves made from softer woods or low-quality metals are more prone to sagging.
Pro-Tip 8: If you are intending to load your shelves consider high quality shelves preferably dense woods or other structurally reinforced materials
Inadequate Brackets Support: Using fewer brackets than required or opting for cheaper, weaker variants can lead to sagging.
Pro-Tip 9: Cheaper brackets is no way to save money!
Improper Installation: If brackets aren’t levelled or securely anchored, the shelf might sag.
Pro Tip 10: Always adhere to weight guidelines, invest in quality shelves, materials, and brackets, and ensure meticulous installation.
19. Why do floating Shelves Sag?
Sagging can mar the beauty of these shelves. Common reasons include:
Excessive Weight: This is the most common cause. Every shelf has a weight limit; surpassing it can cause the shelf to sag.
Quality of Wood: Softer woods, over time, may start to bow under even moderate weight.
Bracket Spacing: If the shelf brackets are too far apart, the unsupported middle section of the shelf is prone to sagging.
Inadequate Thickness: Thin shelves, especially those made of less dense woods, can’t distribute weight as effectively as thicker ones, making them more prone to sagging.
Humidity: Wood is hygroscopic, meaning it absorbs moisture from the air. High humidity can cause wooden shelves to swell and sag.
20. What is the minimum distance between floating shelves?
The ideal distance between shelves isn’t just an aesthetic decision; functionality plays a significant role:
Purpose: If the shelves are meant to house displays and books, measure the height of these items and add a few inches for easy access.
Visual Balance: Too close can make shelves look cluttered, while too far apart might seem disjointed.
Weight Distribution: Spacing them adequately can help distribute the overall weight on the wall more evenly, reducing stress on individual anchor points.
Wall Height: Consider the height of the wall. For taller walls, wider spacing might be more visually appealing.
Pro-Tip 9: Standard Guideline: A common recommendation is a spacing of 12-18 inches between shelves, but it's essential to adjust based on the specific items you'll be placing on them.
21. DIY Floating Shelves Installation
The journey of DIY installation begins with selecting the right material for your shelf. Hardwoods, for instance, are not only visually appealing but also sturdy, ensuring your shelf doesn’t sag under weight.
The next step is choosing the right location. This requires considering the purpose of the shelf – is it purely decorative, or does it serve a functional storage purpose?
Floating shelves, at their core, are about the illusion of “floating.” This illusion is achieved through specialized hardware, typically robust metal brackets that remain hidden once the installation is complete.
Once the position is determined, the real hands-on work begins. One of the most crucial aspects of installing floating shelves is ensuring they are anchored securely. This involves either drilling directly into wall studs for maximum support or using wall anchors when studs aren’t accessible.
Installing directly into the stud ensures your shelves have a robust foundation. After this, the floating shelf bracket is attached to the wall, and then the shelf is slid onto it, achieving the floating effect.
Click Images For Product Details


22. The Charm of The Illusion
What truly sets DIY floating shelf installation apart is the personal touch it brings. Unlike store-bought open shelving variants, DIY wall floating shelves allows for customization at every stage.
Throughout this guide, we’ve delved into the nuances of selecting, installing, and maintaining these chic storage solutions. We have demystified the complexities around shelves brackets, ensuring you understand the paramount importance of proper anchoring, be it into wall studs or using robust wall anchors types.
It’s evident that while floating shelves offer a minimalist and elegant touch, their installation is anything but minimal.
From the initial stages of choosing the right material for your shelves to understanding the weight they can bear, every step requires meticulous attention to detail. A DIY floating shelf project can be immensely gratifying, ensuring the shelf’s stability and durability is crucial.
Equipped with this knowledge, you’re ready to embark on your floating shelving journey, ensuring that every shelf you install is not only an aesthetic masterpiece but also a sturdy, reliable storage solution.
Featured Related Blog Articles


