This post may contain affiliate links which means I may receive a commission for purchases made through links. I only recommend products that I have personally used or curated specifically after reviewing and ensuring its quality! Learn more on my Private Policy page.
1. Installing Wallpaper For Walls
In this brief post we review some Dos, Don’ts and Common mistakes DIYers make when installing wallpaper for walls. I myself have made a few of these so even pros fall into the habit of convenience only later to realize they have a problem.
The issues discussed herein are quite simple but critical to the successful outcome of a wallpaper installation project.
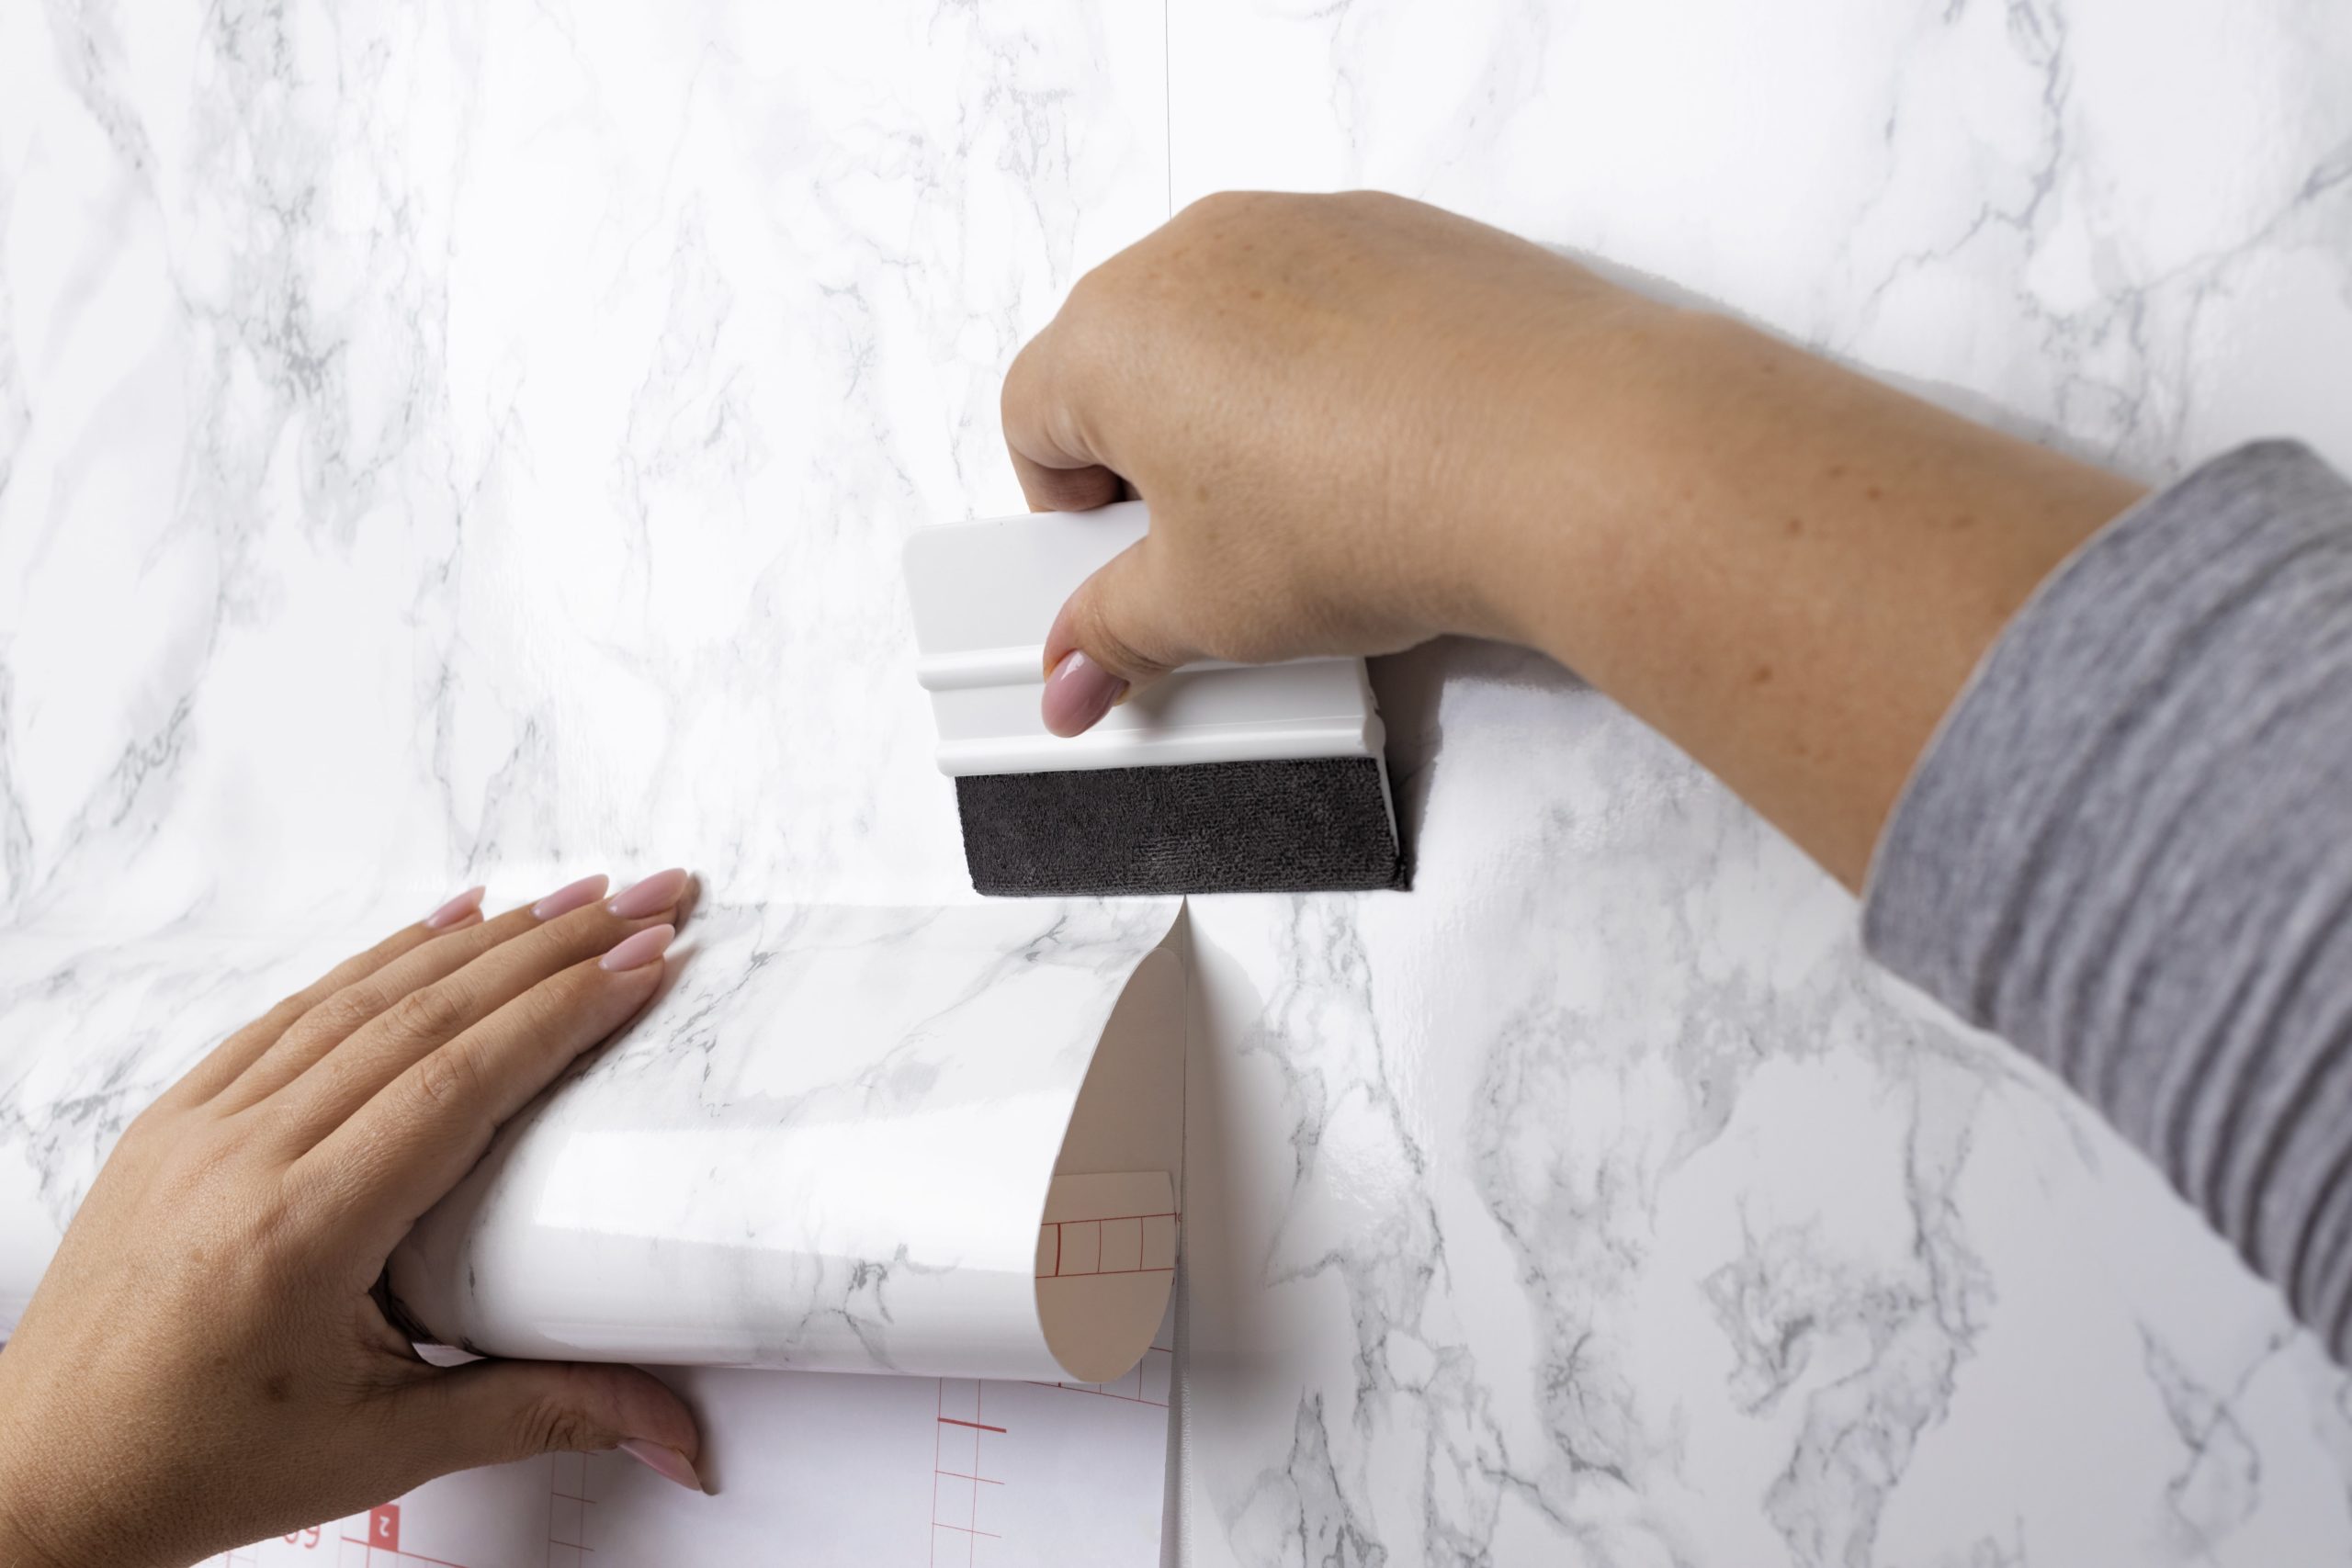
Please review this YouTube Vid for illustration for Peel and Stick wallpaper or this other YouTube Vid illustrating installation of Wallpaper requiring paste application which contrast with the peel and stick approach.
2. Wallpaper for walls – Dos
Do Measure Accurately
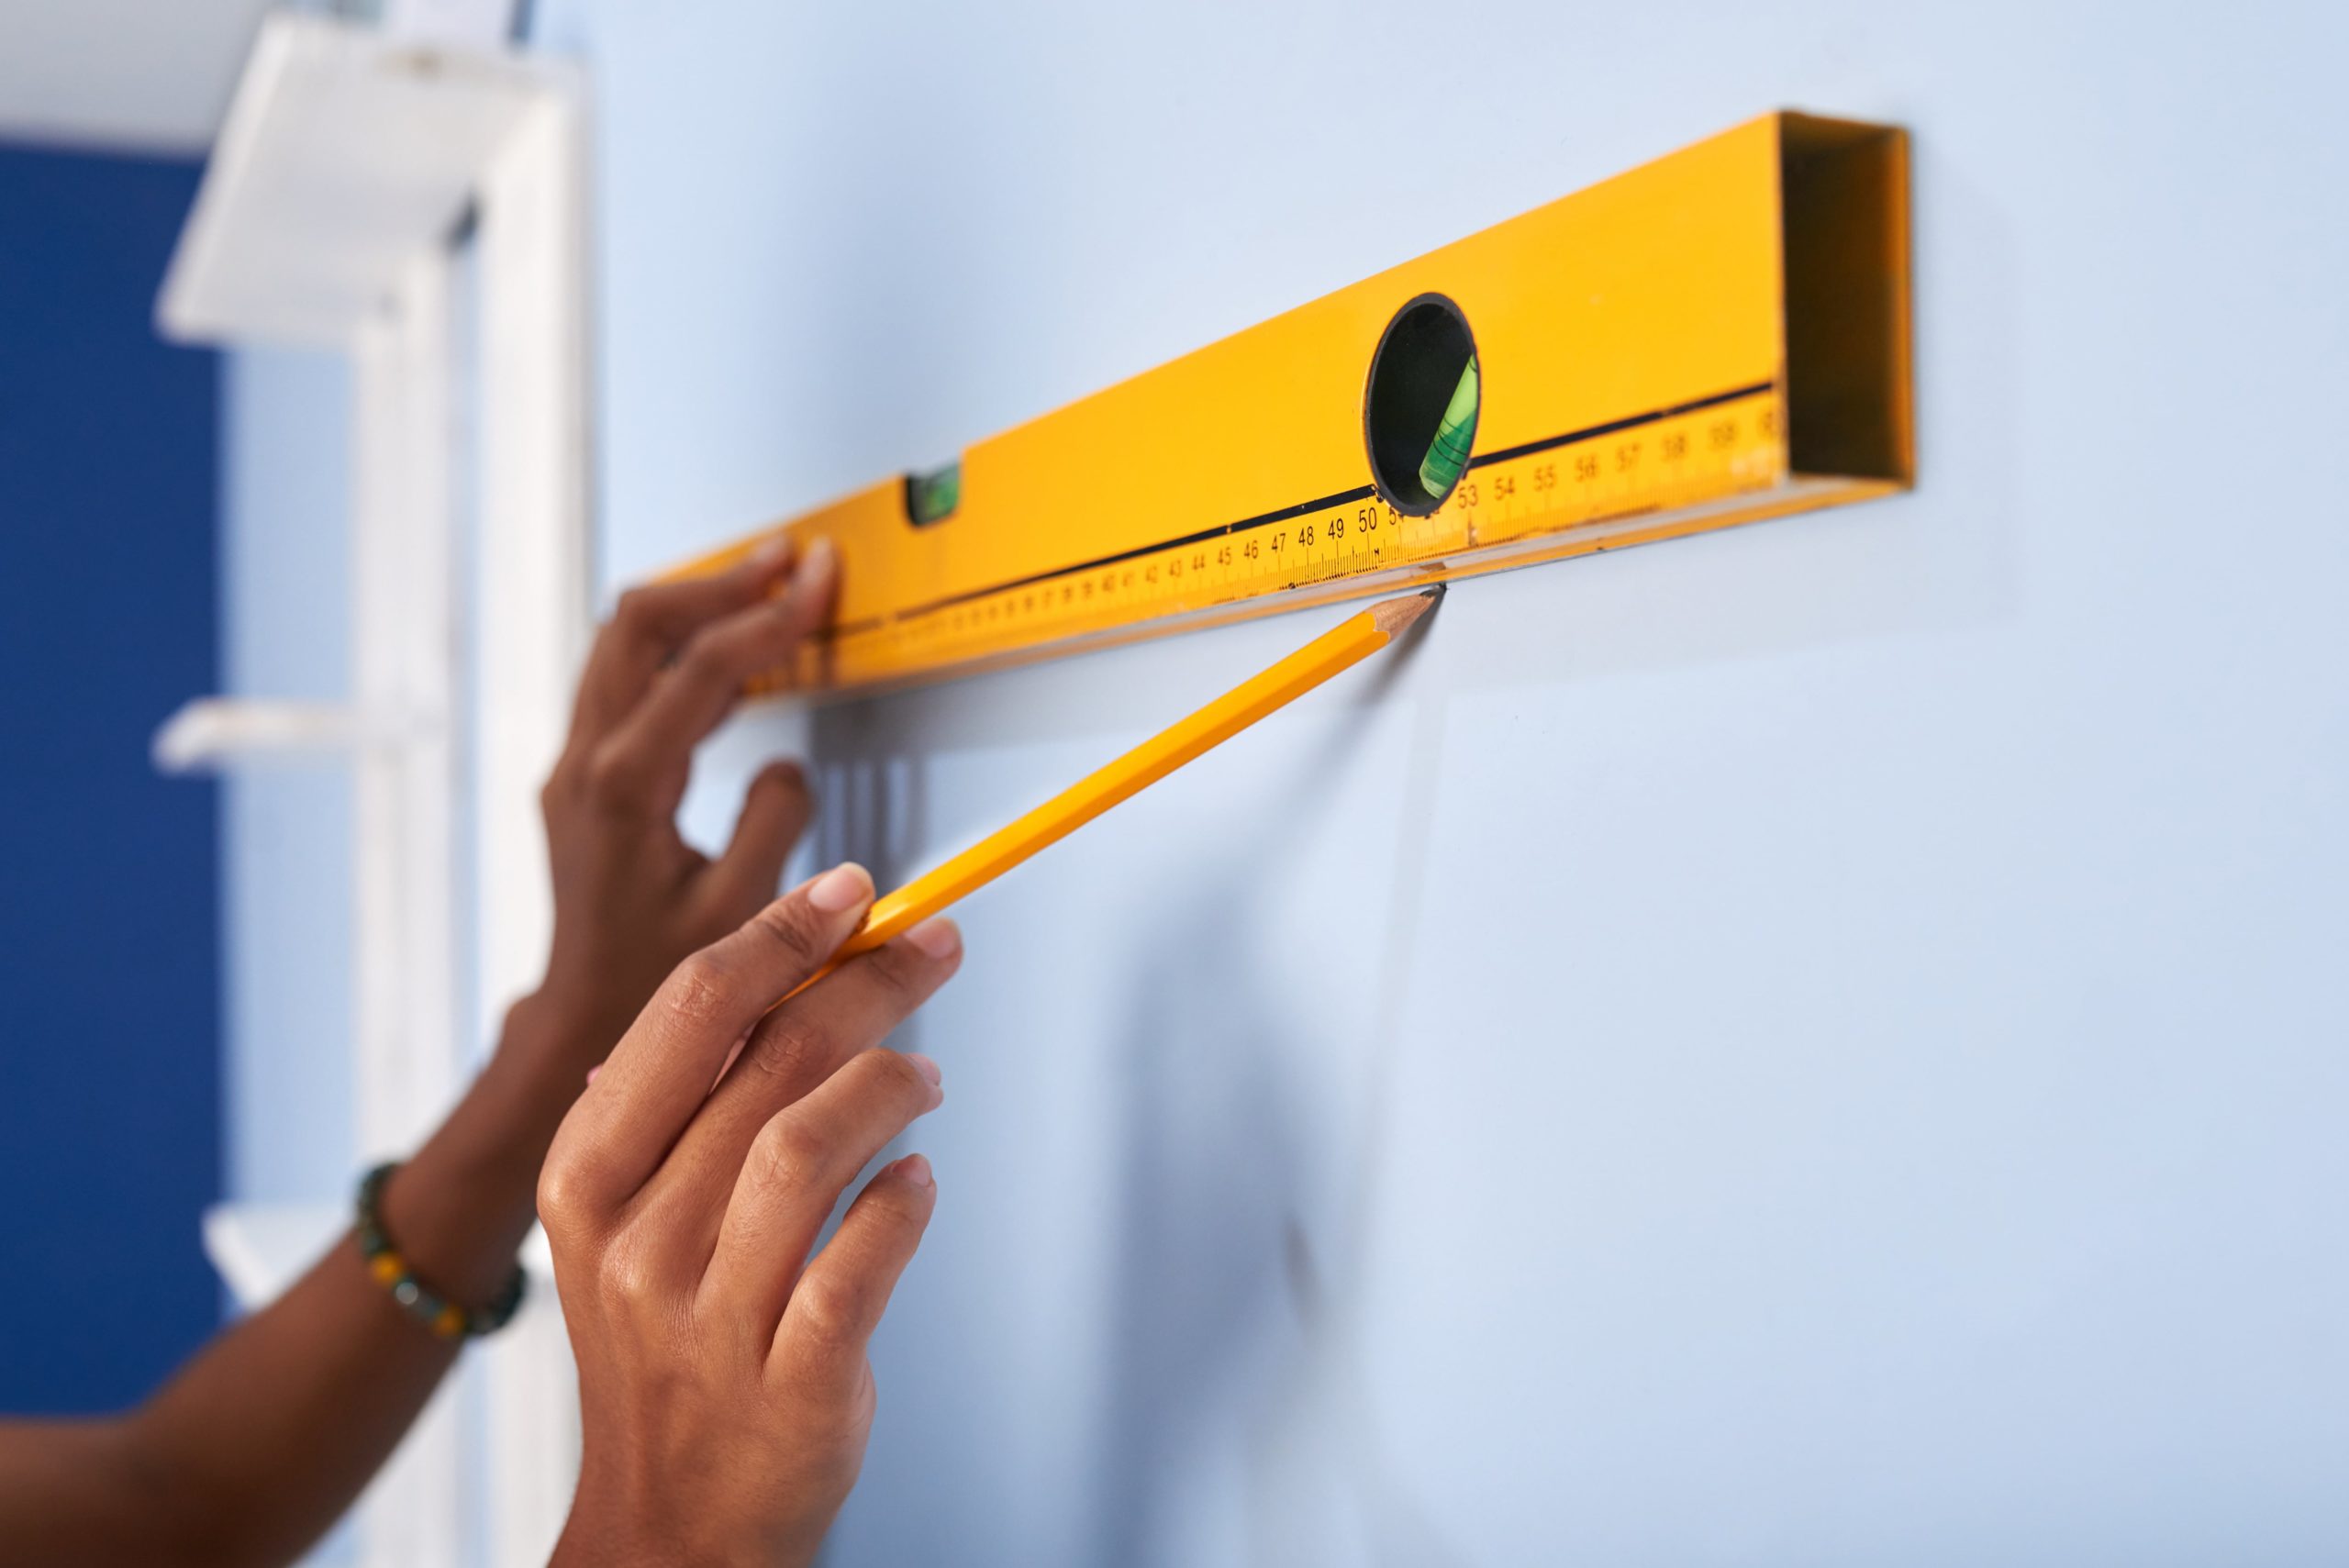
Accurate measurements are the foundation of a successful wallpapering project. A common pitfall many encounter is running out of material halfway through the job due to underestimation. Measuring the height and width of the wall is crucial.
However, it’s equally important to take into account doors, windows, and any architectural features.
Buying an extra roll or two can serve as a safety net for errors, pattern repeats, and future repairs. Remember, when it comes to wallpaper, it’s always preferable to have a bit more than you need. It ensures consistency and can save you from the hassle of finding an exact match later on.
To determine the number of rolls required for your project please see FAQ 27 from our Blog Post – Installing Wallpaper For Wall FAQs.
If you need to remove wallpaper prior to undertaking your wallpapering project please refer to the article below. Click Image below

Do Prep Your Walls
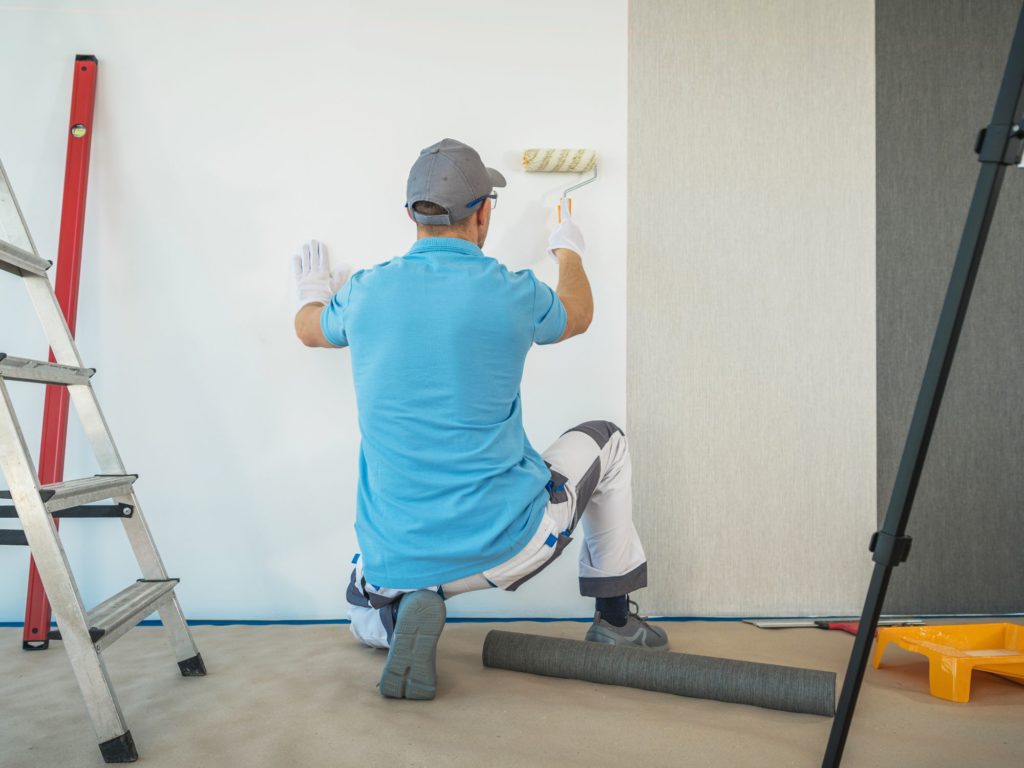
The wall’s condition directly affects the wallpaper’s adherence and final appearance. Dirt, moisture, or rough patches can prevent the adhesive from sticking correctly. Start by removing old wallpaper, filling in any dents or holes, and sanding down uneven spots.
A primer not only creates an even base but also ensures the wallpaper sticks better and can be removed more easily in the future. This step is the backbone of your wallpapering project; a well-prepared wall can drastically enhance the lifespan and appearance of your wallpaper.
Do Check the Batch Numbers
Batch numbers are an often-overlooked detail with significant consequences. Due to minute variations in manufacturing processes, slight color discrepancies can occur between different batches of the same design.
To avoid a mismatched wall, always ensure that all your wallpaper rolls share the same batch number. It guarantees color uniformity and a seamless finish.

Do Book Match the Patterns
Patterns add depth and character to a room. However, they also introduce the challenge of alignment. ‘Book matching’ refers to the practice of ensuring that the pattern flows seamlessly from one strip to the next.
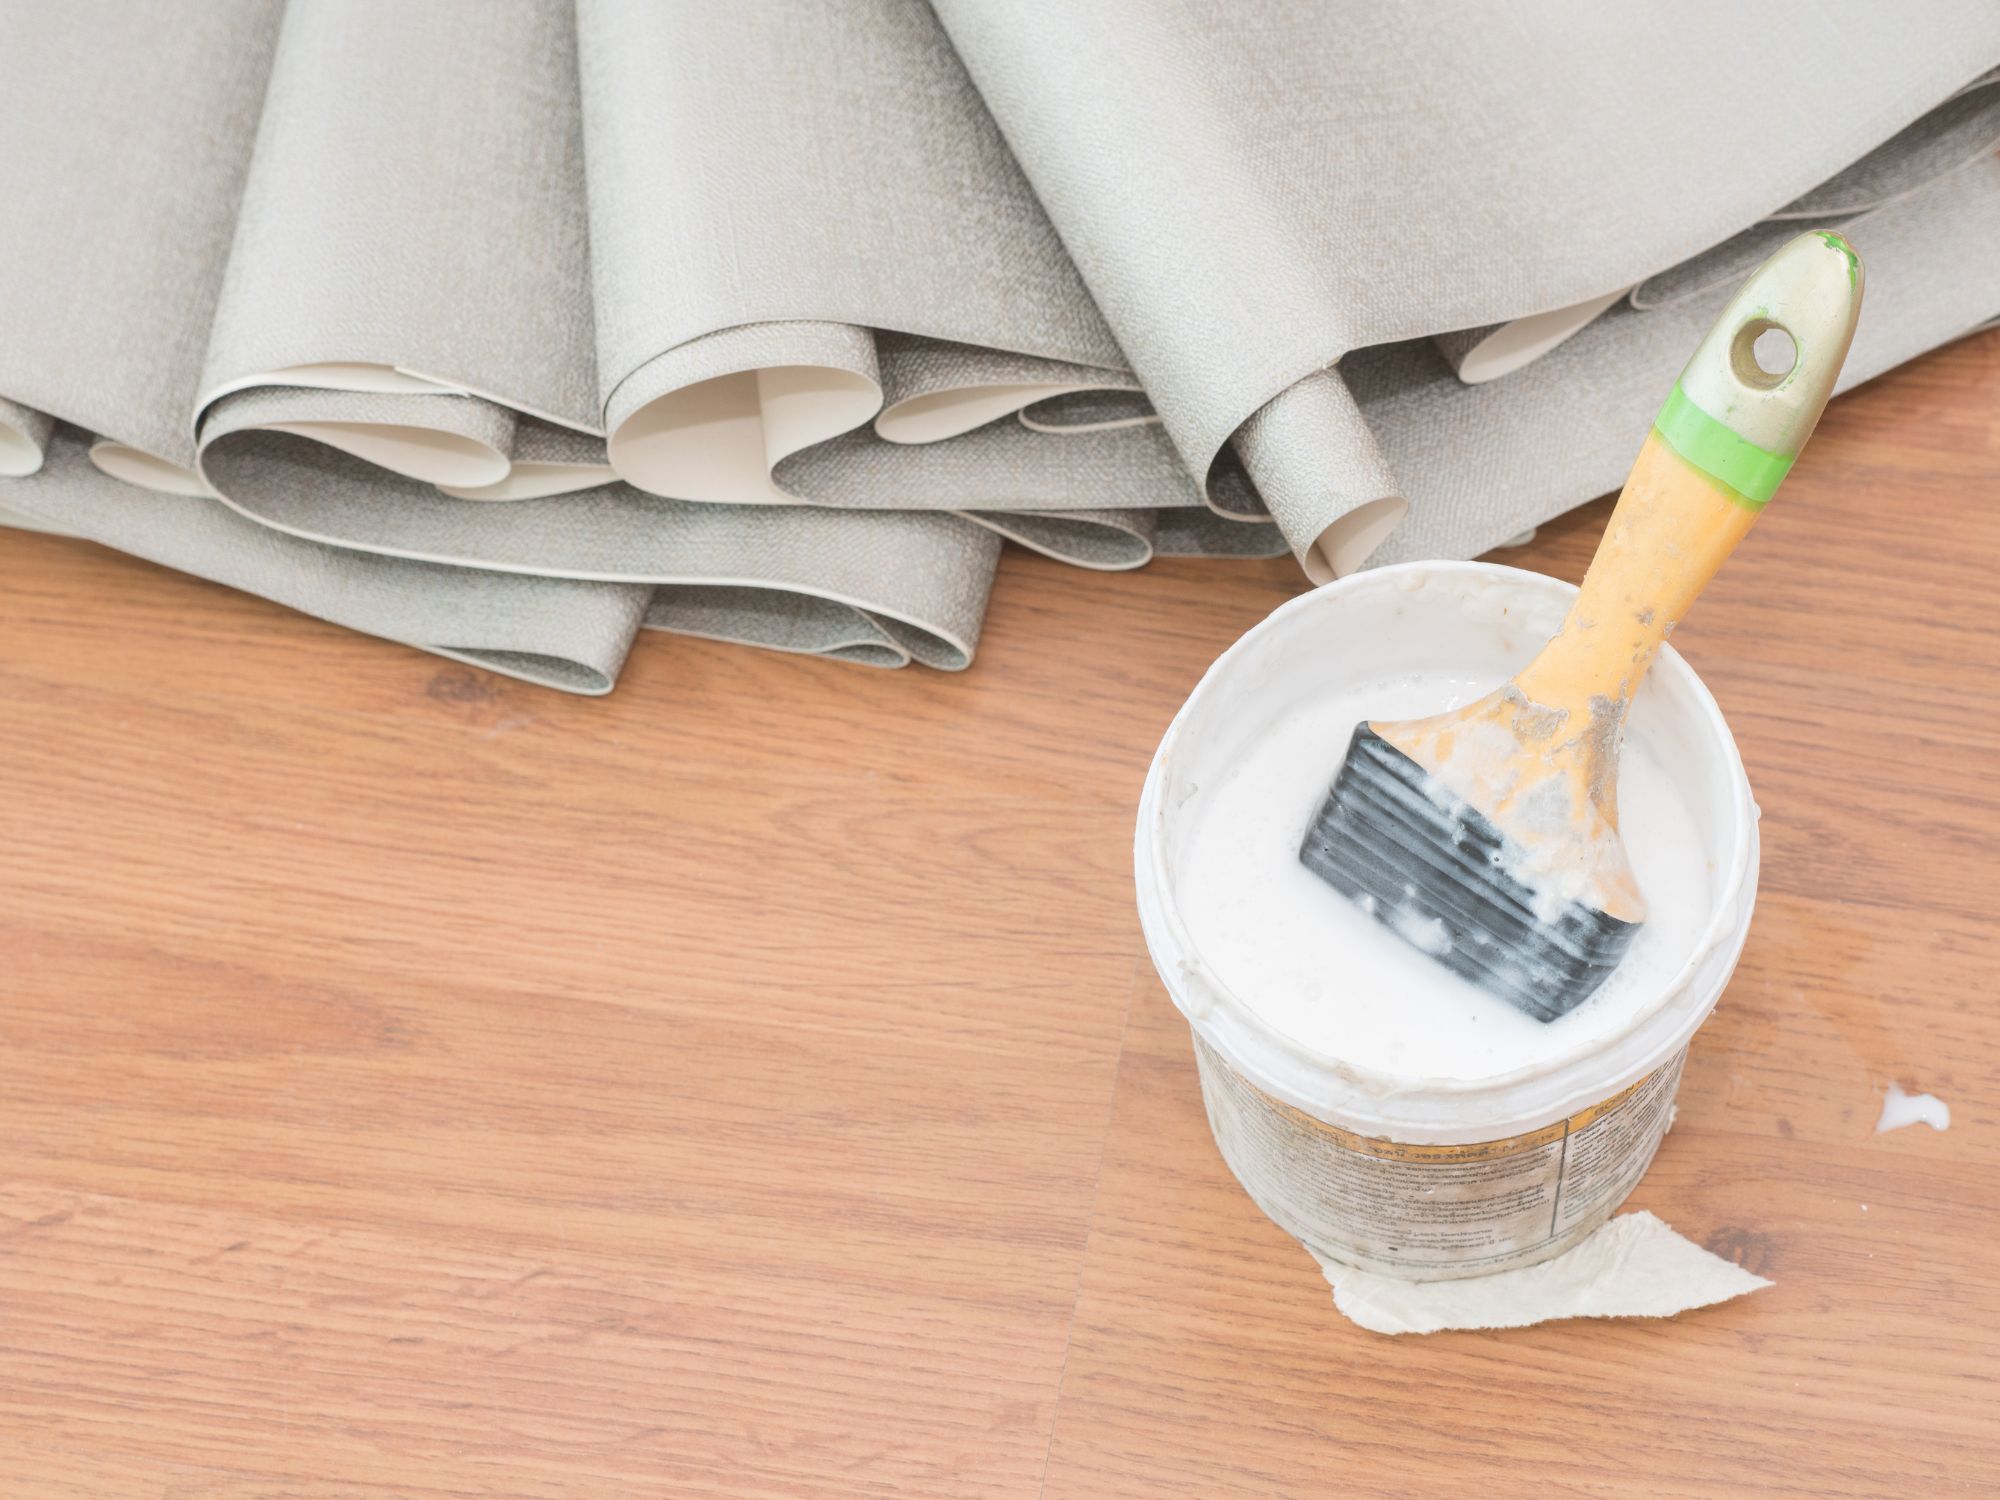
Overlooking this detail can result in a disjointed appearance, distracting from the beauty of the design. Always align the patterns at eye level, ensuring they flow naturally, to achieve a harmonious look.
We recommend you read our Blog Post on How To Install Wallpaper. Click Image below.

Do Use the Right Tools
A craftsman is only as good as his tools. In the realm of wallpapering, the right tools can mean the difference between a smooth finish and a wrinkled mess. Invest in a quality wallpaper smoother to ensure an even application, a sharp utility knife for precise cuts, a level for straight lines, and a tape measure for accurate measurements.
While it might be tempting to improvise, specialized tools are designed to make the job easier and more efficient.
Please ensure you read our Blog Article – How To Choose Wall Wallpapers For Each Room.

Do Check Rolls
Each roll should be inspected before installation. This helps identify any defects, ensuring a flawless finish. Furthermore, ensuring all rolls are from the same batch will prevent subtle color variations that can disrupt the overall appearance.
Do Ensure Alignment
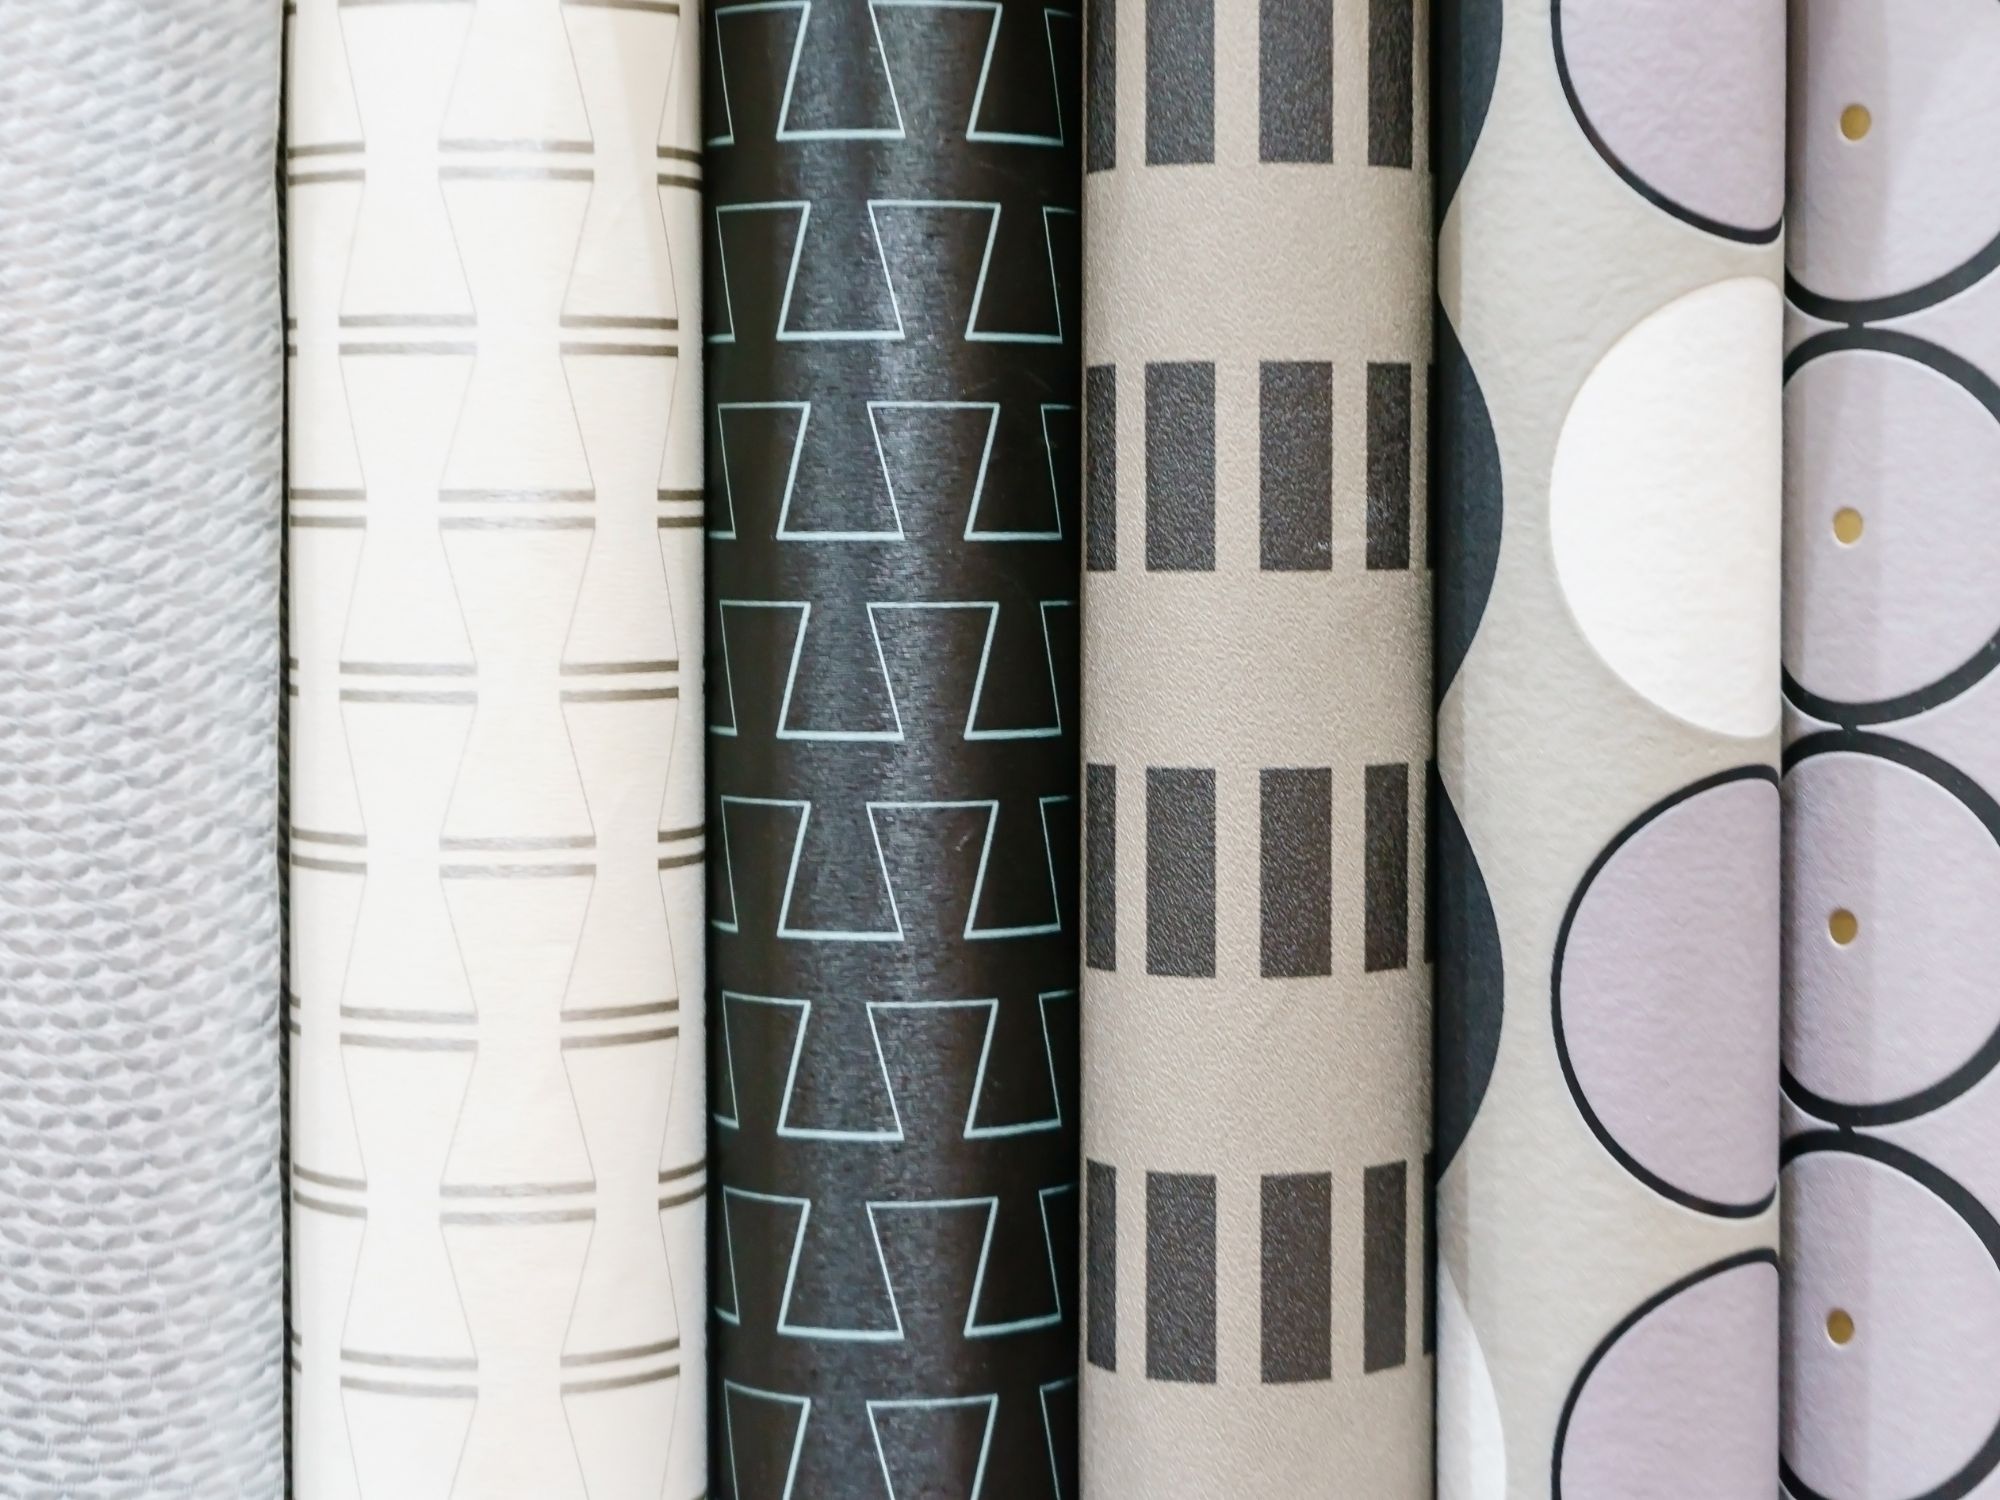
Failing to align patterns correctly or not using a plumb line for vertical guidance. When working with complex wallpaper designs, it is important to lay them out in advance to ensure a cohesive and visually pleasing result. It can disrupt the flow of the design and draw attention to imperfections. Always use a plumb line or level to ensure each strip is perfectly vertical.
Do Use Correct Techniques Around Obstacles
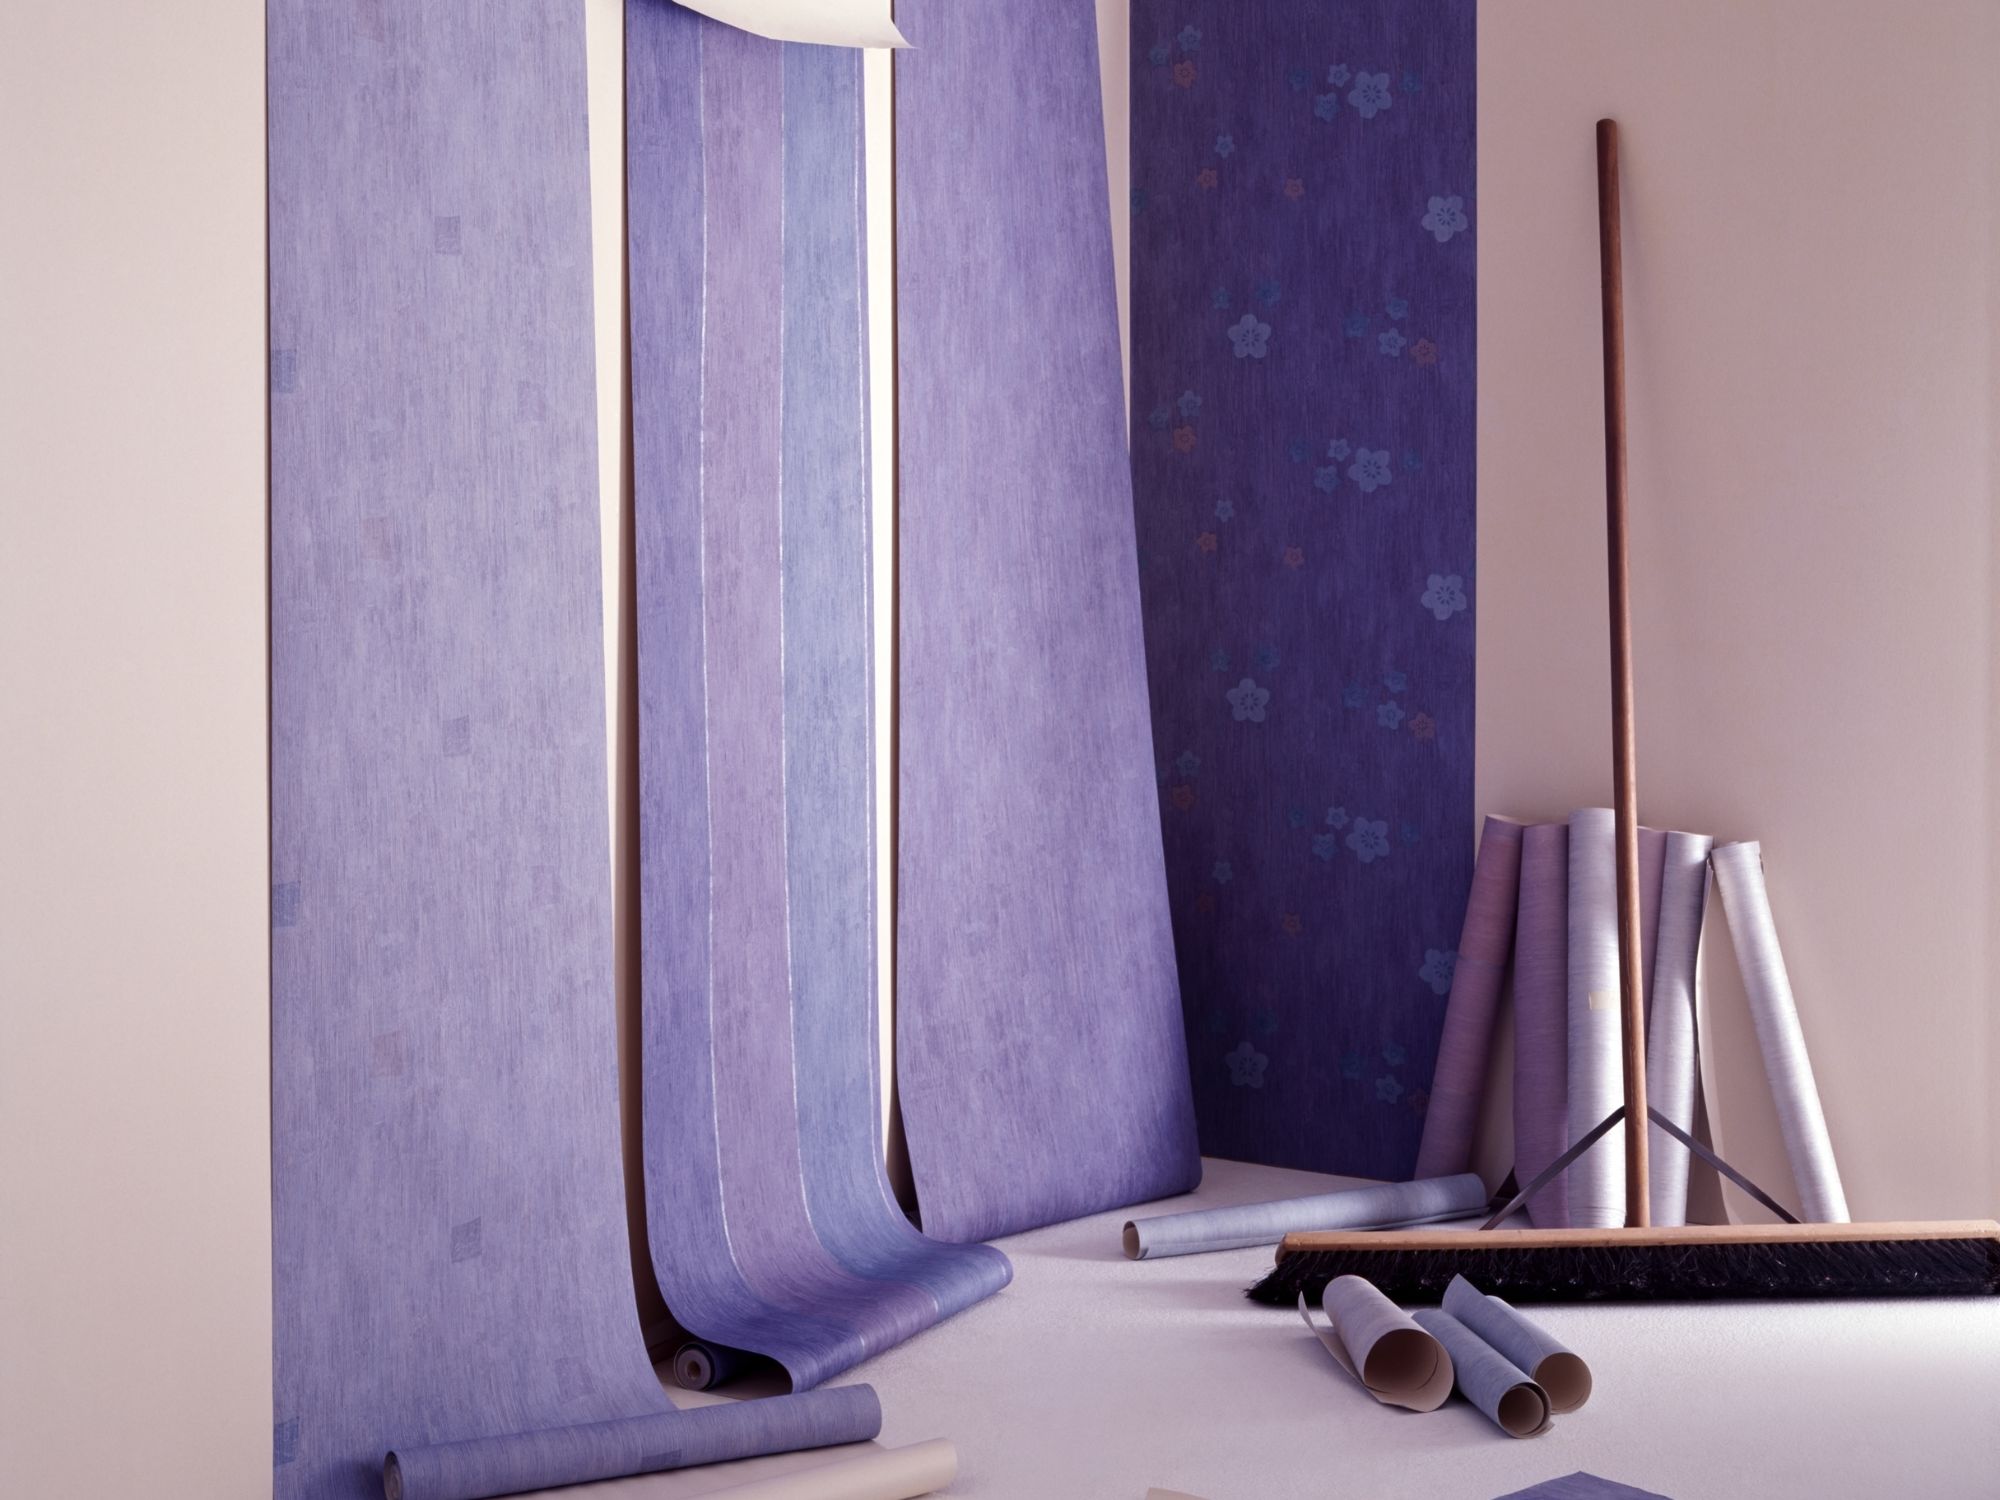
Windows, doors, and fixtures can pose challenges. It’s essential to approach these areas with care, using the right techniques and tools to ensure a neat finish. Trimming and cutting with precision will result in a professional look, even around the most intricate of obstacles.
Do Your Research
Before you undertake a DIY wallpapering project for the first time do ensure you have done your research – We recommend you read our Article – Install Wallpaper For Walls FAQs – Click Image below.

3. Wallpaper For Walls – Don’ts
Don’t Rush
Wallpapering requires patience and precision. A hasty approach can result in numerous errors, from misaligned patterns to bubbles trapped underneath the paper. When rushing, it’s easy to overlook small imperfections that can significantly detract from the overall appearance once the job is done.
To avoid these pitfalls, it’s crucial to set aside ample time for the project and approach it with a calm and methodical mindset. The end goal is a beautifully adorned space, and achieving this requires attention to detail at every step.
Don’t Skip Over Wall Repairs
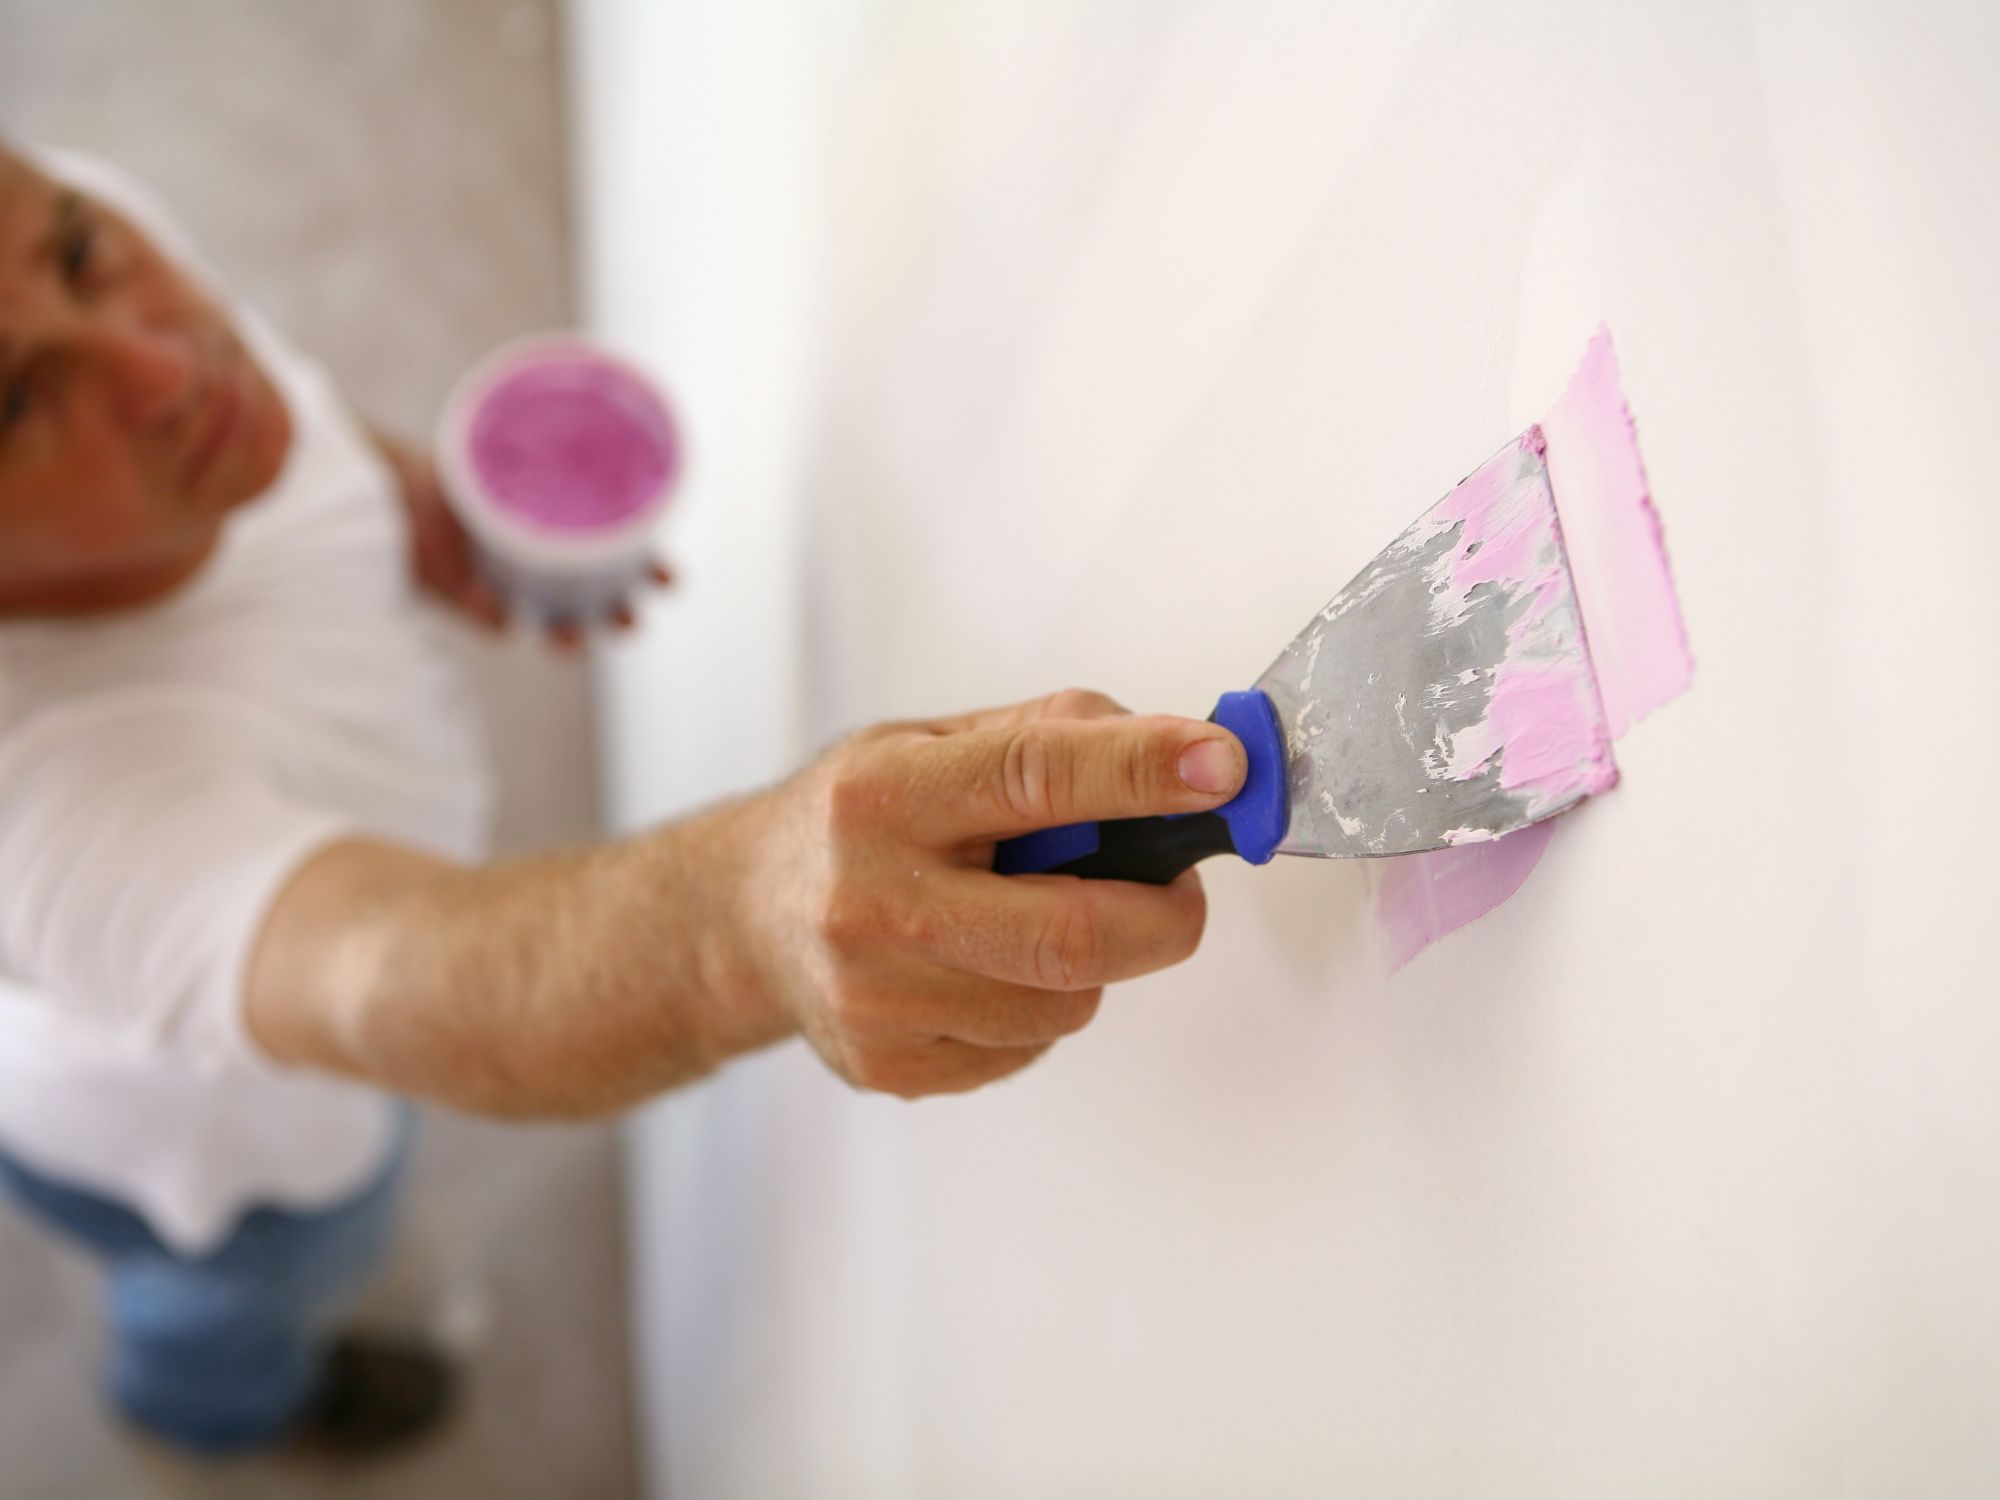
Wall imperfections can become the bane of any wallpapering project. Cracks, dents, or holes, no matter how minute, can become glaringly apparent once the wallpaper is up. Instead of camouflaging them, wallpaper can accentuate these flaws.
Repairing these imperfections ensures a smoother finish and prevents the wallpaper from sagging or tearing in those areas. Investing time in patching and sanding will result in a far superior outcome.
Don’t Assume Walls are Square or Plumb
Buildings settle over time, and very few rooms are perfectly square. Assuming so can lead to slanted lines and mismatched patterns. Always use tools like a level or plumb bob to ensure straight lines.
Starting with a perfectly vertical line, typically at a less noticeable point in the room, ensures that the rest of the project follows suit, and any discrepancies will be far less noticeable.
Before you undertake a DIY wallpapering project for the first time do ensure you have done your research – We recommend you read the following Blog Post – Click Image below.
Don’t Dry Trim
Cutting wallpaper with a dry utility knife can lead to jagged edges and unintended tears. Wet trimming, which involves dampening the blade or the area being cut, allows for smoother, cleaner cuts.
This ensures edges align perfectly and seams are practically invisible. A small water spritzer or a damp cloth can assist in this process.
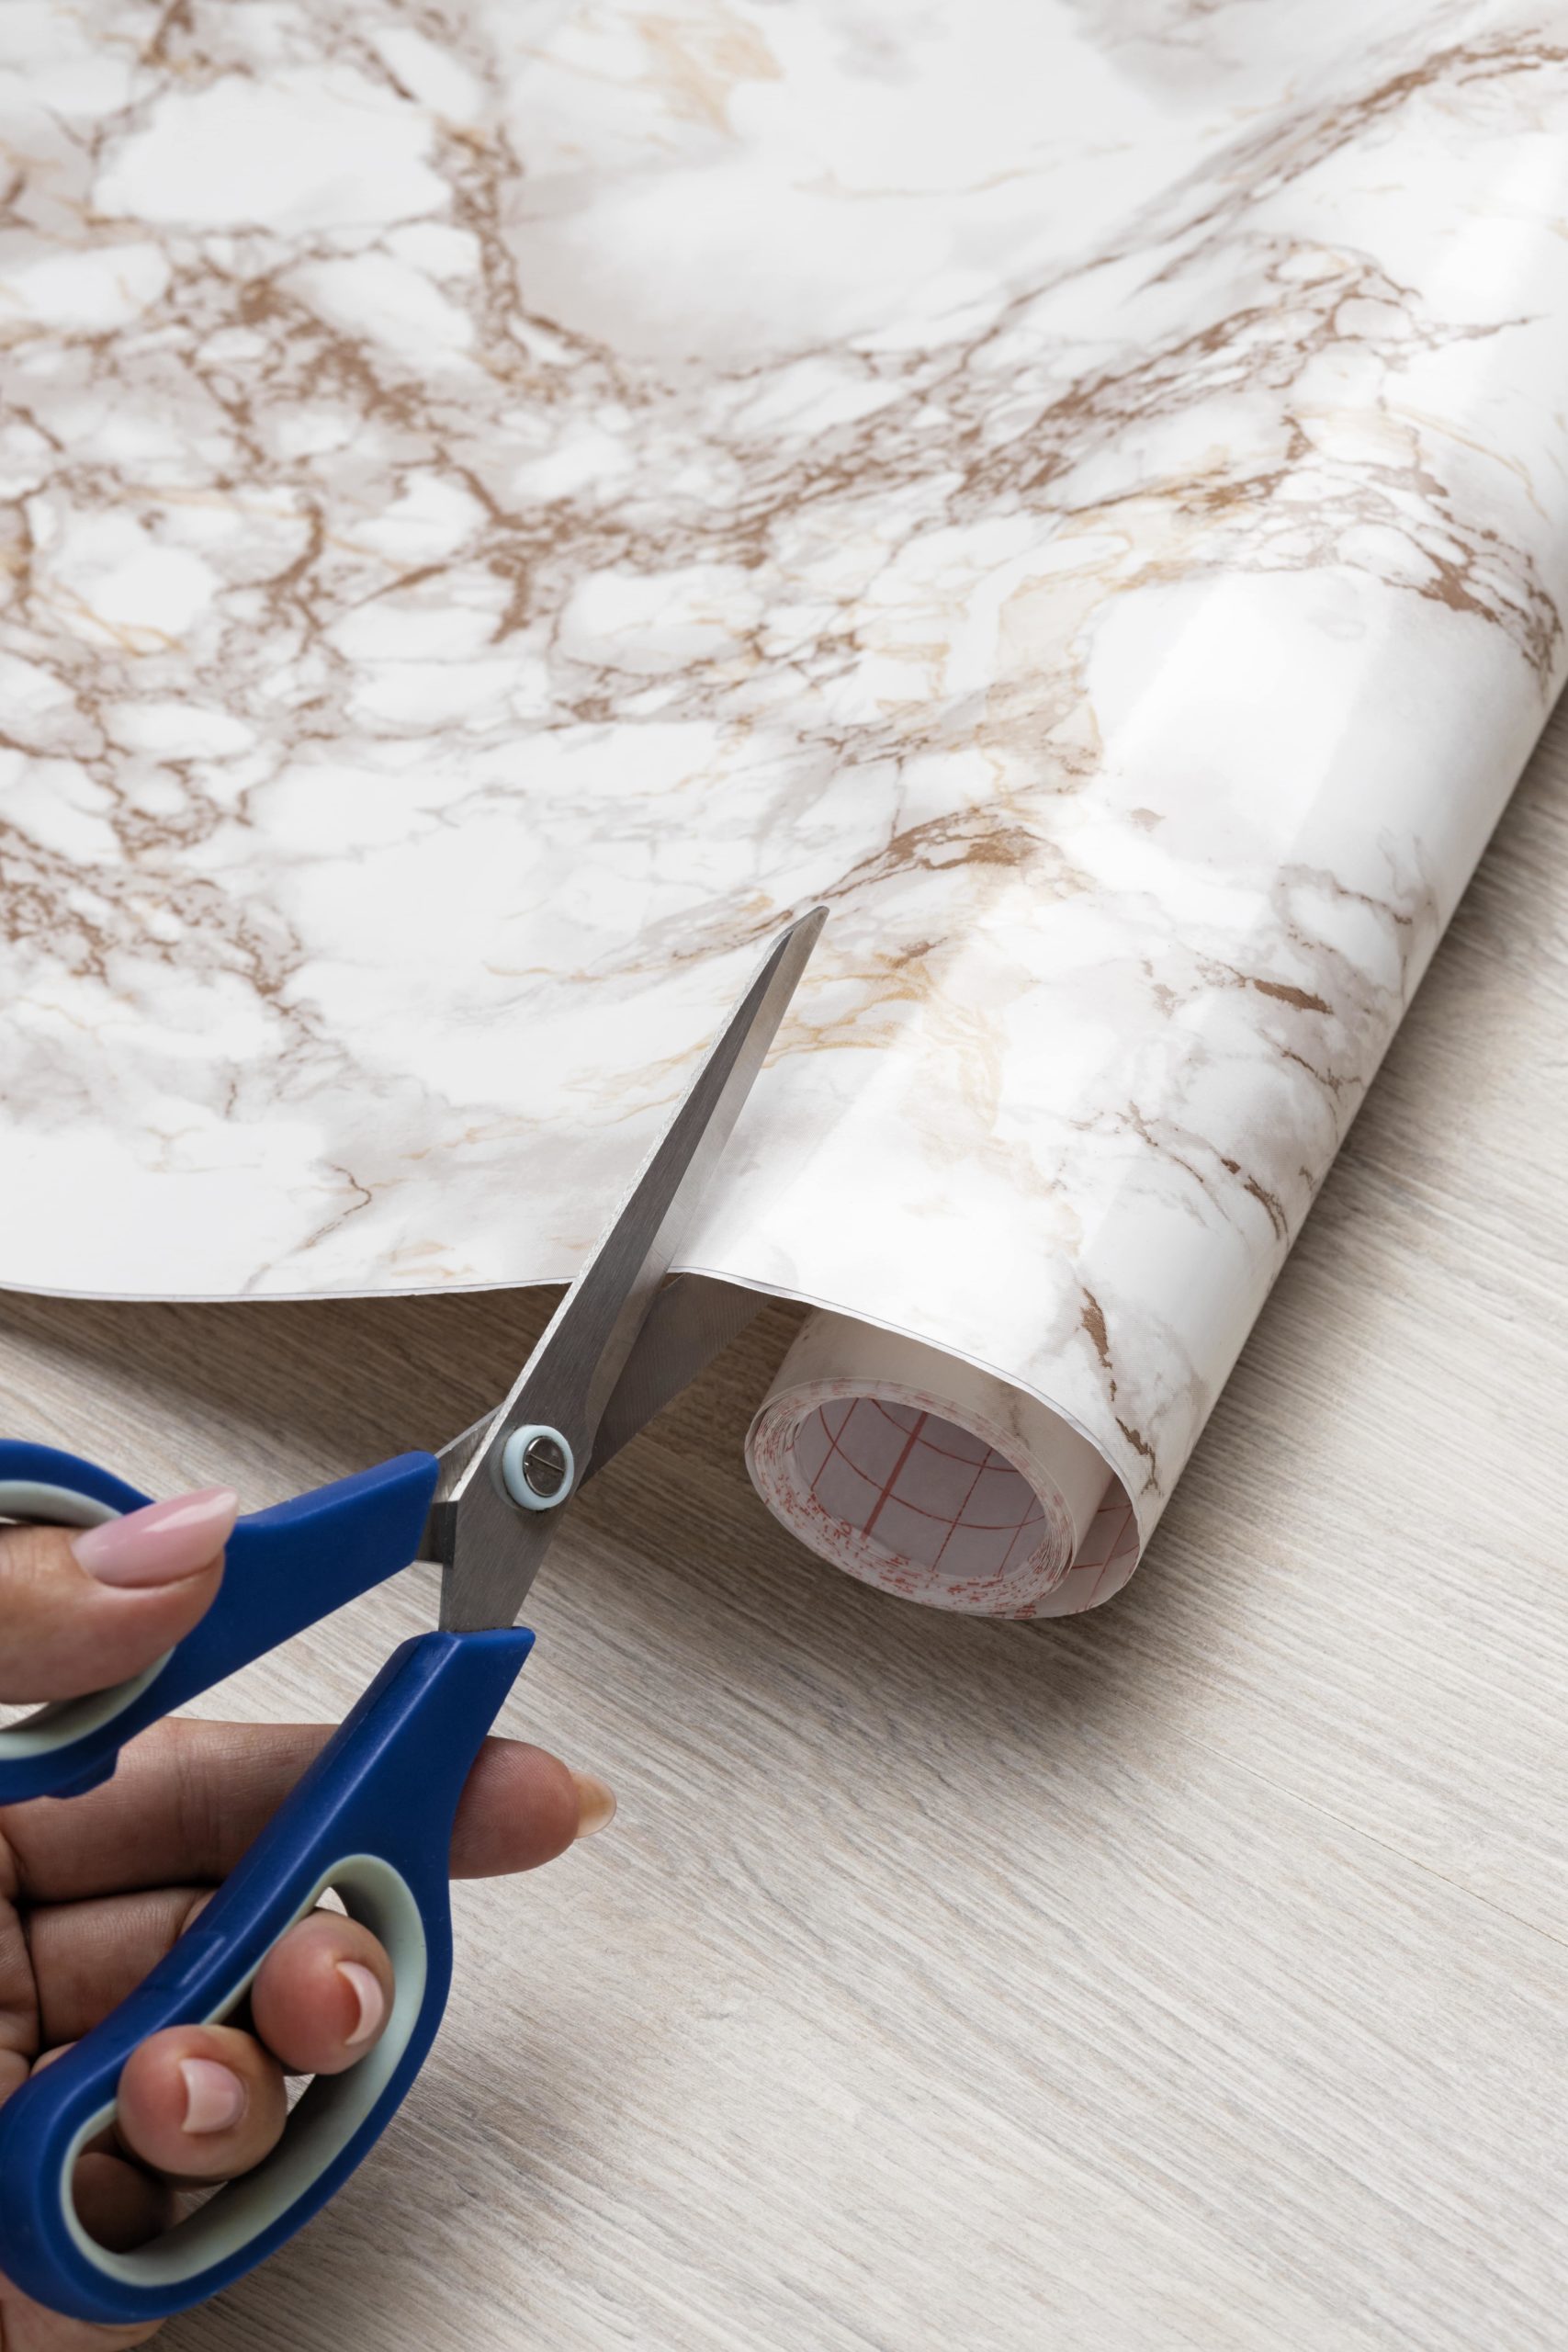
Don’t Use Too Much Paste
Achieving the right balance with wallpaper paste is crucial. Too little, and the wallpaper may not adhere properly, leading to bubbles or peeling edges. Conversely, excessive paste can ooze out from the seams, staining the wallpaper and creating a sticky mess.
Applying an even, thin layer ensures adequate adhesion without the associated pitfalls. Proper paste application ensures longevity and a smooth finish.
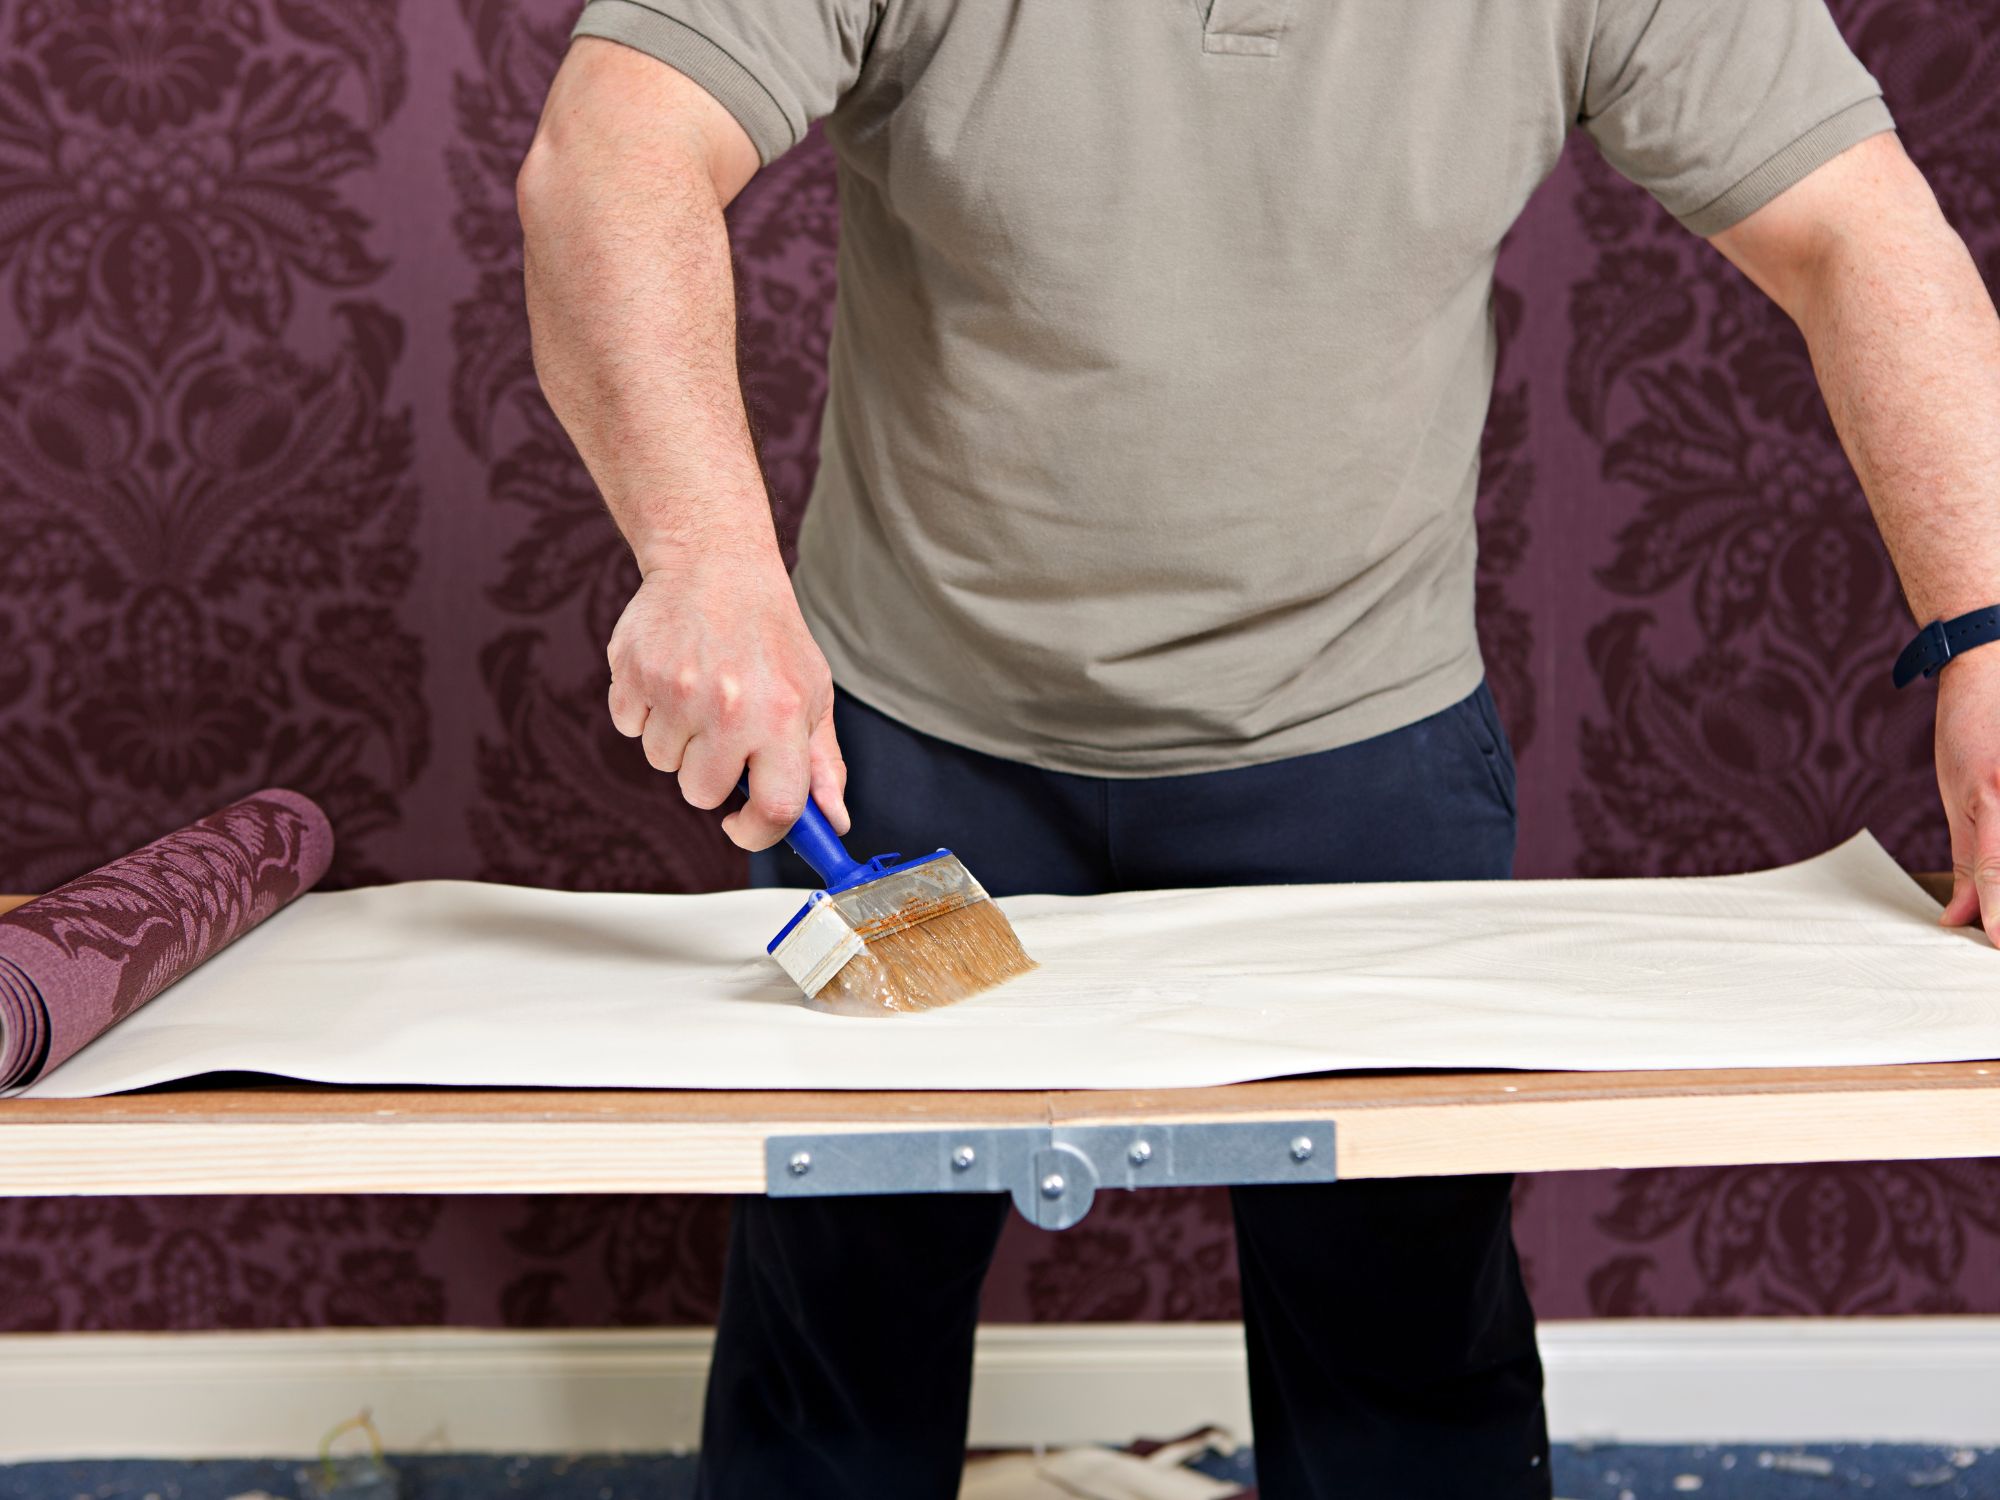
Don’t Overstretch
It’s easy to fall into the trap of pulling wallpaper too taut during installation, especially when trying to eliminate bubbles or align patterns. However, overstretched wallpaper can misalign patterns, cause it to tear at its edges, or lead to peeling later on.
Being gentle, yet firm, ensures the wallpaper sits snugly against the wall without any negative repercussions. Remember, wallpaper is not like fabric; its elasticity is limited, so treat it with care.
Don’t Overlook Complex Designs
Complex designs, especially those with large patterns or motifs, require planning. Lay out the wallpaper in advance, considering focal points and key features in the room. This pre-planning ensures a balanced and symmetrical result that’s pleasing to the eye.
4. In Summary – wallpaper for walls
After you have completed all the appropriate steps and having stayed away form all the Don’ts – your wallpaper hanging project in now completed – congratulations are in order!
You’ve just successfully installed wallpaper like a pro. Enjoy the fresh, new look of your room. With a bit of patience and attention to detail, the process of wallpapering can be a fulfilling DIY project that gives your space a professional touch.
Please ensure you read our Blog Post to review reasons why wallpaper can enhance your home. Click Image below.

Remember, as with any DIY project, not rushing the process is important. The guide provided above offers a general overview. However, depending on the type of wallpaper, the specific instructions might vary slightly. Always follow the manufacturer’s instructions when available.
5. Featured Related Blog Article


