This post may contain affiliate links which means I may receive a commission for purchases made through links at no cost to you. I only recommend products that I have personally used or curated specifically after reviewing and ensuring its quality! Learn more on my Private Policy page
1. Introduction – Hanging Floating Shelves
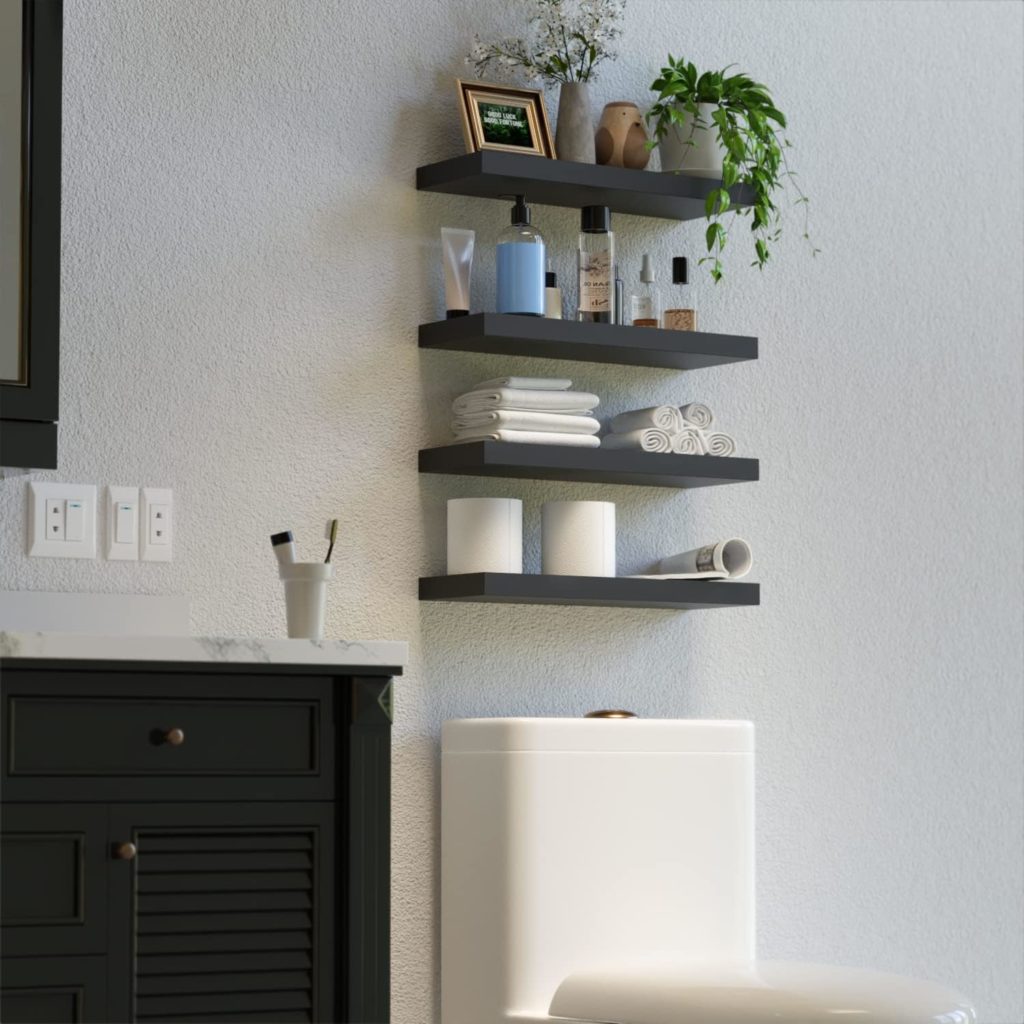
Shelves play a pivotal role in both the functionality and aesthetics of a space. Whether you’re contemplating installing sleek floating shelves in your living room or floating wall shelves in your study, the process demands meticulous planning and a keen eye for detail.
From choosing the right shelf material like wood or metal to ensuring it’s securely anchored to the wall using the appropriate brackets, the act of hanging shelves has evolved into a form of art. Please review our recent blog article for floating shelves design and decor inspiration – 24 modern ideas to transform your kitchen.
By combining practical skills like measuring with a tape, installing drywall anchors and a touch of personal style, you can transform an ordinary wall into a canvas of creativity and function. In this Post we will present in brief some “Dos” and “Don’ts” to consider prior to and whilst hanging floating shelves.
The aim is to provide you with some quick Tips and Tricks so you don’t commit any unnecessary installation and decor sins!. For some excellent floating shelves ideas to inspire you in you next floating shelves remodel project read our article.
This article has three parts. The first part outlines a few considerations i.e. “Dos” and “Don’ts” that should be front of mind prior to starting the project and require some planning ahead. The second section provides an installation checklist to help you focus on what you need to get this project done right, and the third section provides answers to some common installation questions – FAQs.
For a more detail guide for the installation of floating shelves please Click Image below:

2. “Dos” For DIY-ers – Hang Floating Shelves
Some Planning Considerations
Do Understand the Vision: Begin with a thorough understanding of your end goal. Use the measuring tape and pencil to draft the desired layout on the wall. Whether you’re going for hanging shelves, floating shelves, or a mixed style, visualization is key.
Consider different materials to determine which fits best with your vision, be it wood or metal. Take into account the weight and number of items you’re planning to place on the shelves.
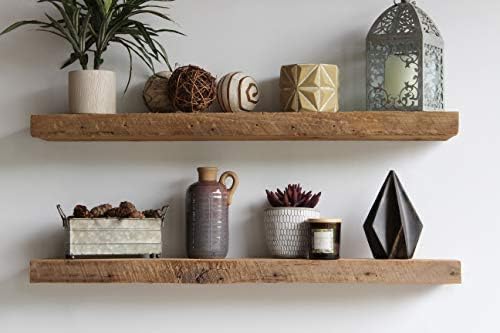
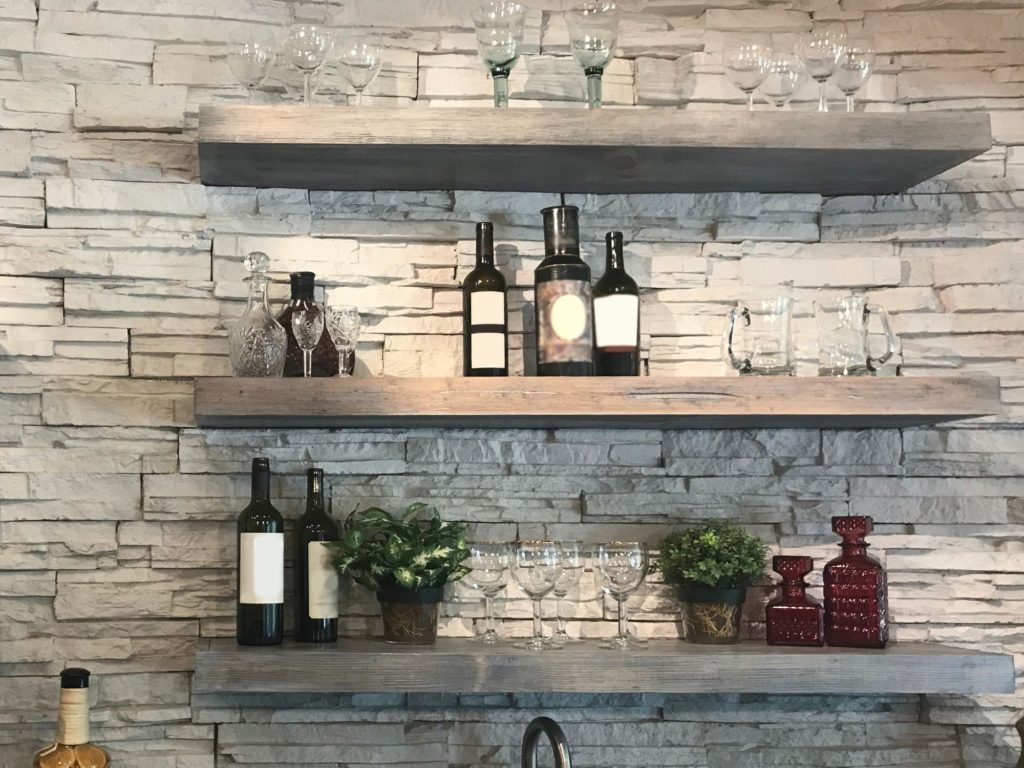
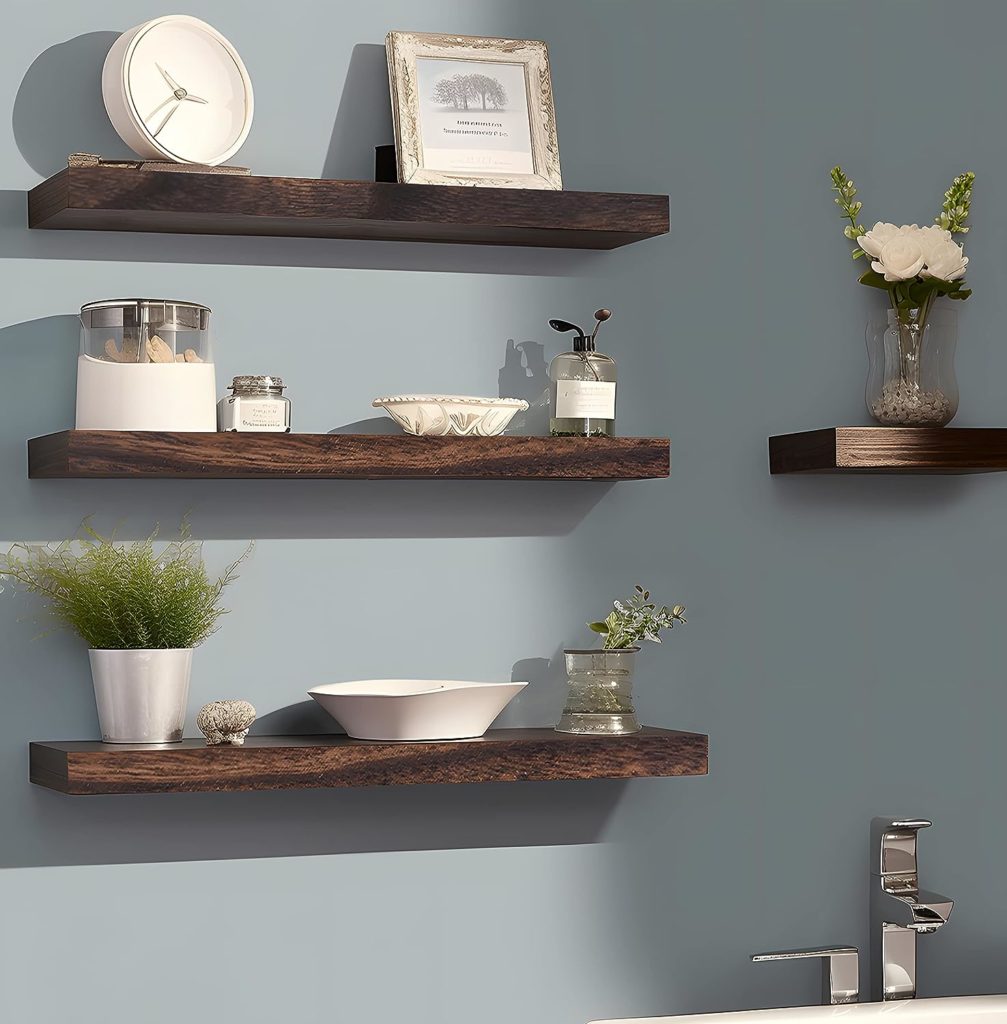
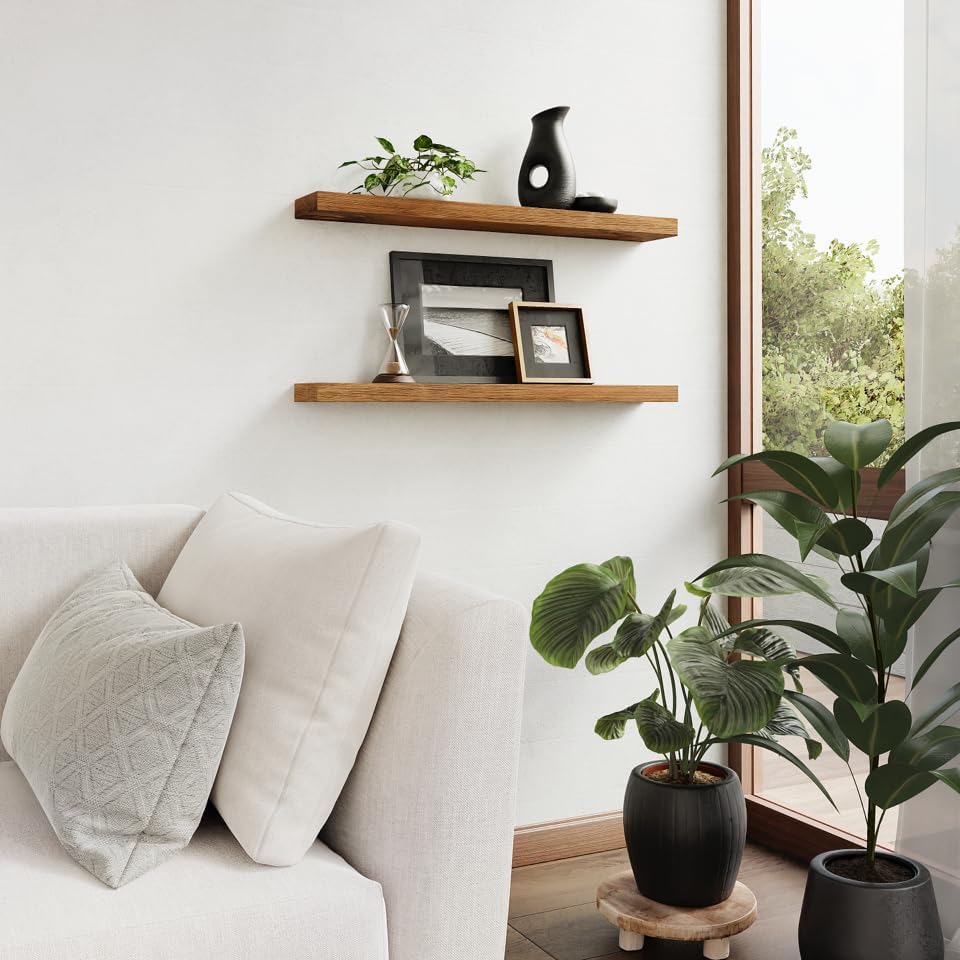
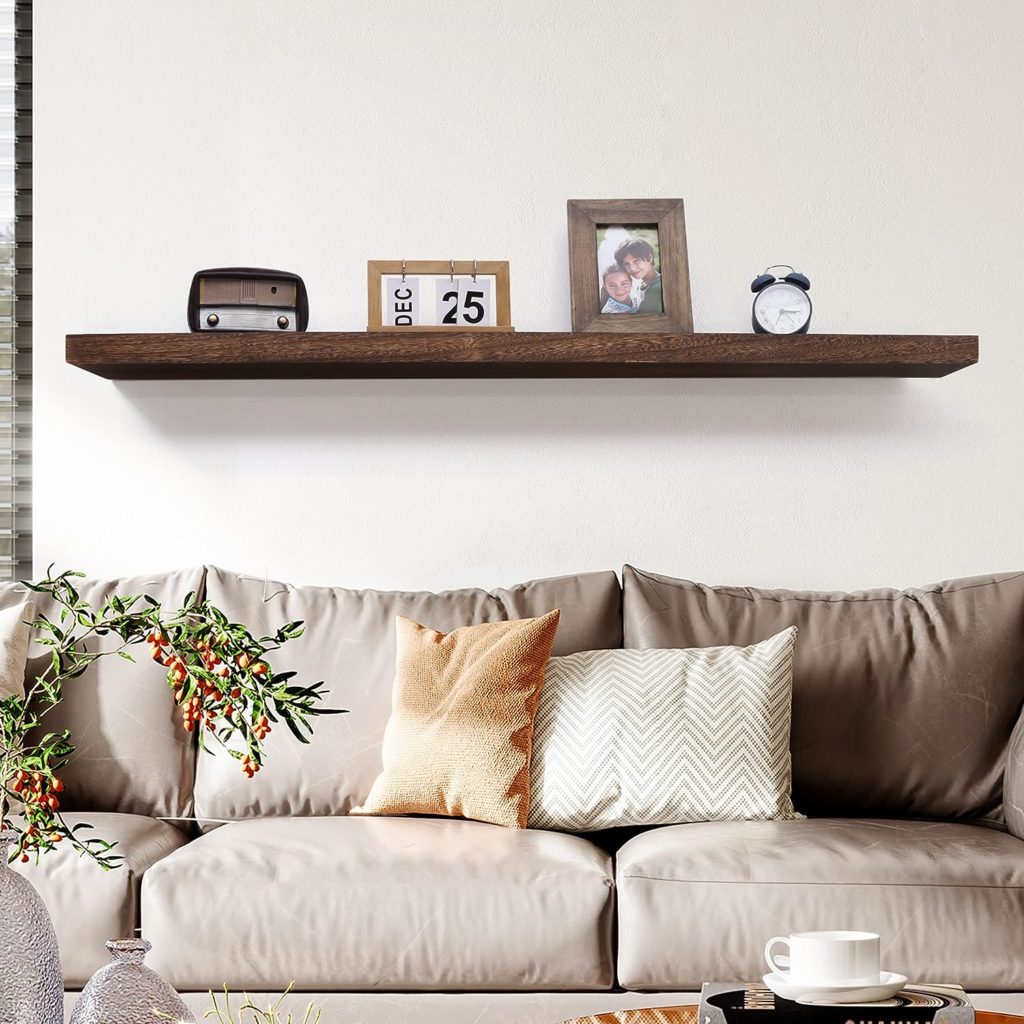
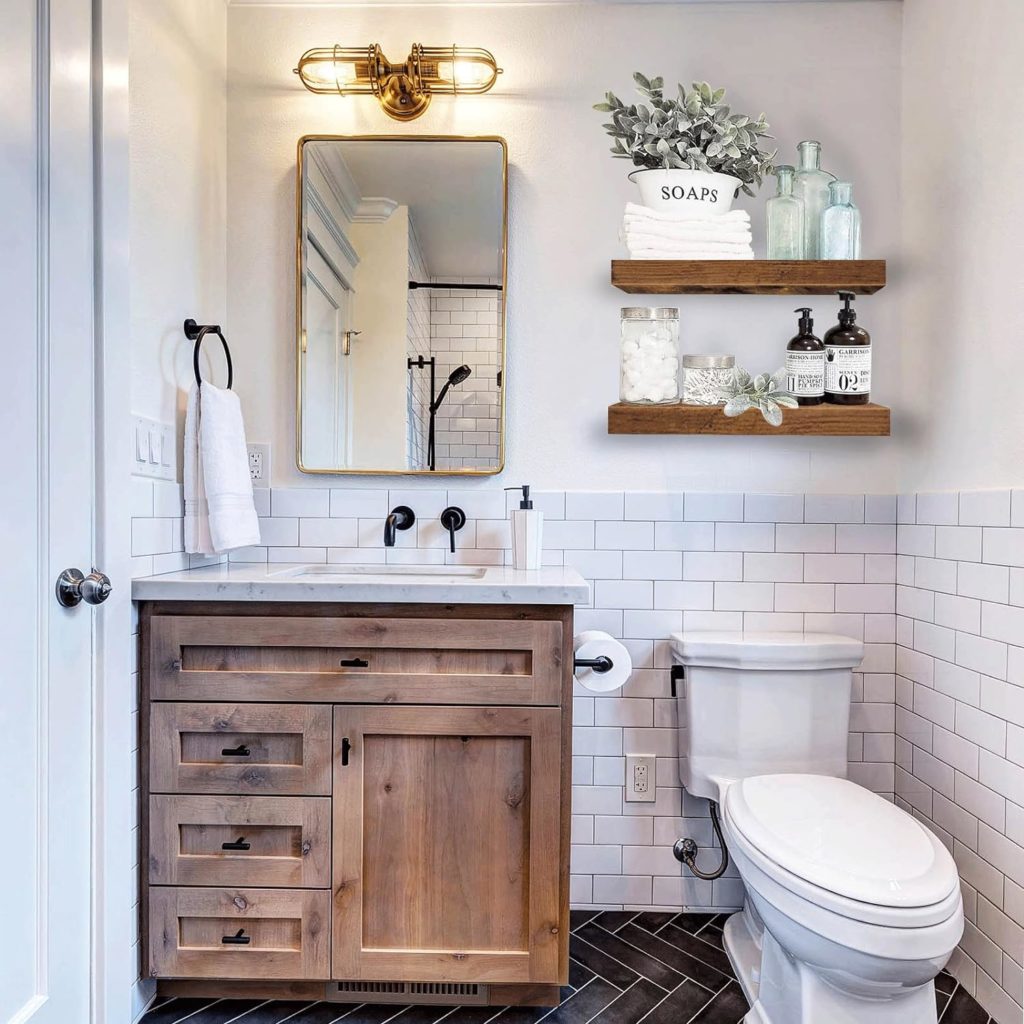
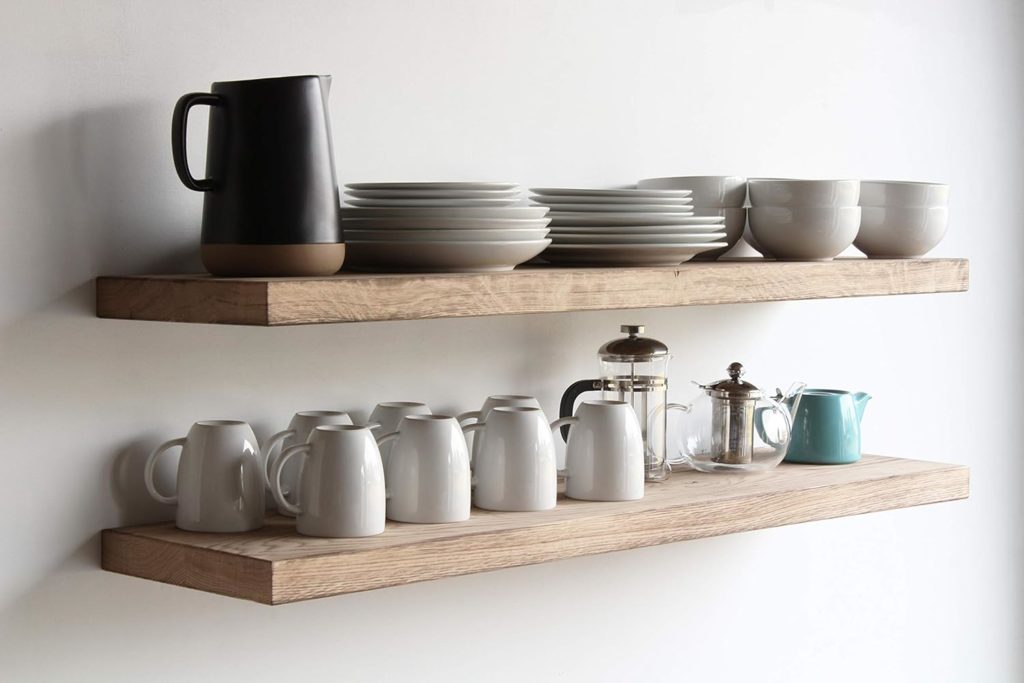
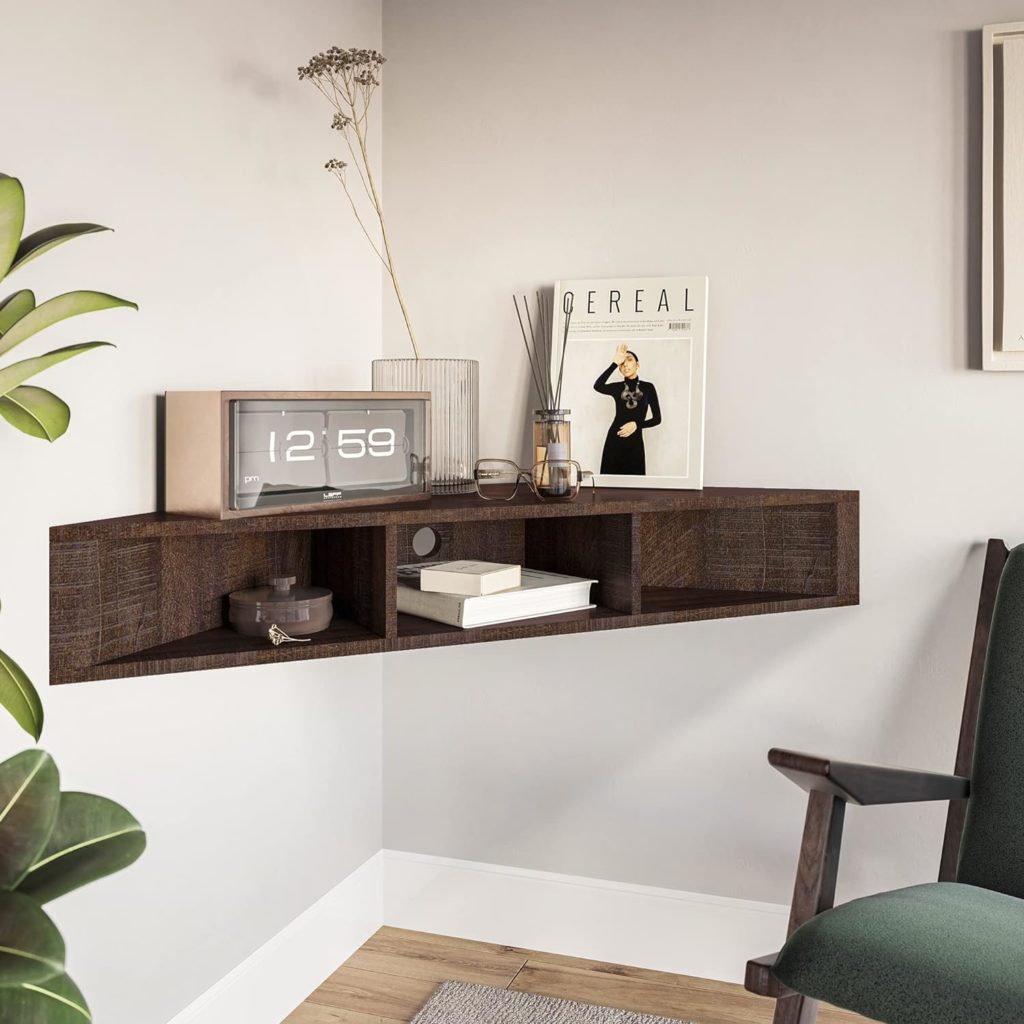
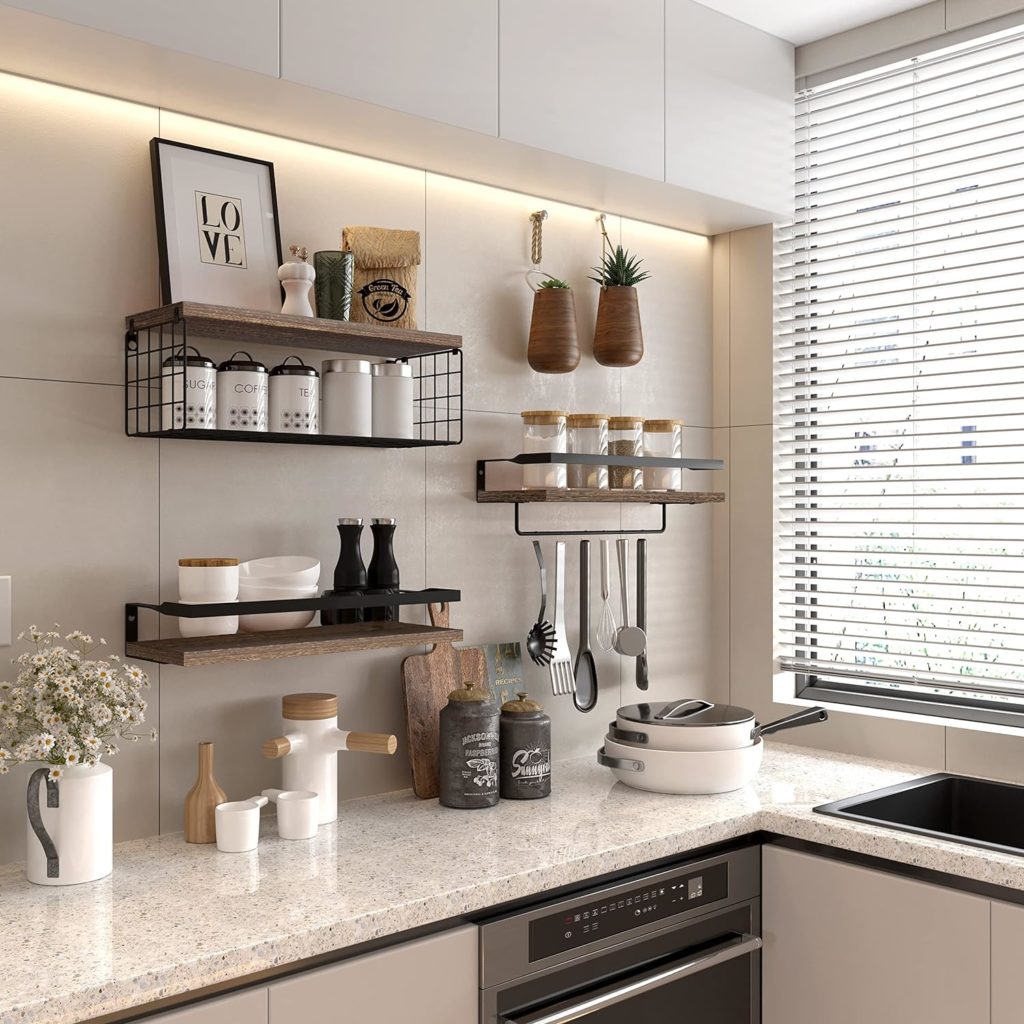
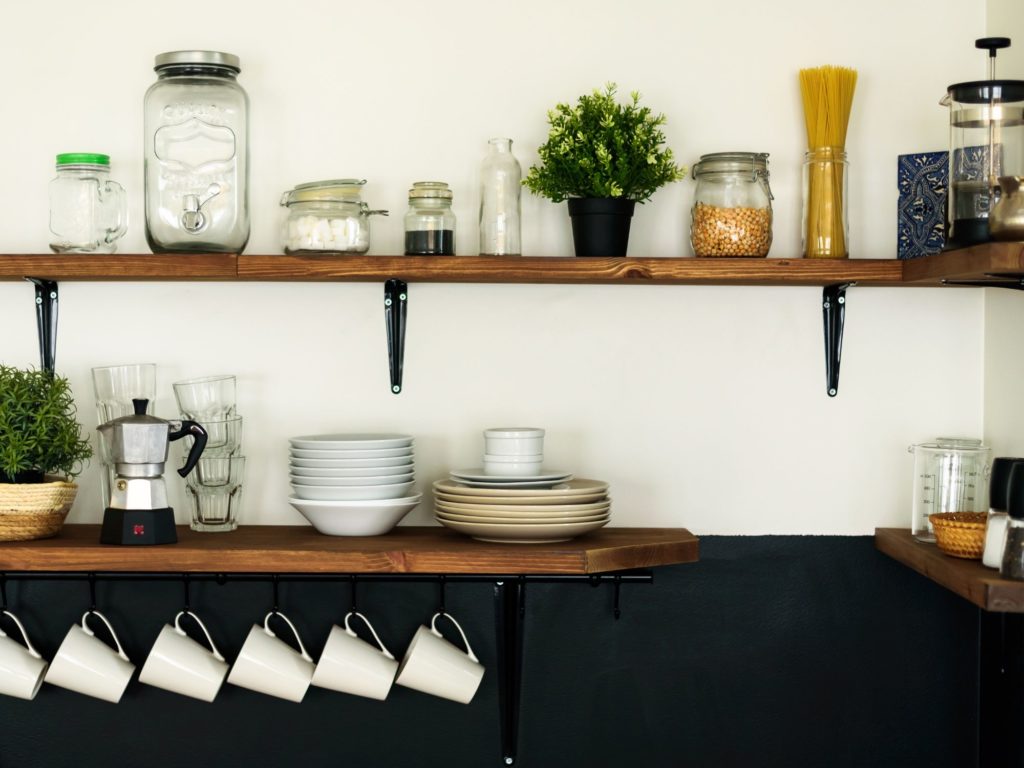
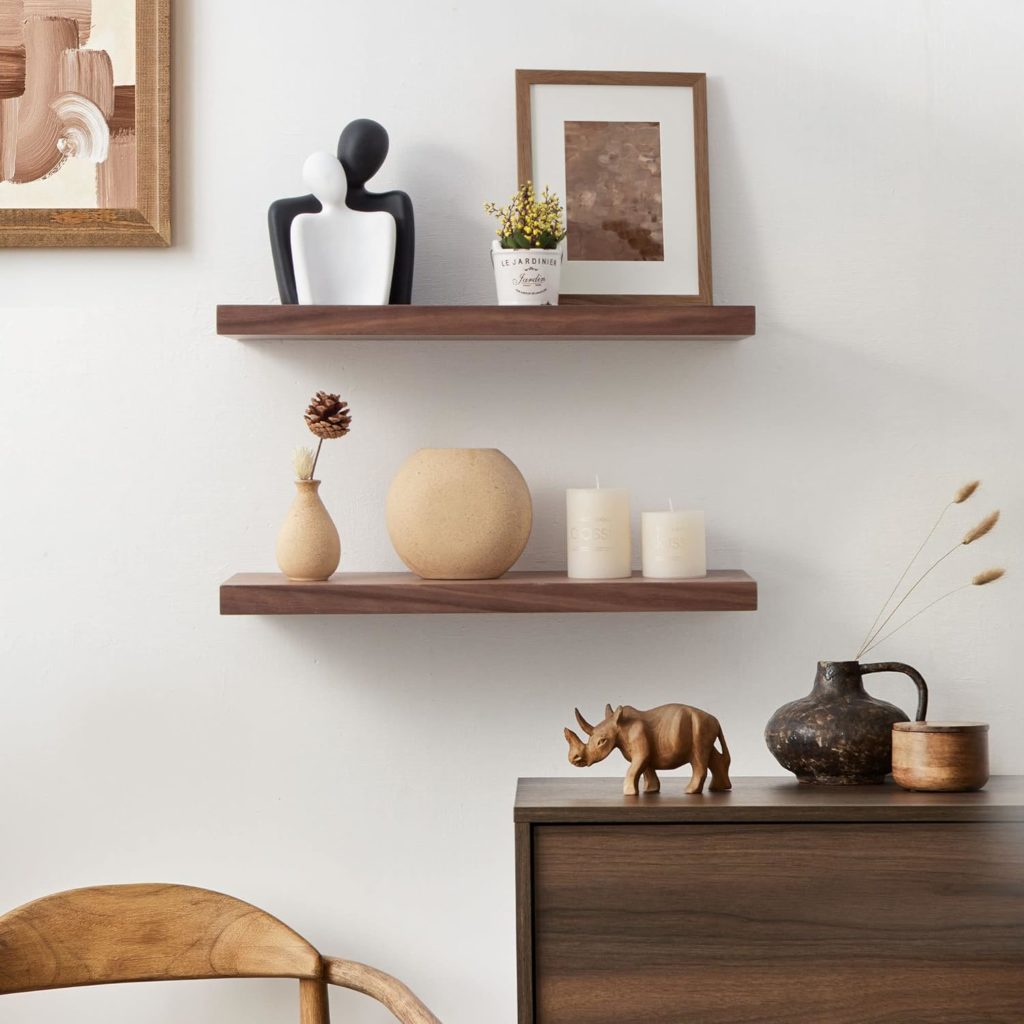
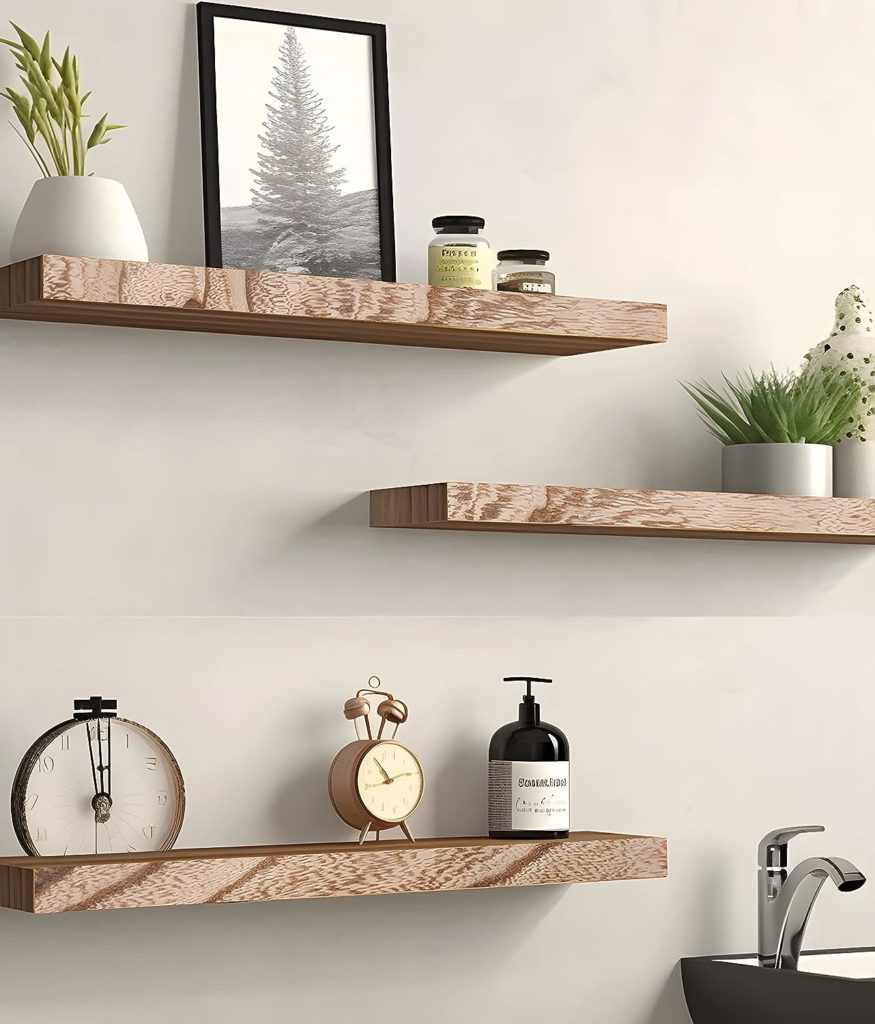
We have curated, for your review several shelving units which we present throughout this article. Rest assured that we have reviewed them and think they would enhanced your decor remodel in any room of your home.
Please reach out to us if you have any questions whatsoever!. Let’s Begin.
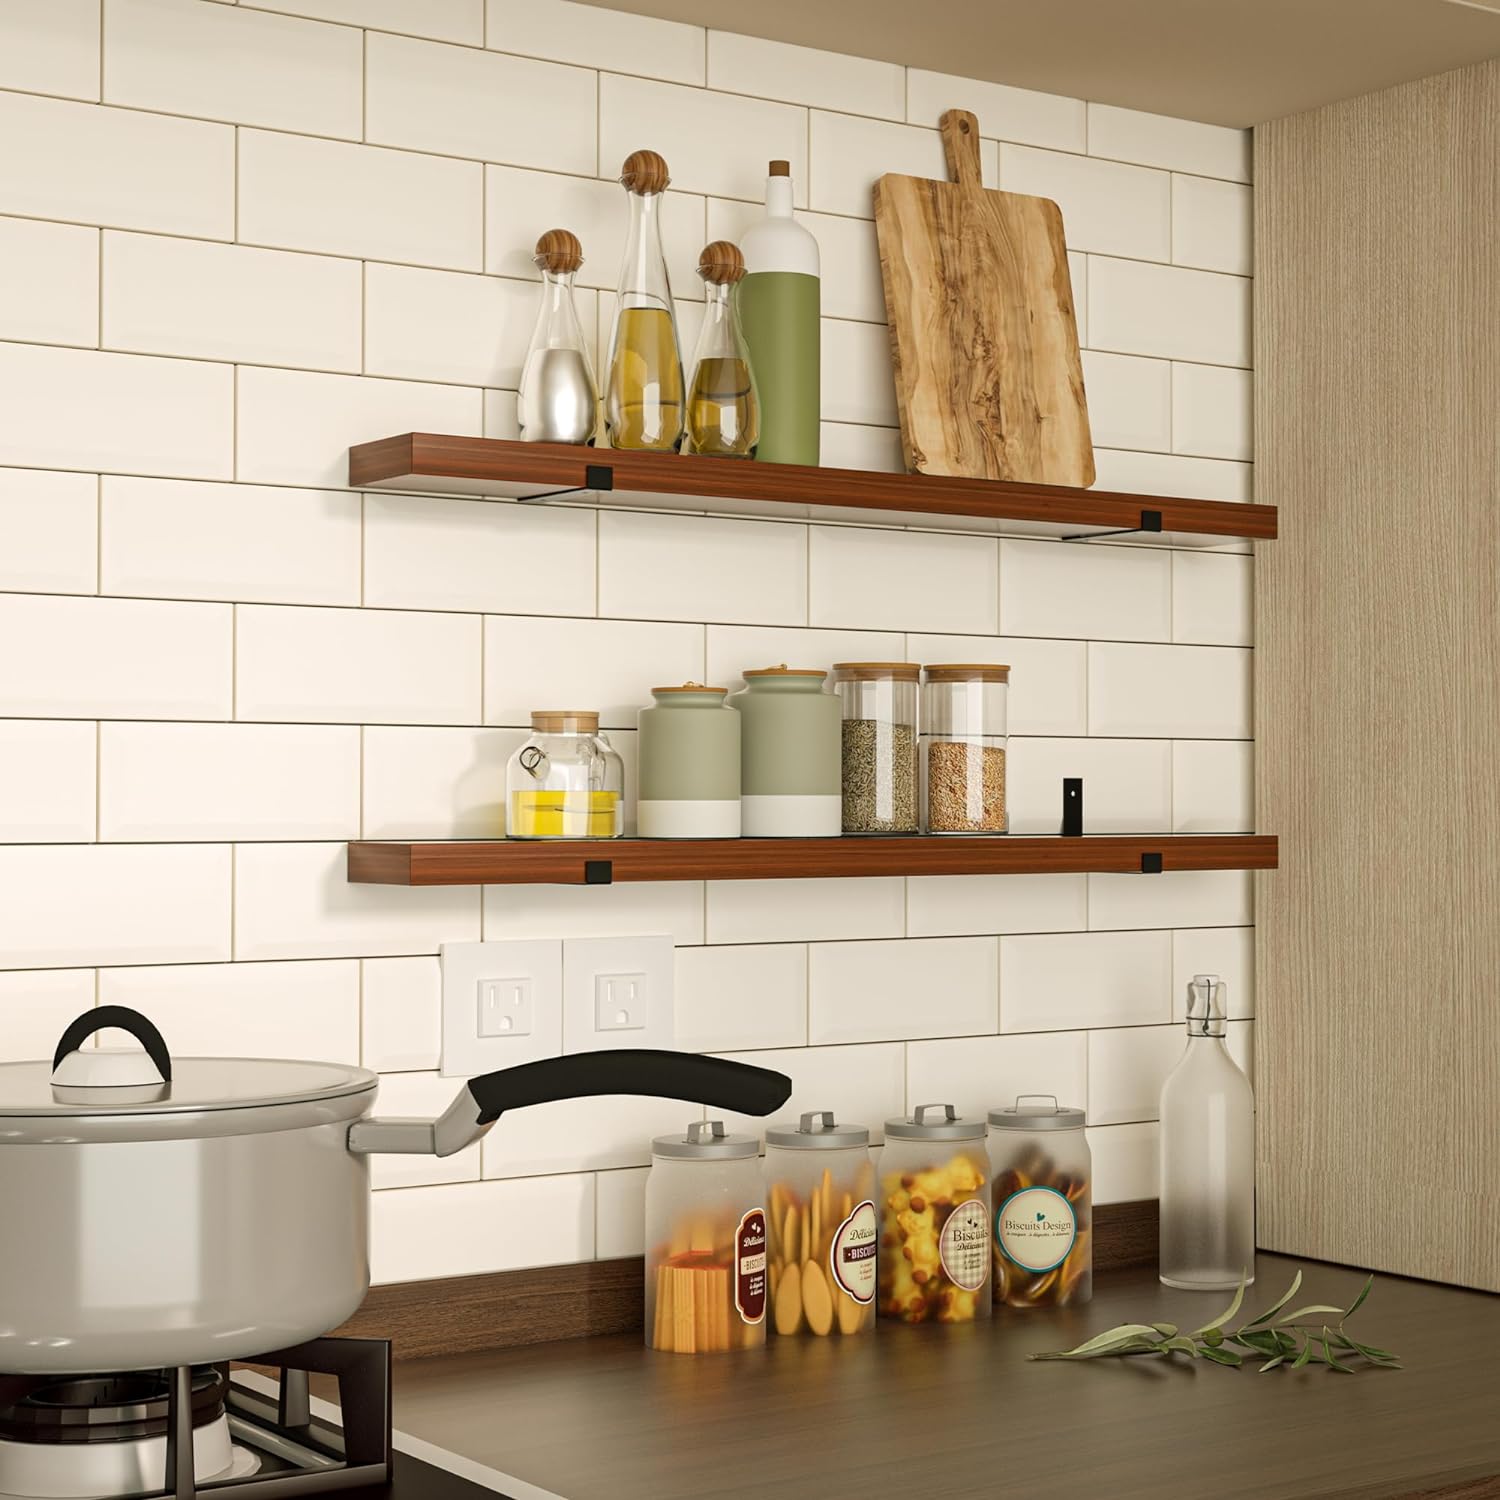
Do Plan For Safety: Safety should always come first. Whether you’re hanging traditional wall shelves or opting for modern floating shelves, ensuring stability is paramount. Utilize a stud finder to locate the framing for a secure installation.
For areas without support framing, wall anchors can be your allies. But ensure that shelf brackets are fastened securely to a structural member where possible.
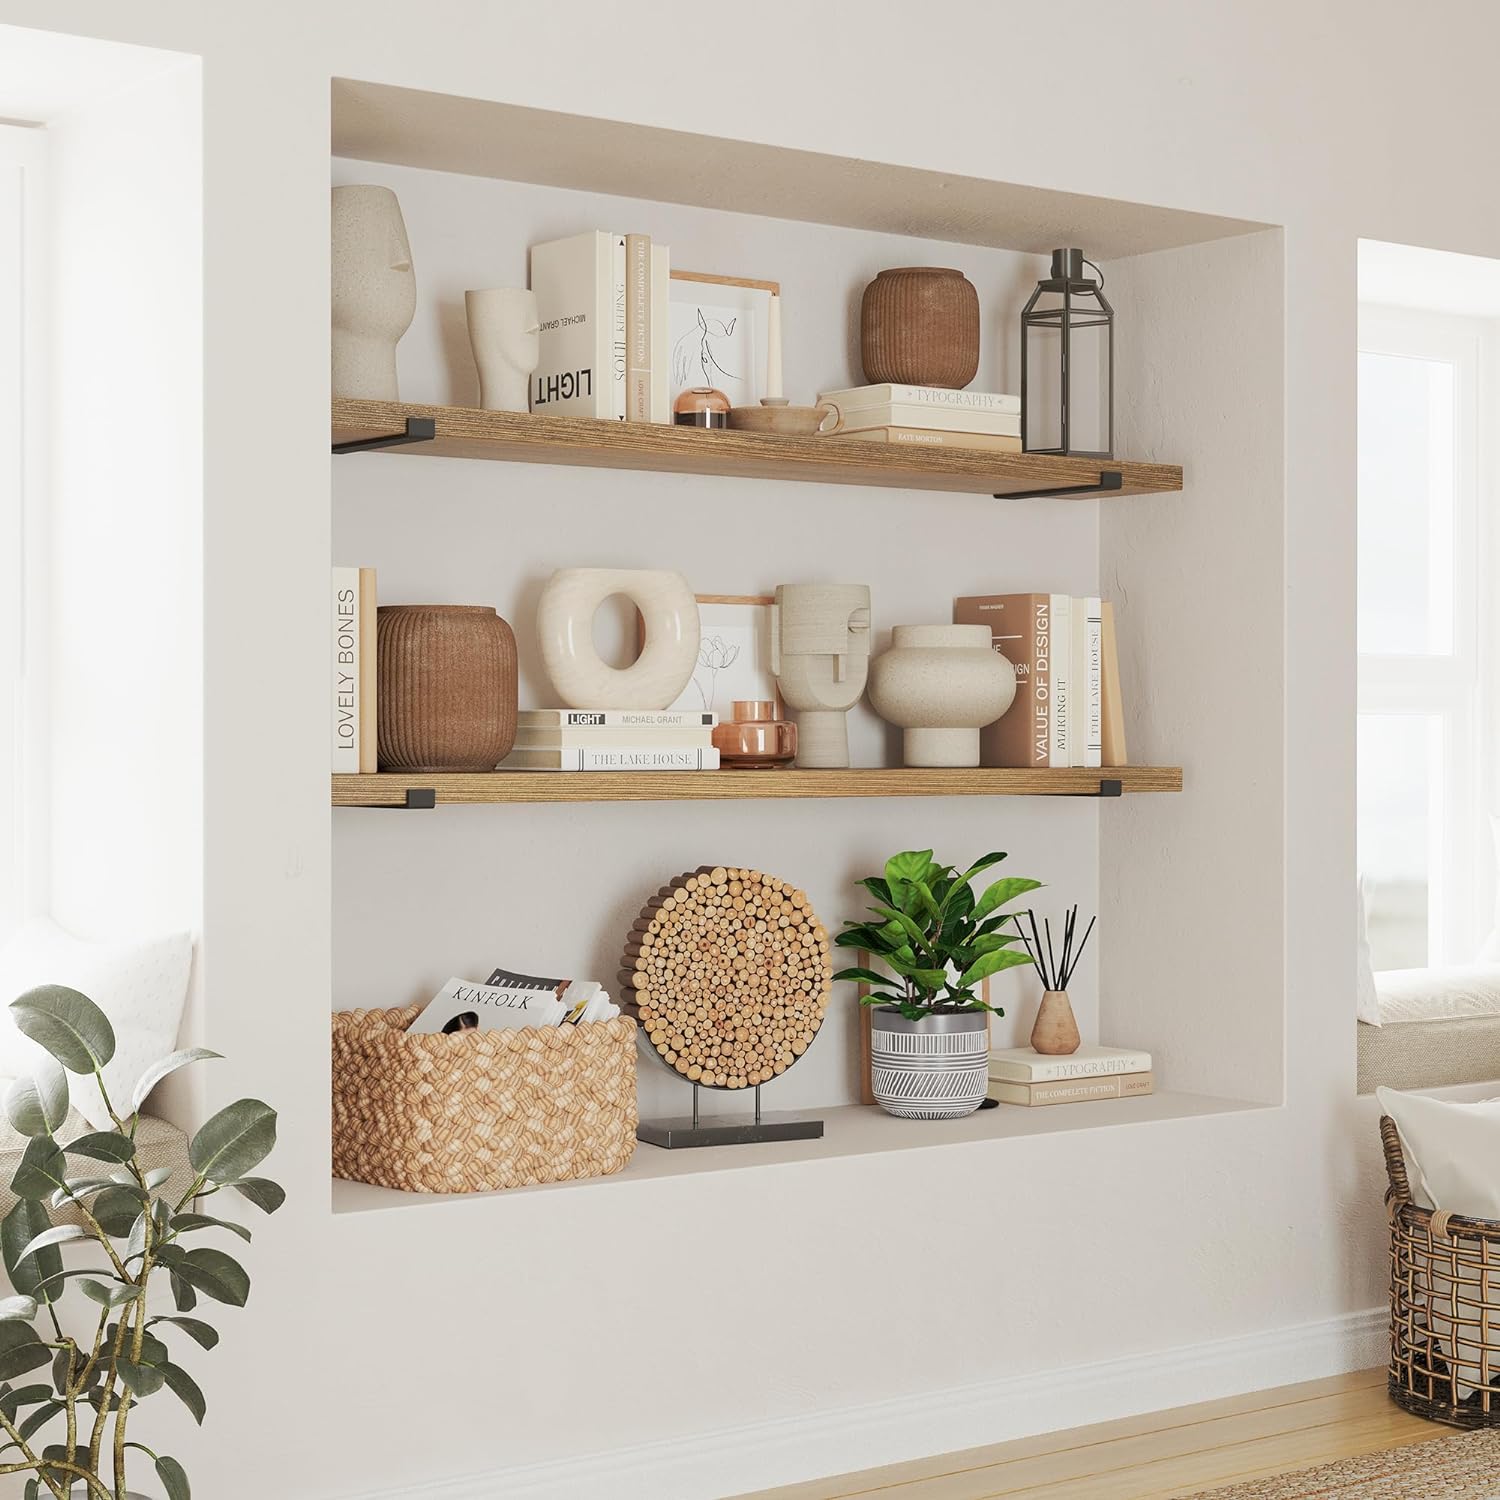
Do Plan To Perform Rigidity Tests: After completing the installation, test the firmness and secureness of your shelf. Press down and simulate the weight distribution to gauge its strength. Check for any signs of wobbling, and ensure bracket holes or screw holes are tightly sealed.
Do Plan For Weight Distribution: Always be mindful of how you want to arrange items on your shelves. Take note of bulkier and heavier objects and the intended placement – place bulkier objects closer to the center to capitalize on the central support system. This will not only prevent sagging but also ensures that the shelving remains in alignment over time.
Do Plan to Infuse Personal Touch: Plan to enjoy and embrace the DIY spirit by personalizing your shelving. Whether it’s choosing a unique wood type, adding a coat of paint, or incorporating decorative hardware, let your personal style shine through. Think about creative tips and tricks to make the space truly yours.
Do Plan To Celebrate: After all the hard work, planning, drilling, and assembling, it’s time to take a step back and admire your handiwork. Enjoy the feeling of accomplishment that comes from seeing your vision come to life. Document your journey, maybe even share it with the world, and inspire other DIY enthusiasts to take on their projects with zeal.
Do Plan Regular Maintenance Checks: Long after the project is complete safety and upkeep must be a priority – Just like any other furniture piece in your room, shelves require regular upkeep. Inspect brackets, screws, and the overall structure periodically.
Using a damp cloth, clean off any dust or residue to maintain the shelf’s luster and functionality.
Look for any signs of wear and tear and rectify them promptly.
3. Don’ts For DIY-er – Hang Floating Shelves
Some Planning Considerations
Don’t Rush the Installation: A DIY shelving project isn’t a race. Whether you’re using anchors, searching for wall studs, or making pilot holes, take your time. Patience ensures fewer mistakes, better stability, and an overall better finish, aesthetically.
Don’t Avoid The Essential Rigidity Checks: Never install and forget. Just having the shelf on the wall isn’t enough. It’s crucial to run a manual test for stability post-installation. Regardless of whether you’re working with hanging shelves, floating shelves, or a simple shelf bracket system, this test is paramount.
Check for any wobbles or weaknesses in the setup and rectify them before loading up the shelf.
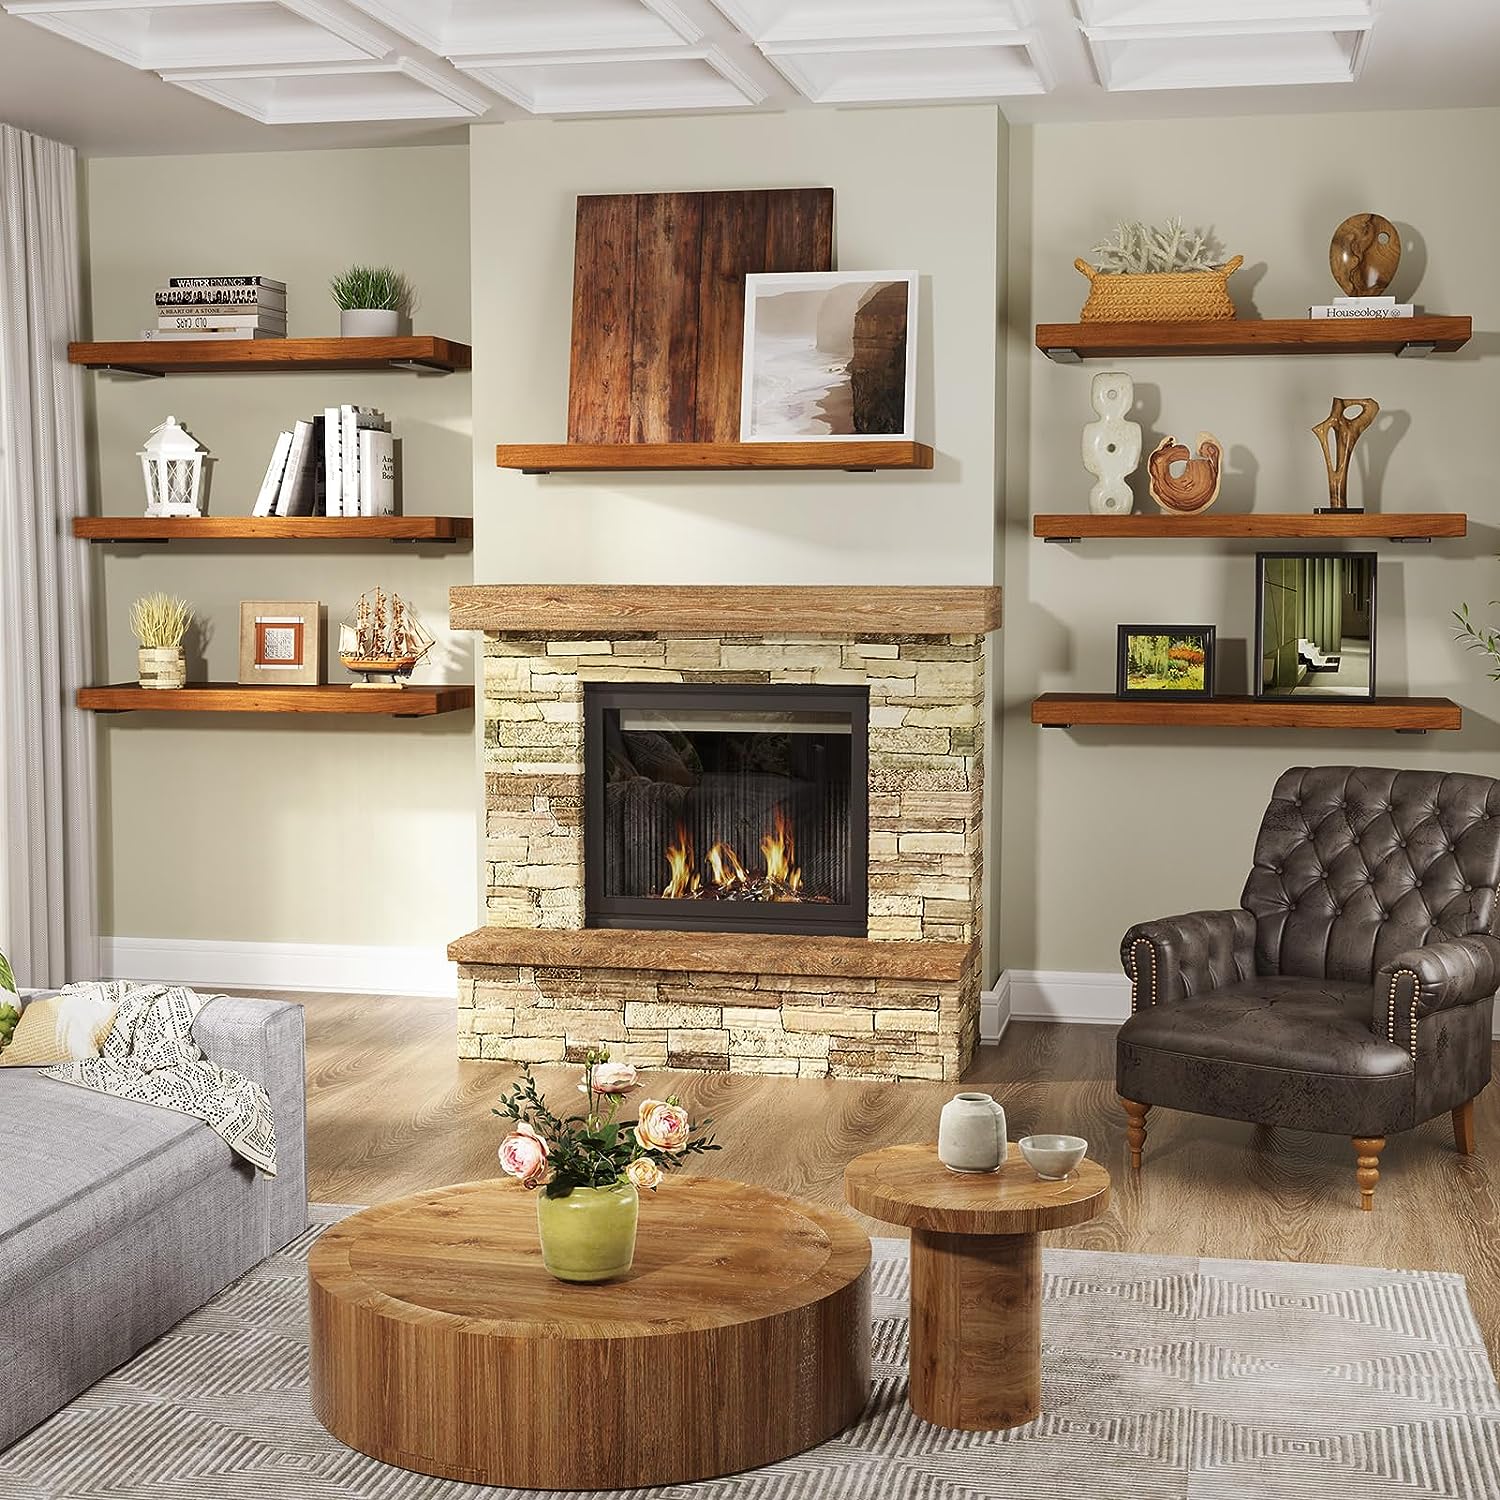
Don’t Overburden The Shelf: While it might be tempting to show off all your collectibles or books, remember that every shelf has a weight limit. Overloading can not only damage the shelf and the wall but can also be a safety hazard. Always be cautious of the weight you’re adding, and ensure it’s distributed evenly.
Don’t Neglect The Peripheries: It’s easy to focus on the sturdy center, but the edges of your shelves need attention too. Make sure they are properly anchored and supported. Refrain from overloading the edges, as this can lead to sagging or, worse, the shelf collapsing.
Don’t Overlook Regular Upkeep: Just as you wouldn’t ignore signs of wear on your favorite piece of furniture, don’t turn a blind eye to your shelves. Ensure the shelf, wall and attachment mechanisms are regularly inspected to ensure longevity and safety.
Don’t Clutter The Space: While shelves are meant for storage and display, overcrowding them can diminish their visual appeal. Not to mention, it can strain the shelf’s weight capacity. Strive for a balance between functionality and aesthetics. Rotate items seasonally or based on themes to keep the look fresh.
Don’t Compromise Look and Feel: Yes, functionality is king, but aesthetics play a significant role too. Whether you’re going for wall shelves, hanging shelf styles, or chic floating shelves, ensure the design complements your room’s décor. Factor in the material, paint, and overall design to achieve a cohesive and pleasing look.
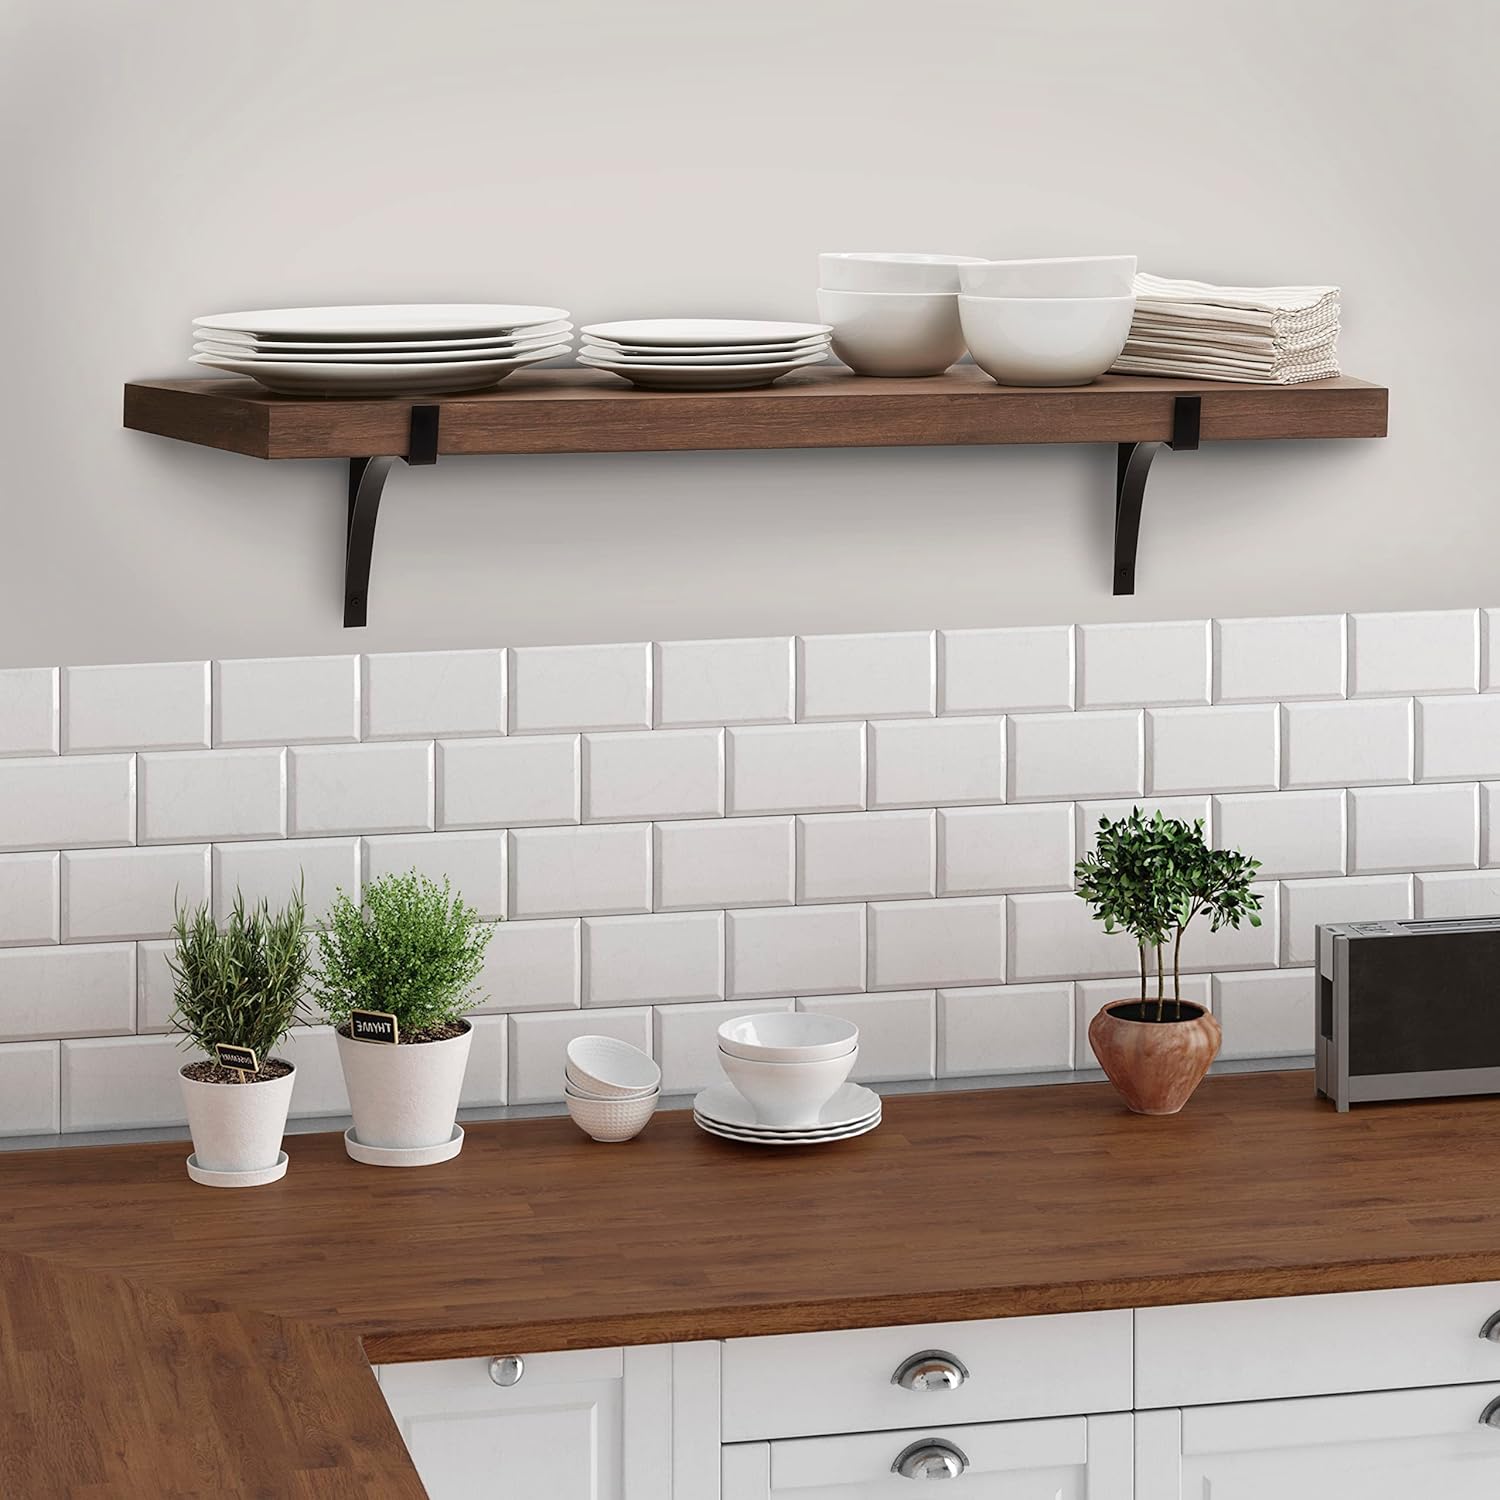
4. Comprehensive Checklist for Shelf Installation
Planning Your Project
The considerations outlined in the above sections are to be noted and considered during the planning phase of the project. In addition the following are also important.
Purpose Clarification: Before choosing between floating shelves or traditional wall shelves, determine their primary use. Are they meant for decorative purposes, to hold books and heavy items, or a combination?
Space Measurement: With a measuring tape, evaluate the dimensions of the space. Ensure you accommodate for potential room furniture shifts or additions in the future.
Visualization: Picture the end outcome. Consider if floating shelves suit the aesthetic or if wall shelves with visible brackets match the room’s vibe better.
Getting Your Materials & Tools
Material Selection: Based on the room’s theme and intended shelf use, choose a suitable material. If you’re aiming for a rustic look, wood might be best. For a modern touch, consider glass or metal.
Tool Gathering: Laser Level, Stud finder, tape measure, hummer, and drill and consider the type of wall you’re working with.
Anchors: Anchors for drywall, concrete, brick or block might be needed if you can’t attach directly to wall framing.
Safety First: As you install your shelves, safety should be paramount. Using safety goggles prevents debris from harming your eyes, and gloves can offer better grip and protection.
Installation Phase
Bracket Positioning: When you’re ready to install your shelves, mark the exact positions for brackets. Remember, that placement into support structure ensures stability. Decide what type of anchor you need based on the framing of the wall. If wooden studs are available, then anchors are not needed. You can drill and install directly into the studs with the correct caliber screws. Please refer to our detail installation guide.
Hole Creation: Before drilling pilot holes, ensure it is aligned with a level. This ensures an even and stable shelf.
Shelf Placement: After brackets are secured, align the shelf with them and other shelf pieces as needed. For added support, especially for heavy shelves, fasten them with additional screws or hardware.
Safety Check
Rigidity Assessment: Pressing down on the shelf simulates potential weight strains it might undergo. It should remain affixed properly and not wobble.
Stability Inspection: If the shelf feels loose, double check your screws and brackets. Stability is essential for safety and function.
Weight Management: Remember the weight limit of your shelf. Heavier items should be closer to where the brackets or supports are.
Styling and Decor
Theme Decisions: Whether you’re after a minimalist look with few items or a feature shelf with various decorative elements, choose a cohesive theme.
Item Arrangement: Spread out items, considering their weight and visual appeal. Place them evenly for a balanced look.
Decorative Flourishes: Add unique touches like vases, candles, or personal memorabilia. It’s a chance to reflect your personal style.
Completion
Documentation: Whether it’s for personal reference or to guide others, documenting your shelf installation process can be beneficial.
Sharing is Caring: Display your hard work on social platforms. Your process could inspire or guide someone else.
Savor the Success: Enjoy your newly installed shelf. It’s not just a functional piece but also a reflection of your effort and style.
Floating Shelves Maintenance
Routine Inspections: Every few months, inspect your shelf. Check for any loosening of screws or signs of wear on the shelf material.
Cleaning Regime: Depending on the material, regular cleaning can prevent dust build-up and keep the shelf looking pristine.
Stability Over Time: As the shelf ages, its weight-bearing capacity might change. Regular checks can prevent accidents.
5. Frequently Ask Questions – FAQs
The FAQs discussed below are left in its original form in which they were presented to us and many are overlapping but we wanted to preserved the integrity of the questions and decided to present them as originally asked.
Hanging Shelves “Do” Questions
Do shelves need to be screwed or hanged into studs? For the best outcome, shelves should ideally be anchored into studs. This provides maximum stability, especially when bearing heavier loads. If this isn’t feasible, high-quality wall anchors can serve as a worthy alternative.
Hanging Shelves “What” Questions
What is the easiest way to hang a shelf? For most DIY enthusiasts, using shelf brackets offers the easiest approach. Start by marking your desired position on the wall using painter’s tape. Once identified, drill pilot holes and fasten the brackets using wood screws. Finally, simply lay the shelf atop the brackets.
What is the rule of thumb for hanging shelves? The primary rule of thumb when planning to hang shelves is to always re-check your measurements, guarantee the shelf is straight using a level, and, whenever possible, fasten the shelf directly into the wall framing for heightened stability and safety.
What should I use to hang shelves? To successfully install shelves, you’ll need an assortment of tools and materials. Essential items include a drill, level, wood screws, wall anchors (if necessary), brackets, and your chosen shelving material.
What is the best way to hang a heavy shelf? The most reliable method to hang a heavy shelf is by locating wall support structure and drilling into them. Using sturdy wood screws ensures the shelf is capable of bearing significant weight.
What is the best way to hang a floating shelf? The optimal method to hang a floating shelf involves accurate measurements, anchoring into studs, and employing reliable hardware. This ensures your shelf remains level and secure.
Hanging Shelves “How To” Questions
How do you hang a heavy shelving unit? For any heavy shelving unit, locating the studs with a stud finder is non-negotiable. Mark the positions, and utilize durable wood screws to ensure that the shelving remains securely anchored, offering optimal support.
How do you hang shelves on drywall? Hanging shelves on drywall requires added attention. If you can’t anchor to the walls frame, use drywall anchors becomes vital. Drill appropriate holes after marking the desired locations, insert the drywall anchors, and then secure the shelf or bracket screws into these anchors.
How do you hang floating shelves? To hang floating shelves, mark your desired height and position. Drill pilot holes, aiming for direct installation onto studs, set up the supportive hardware, and then connect the floating shelf.
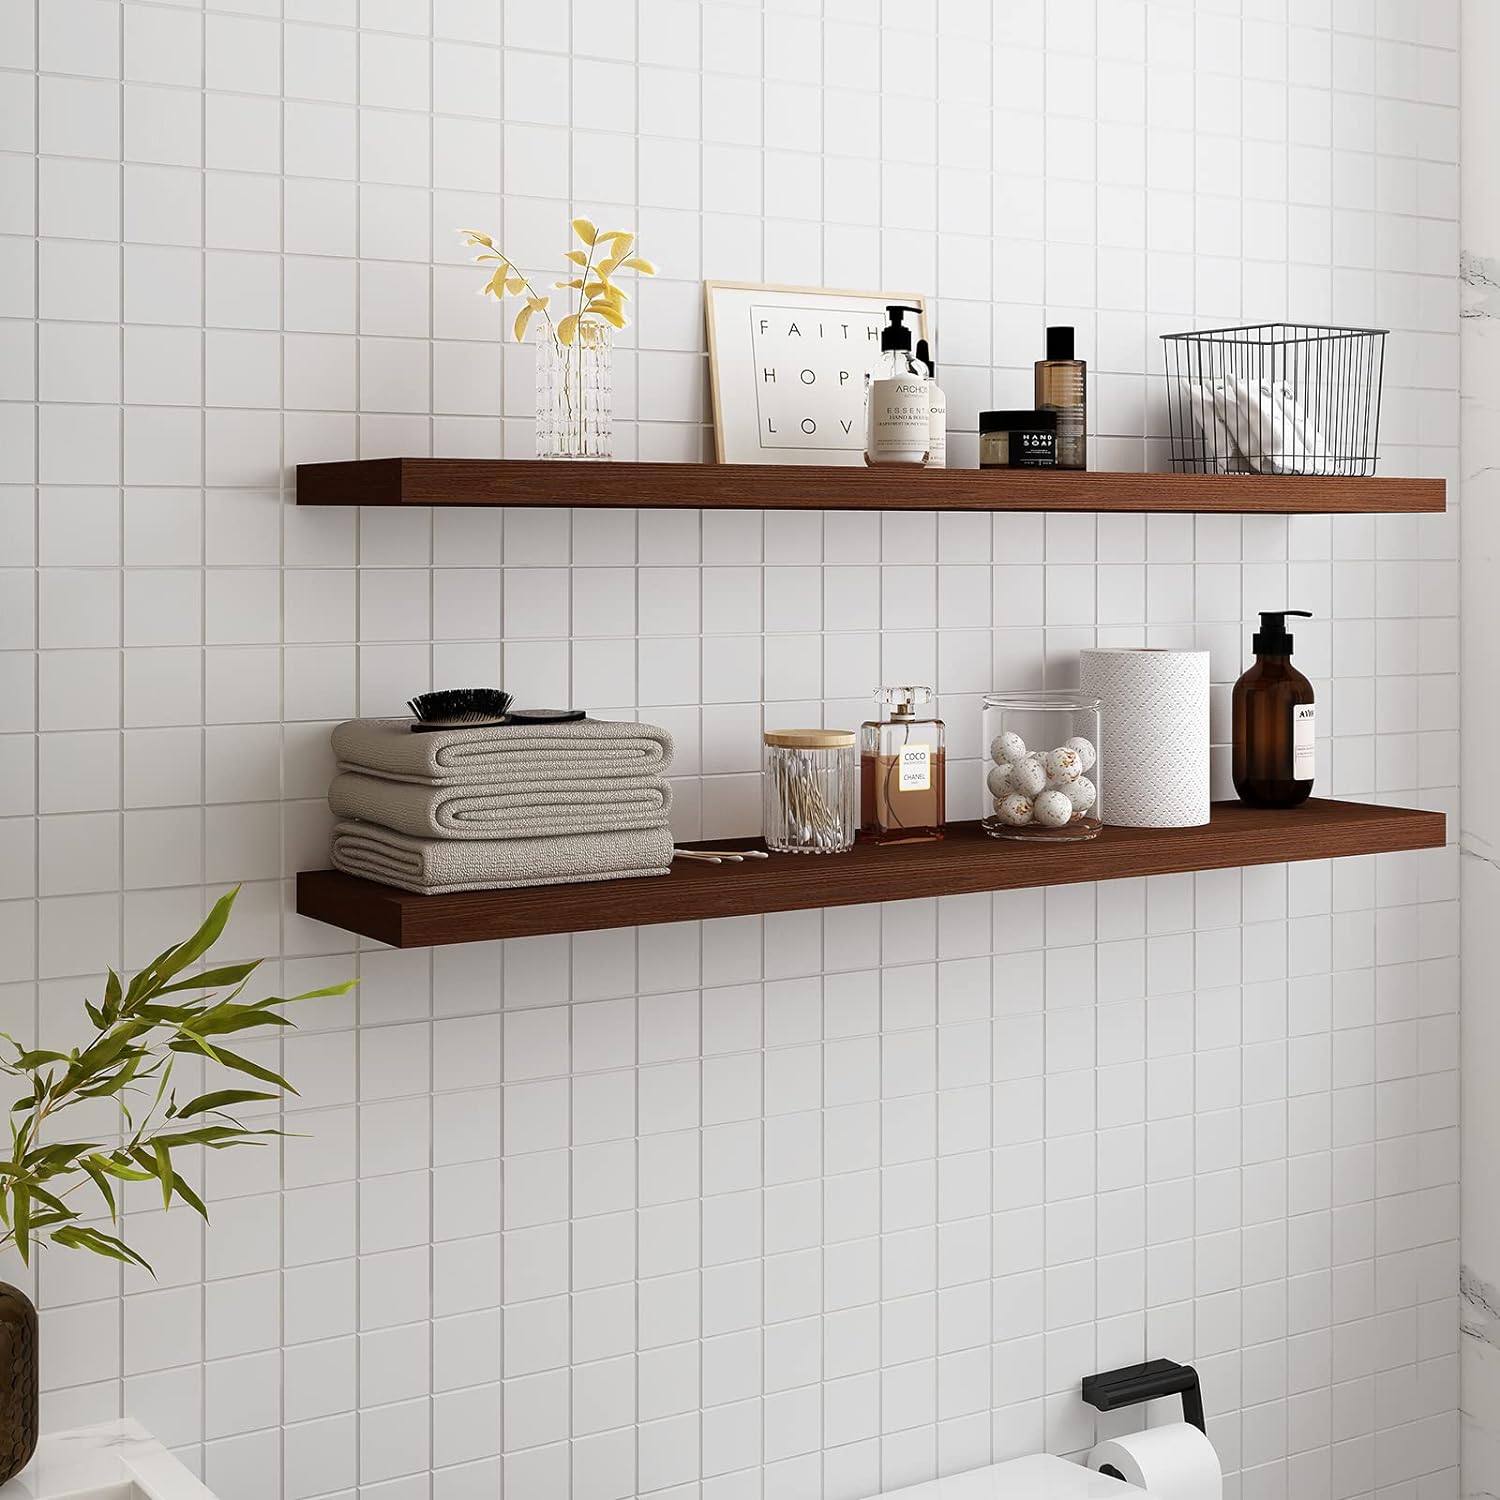
How do you hang shelves without brackets? Floating shelves are an excellent choice when looking to create a sleek, bracket-free appearance. When you decide to install shelves without the use of traditional brackets, the process involves drilling at the chosen height.
If you can’t secure the shelf to wall studs, it’s crucial to use wall anchors to guarantee stability. Once prepared, simply slide the floating shelf onto the concealed supports.
How do you hang a floating shelf? When you want to install hang floating shelves, begin by accurately measuring the desired area. Use a level to ensure a straight line, then drill pilot holes aiming for the wall studs whenever possible. After this, attach the specific hardware or wall anchors provided. The final step involves sliding or screwing the floating shelf onto these supports.
How do you hang heavy floating shelves? To manage heavy floating shelves, employ robust brackets or supports. Always aim to drill into the support structure. Use a level to maintain straightness, and before adding any weight, double check the shelf’s strength.
How do you hang a heavy shelf? When setting up a heavy shelf, the initial step is locating the wall structural support. After marking positions, drill holes and employ durable screws to anchor the shelf securely.
How do you hang a heavy wooden shelf? For a heavy wooden shelf, drilling into the structural framing of the wall offers unparalleled support for the shelve. Utilize robust wood screws and ensure each one is tightly fastened.
How do you attach shelves to the wall easily? The most straightforward approach to attach shelves to involves shelf brackets. After marking the shelf’s position, either drill into framing structure studs or use wall anchors, then set up the brackets.
Ensure everything is straight with a level, then lay your shelf atop the supports.
6. Conclusion
The journey of installing shelves goes beyond just adding storage space to a room; it’s about infusing personal style and ensuring functionality. Whether you’re gravitating towards different styles of shelves or contemplating the right hardware for your drywall, every decision and choice made contributes to the final masterpiece.
Featured Blog Article
Click Image Below To Read Our Blog Post – “How To Install Shelves For Wall – A DIY Guide”.


